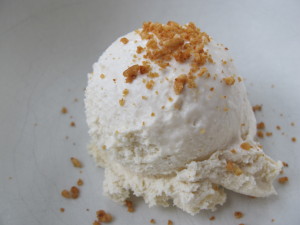
Roasted Winter Vegetable

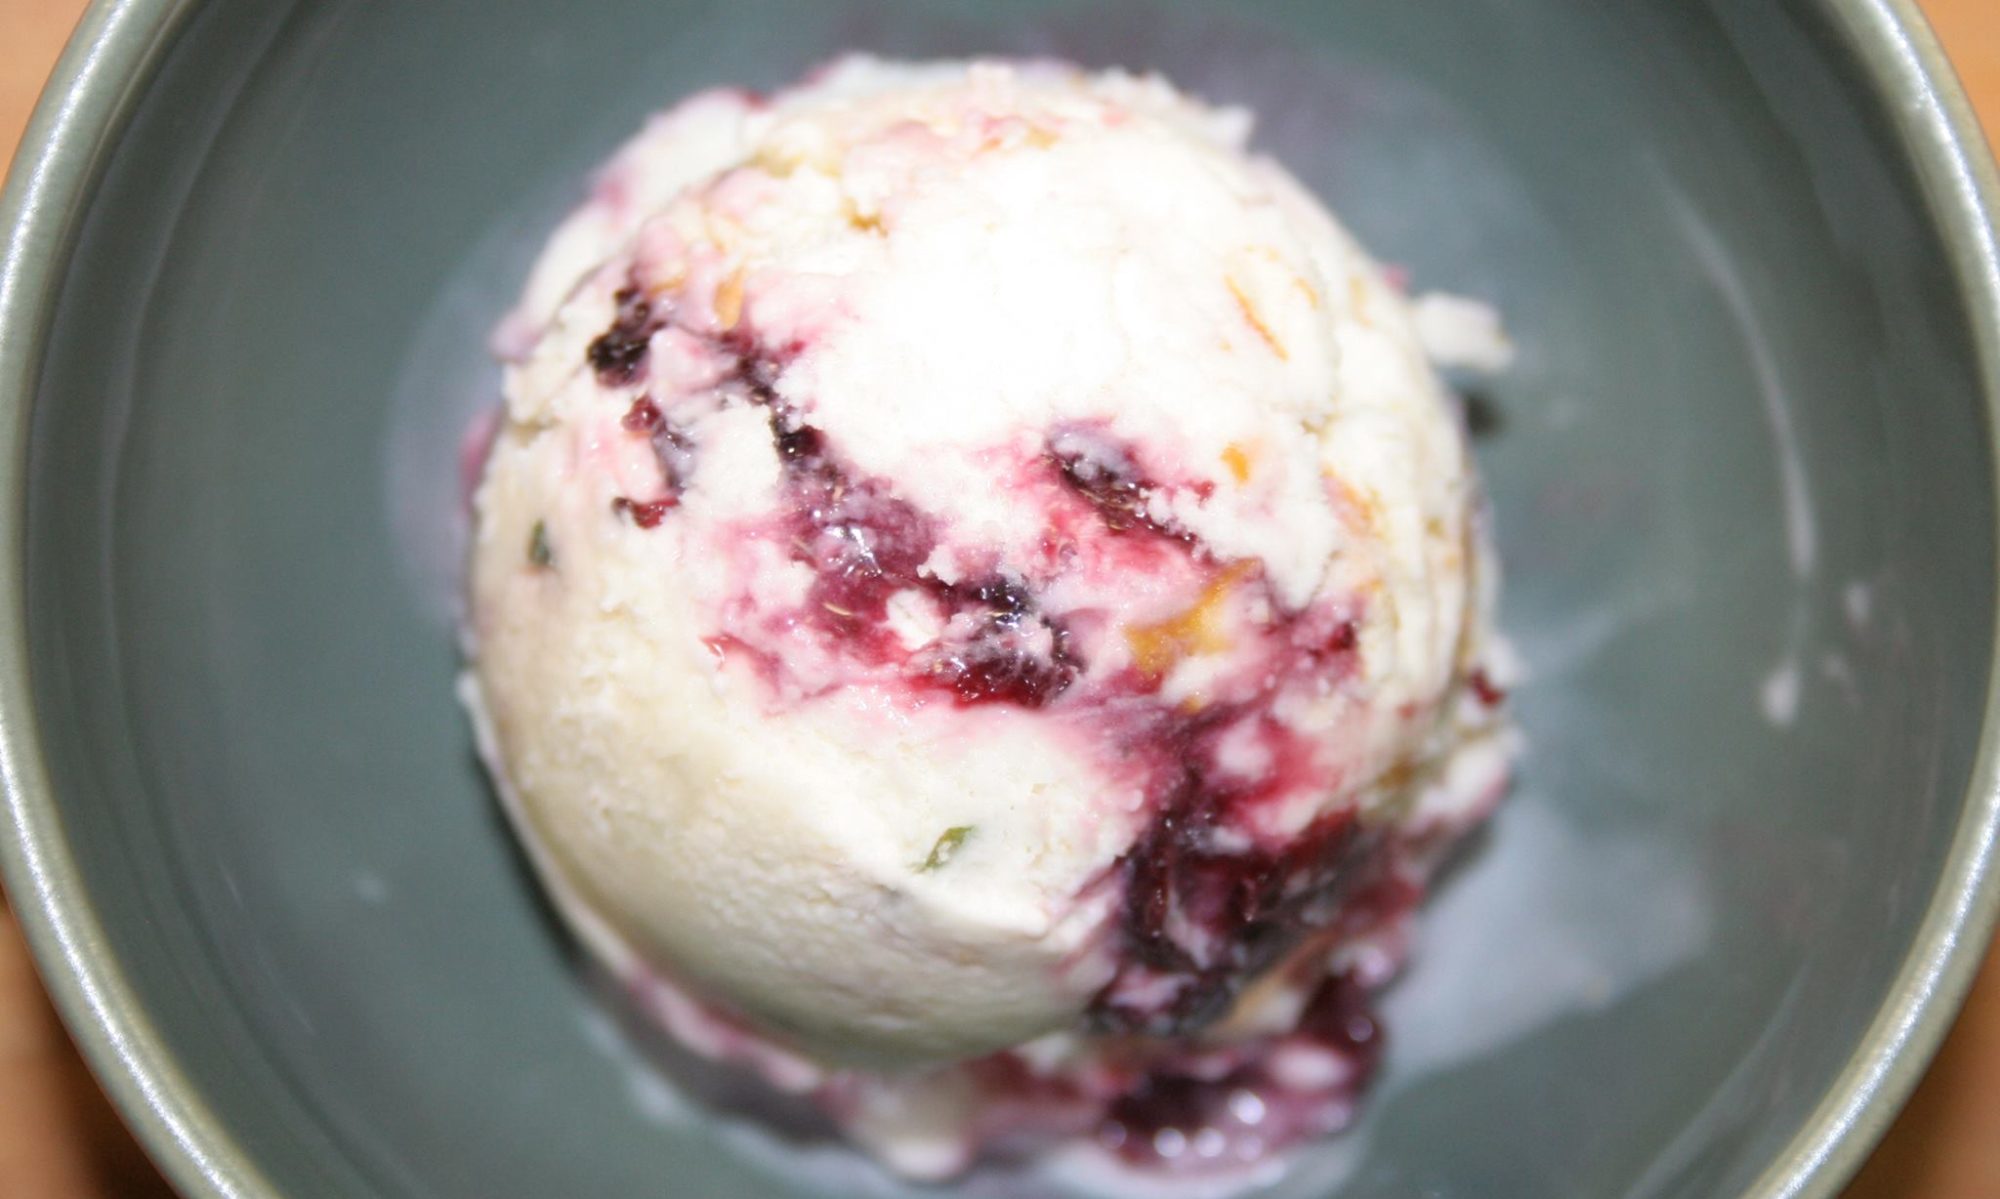
We’re embracing winter this week, but we’re going to sweeten things up a little bit. Inspired by a late Christmas celebration in early January, this week’s flavor is based on our dinner’s side dish that night, a winter vegetable gratin. It was perfect, and so is this week’s flavor – Roasted Winter Vegetable.


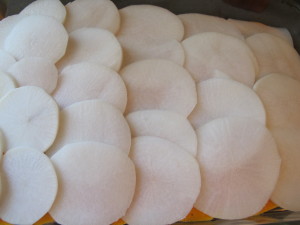
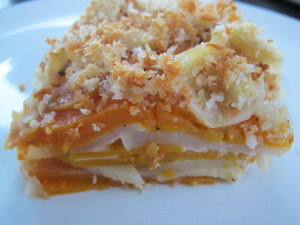
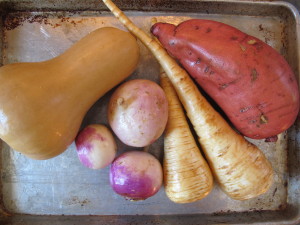
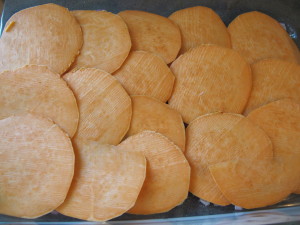
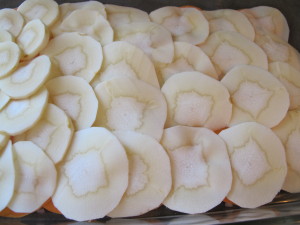
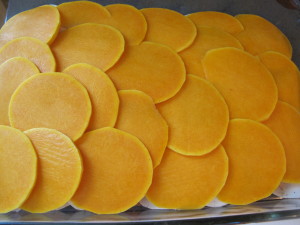
Winter VegetablesSweet Potato LayerParsnip LayerButternut Squash LayerTurnip LayerRoasted Vegetable Gratin


The vegetable gratin was pretty simple really. Thinly sliced sweet potato, parsnips, butternut squash, and turnips, alternately layered in a casserole, seasoned in between and roasted low in the oven with a bit of chicken stock. The gratin is finished with a little cream, and topped with panko, grated parmesan and olive oil. The vegetables become so sweet from roasting low and steaming in their own juices, that this gratin could have easily been dessert. But that’s what we’re doing…

For the ice cream, we made the gratin almost exactly the same. We alternated layers of these winter vegetables, seasoning with salt and pepper in between, and slow roasted with a small amount of salted water.


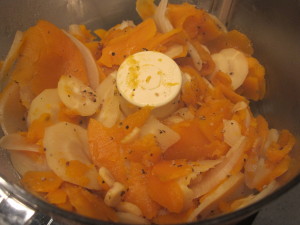
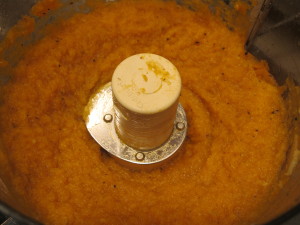
Roasted Vegetableroasted vegetable pureeVegetable water reductionWinter vegetables getting strained out


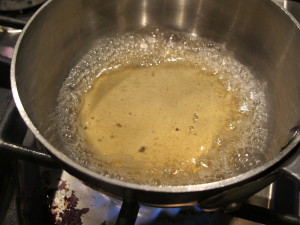
When the vegetables are out of the oven, they go into a food processor and are pureed. This seasoned winter vegetable puree is added to our ice cream base before pasteurization. But first we need to make use of the left over liquid in the bottom of the baking dish. This liquid is packed with flavor. We reduce the liquid until almost dry, and add to the ice cream base. After pasteurization, the ice cream base is strained through a fine mesh strainer, salted and cooled. Use the solids for another purpose. Pie maybe? Whatever, just use them. The chilled base is ready to churn.


Roasted Winter Vegetable


Salty sweet! With each bite you can almost distinguish the flavor of each vegetable. A great accompaniment to pecan pie perhaps? However it’s eaten, embrace it, and this week, embrace winter with a little added sweetness.


Roasted Winter Vegetable Ice Cream

1 sweet potato, peeled
1 butternut squash, peeled
1 large parsnip, peeled
1 purple top turnip, peeled
1/2 cup water, salted
salt and pepper, for gratin

2 cups heavy cream
1 cup milk
2 eggs
3/4 cup sugar
1 cup vegetable puree
Liquid reduction
1 teaspoon salt, for ice cream base


Instructions:

1. Prepare the gratin: Preheat oven to 325 degrees Fahrenheit. With a mandolin, slice the vegetables 1/16-1/8 inch thick. In a ceramic or glass casserole, alternate layers of vegetables, seasoning with salt and pepper in between each layer. Add the salted water, cover with foil and bake for 80 minutes. Remove from oven.

2. Prepare puree and reduction: With a slotted spoon, transfer vegetables to a food processor. Process until smooth. Set aside for ice cream base. Transfer liquid in bottom of baking dish to a small sauce pan and reduce until nearly dry. Reserve reduction for ice cream base.

2. Make ice cream base: Crack eggs into a mixing bowl and whisk fully.  Add sugar and whisk.  Add cream, remaining milk, vegetable puree, liquid reduction, and salt. Whisk until ingredients are combined.

4. Cook/pasteurize ice cream base: Place ice cream base in a small pot and heat over medium heat, whisking or stirring continuously until temperature reaches 165-170 degrees. Remove from heat and cool to room temperature (an ice bath will do this in about 15-20 minutes). Strain base through a fine mesh strainer and put base in a clean container, cover, and chill in refrigerator overnight.

5. Churn ice cream base in ice cream machine according to manufacturer’s instructions.

*Yields approximately 2.5 pints

If you’d rather not make it, you can be one of two lucky winners of this fabulous, scratch made craft ice cream in our weekly pint giveaway. Enter your name in the comments section here, or on our facebook page under the posted contest. Two winners will be drawn randomly on Friday 1/30/15 at 4pm. Winners must be able to pick up locally in Minneapolis. Prizes must be claimed by email within one week or we will redistribute. 🙂 Good luck!
 

Facebook

Twitter

More...

Cherimoya

We talk a lot about our affinity for the Seward Co-op in South Minneapolis, but this week’s flavor really epitomizes how much we love this place.  A few weeks ago I was wandering through the store picking up a few random items when I stumbled across a fruit I had never even heard before.  Cherimoya.  I quickly did a little research  and uncovered it was nicknamed the “ice cream fruit” and I knew it was meant to be.  There just aren’t too may places around town where you can find a rare prize like this in mid-January.  It’s times like this, I just want to move in and sleep on a shelf.


Cherimoya Ice Cream


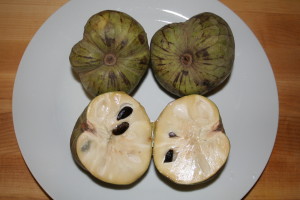
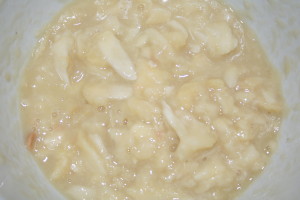
The fruit is so incredible and incredibly hard to describe accurately. As a whole, it reminds me a bit of a mango, but with seeds sort of like a watermelon.  The texture is also similar to mango.  The flavor on the other hand? People say a cross between a banana and pineapple – but it’s really it’s own thing.


Cherimoya


For this flavor – the process is rather simple – though cleaning the fruit is laborious.  You cut the fruit in half and then spend the next 30 minutes or so scooping out the prize and separating the seeds.  We pureed the fruit with milk and added the puree straight into the mix.  Like most fruit – it’s got water content which presents a challenge.  However, where we’d usually cook it down to reduce that water content, instead we chose to add a extra fat to the mix to offset it (in this case one exrtra egg).  The flavor of the Cherimoya is so delicate we didn’t want to risk losing that in the cooking process.  The mix is simply heat pasteurized on the stove (as usual)and spun into ice cream.


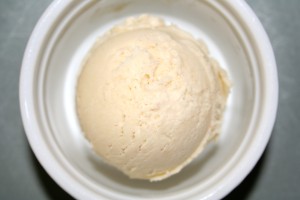
Cherimoya Ice Cream


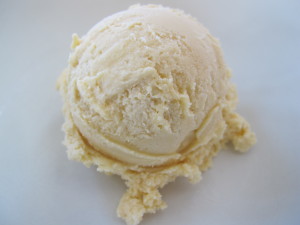
I wish I could explain how incredible the final result is.  It accents cream so well – ever so slightly acidic with a profile that is appealing to everyone, but almost impossible to put your finger on if you don’t have previous experience with the fruit.  It is a huge treat that we will now look forward to in the rare event we might get our hands on this fruit again. If you run across it, do yourself a favor and pick some up.  It’s absolutely worth it.


Cherimoya Ice Cream 

2 Cups Heavy Cream
1 Cup Milk ((choose your percentage based on how fatty/creamy you’d like your ice cream to be – the higher percentage the creamier the ice cream)
3 Large Eggs
1lb of Cherimoya fruit, scooped and seeded (yields approx 1 cup)
1/4 teaspoon sea salt

Instructions:

1.Prepare fruit: Scoop the Cherimoya flesh from rind and pick out all of the seeds.  Puree with 1/2 cup of milk until smooth.

2. Make ice cream base: Crack eggs into a mixing bowl and whisk fully.  Add sugar and whisk.  Add cream, remaining milk, cherimoya puree, salt and and whisk until cream, sugar and eggs are combined.

4. Cook/pasteurize ice cream base: Place ice cream base in a small pot and heat over medium heat, whisking or stirring continuously until temperature reaches 165-170 degrees. Remove from heat and cool to room temperature (an ice bath will do this in about 15-20 minutes). Strain base through a fine mesh strainer and put base in a clean container, cover, and chill in refrigerator overnight.

5. Churn ice cream base in ice cream machine according to manufacturer’s instructions.

*Yields approximately 2.5 pints
If you’d rather not make it, you can be one of two lucky winners of this fabulous, scratch made craft ice cream in our weekly pint giveaway. Enter your name in the comments section here, or on our facebook page under the posted contest. Two winners will be drawn randomly on Friday 1/23/15 at 4pm. Winners must be able to pick up locally in Minneapolis. Prizes must be claimed by email within one week or we will redistribute. 🙂 Good luck!
 

Facebook

Twitter

More...

Toasted Brown Rice and Miso

This week’s flavor idea comes to you as so many do…pure inspiration from seeing great techniques from other peeps. This particular inspiration comes from the goddess of dessert at Momofuku Milk Bar, Christina Tossi. On an old episode of “Mind of a Chef,” Tossi toasts shiro miso paste to a dark almost burnt color, blends it with oil and smears it on a plate as an accompanied sauce to one of her desserts. First, it got me thinking about Asian flavors; and second, it got me thinking about the toasting process and how we can apply it to create deeper flavor. So let’s get started with this week’s flavor – Toasted Brown Rice and Miso.


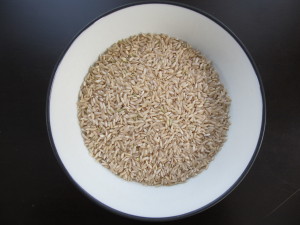
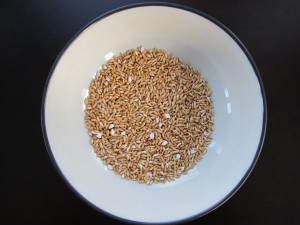
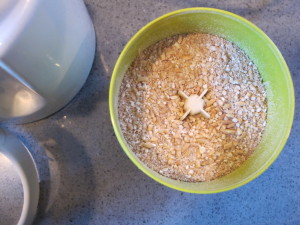
Brown RiceToasted Brown RiceGrinding Toasted Rice

After I saw the miso toasting process, my first thought was to incorporate it into the ice cream, but with what? I wanted deep, nutty flavors. Brown rice came to mind as a nutty, earthy flavor that my family eats often. But what if I toasted the brown rice first? It is a grain. Just like when barley gets toasted for beer. By now, my flavor concept has blossomed into one that I am diggin’ on, big time! For the toasted brown rice, it gets toasted in a pan, dry, over medium heat, tossing regularly until fragrant and golden brown. The rice is ground to a powder in a spice grinder and added to the ice cream base before cooking. Again, I wanted to deepen the flavors of our ice cream base for this flavor, so I substituted part of the cane sugar with brown sugar. As you might think, the brown sugar brings out more of those caramel nutty flavors. Now for the miso…


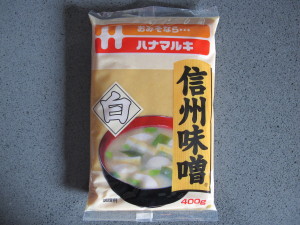
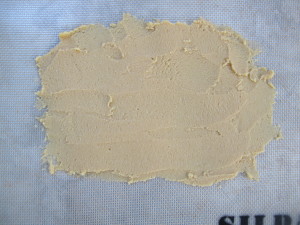
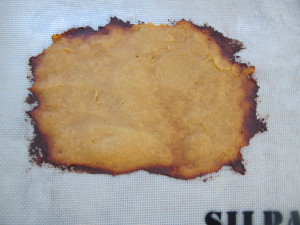
Shiro Miso Preparing Shiro Miso for toasting Toasted Shiro Miso

This is Japanese Shiro Miso AKA white miso AKA fermented soy beans. Also known as a sweet miso, it’s also going to add the majority of the saltiness to this flavor. The miso gets spread thin on a Silpat baking mat and baked low until golden brown in the middle and dark brown on the edges. This is nowhere near the toast level that Christina Tossi takes hers to, but it’s exactly what I’m looking for to finish this flavor. The toasted miso gets scraped off of the Silpat and goes into our ice cream base with the toasted rice powder before cooking. The ice cream base is pasteurized, the ingredients are steeped, and then strained through a fine mesh strainer. A touch more sea salt gets added and the base is cooled and ready to churn.

As a side note, I decided to take the strained/leftover rice powder, spread thin on a Silpat, and bake at 275 degrees for about an hour, I salted it, and it happened to be a nice crunchy crumble to serve on top.


Toasted Brown Rice and Miso


Salty, sweet, umami. Inspiration makes this flavor all of that!


Toasted Brown Rice and Miso 

2 Cups Heavy Cream
1 Cup Milk ((choose your percentage based on how fatty/creamy you’d like your ice cream to be – the higher percentage the creamier the ice cream)
2 Large Eggs
1/2 Cup Cane Sugar
1/4 Cup Brown Sugar, packed
1/4 Cup Brown Rice
2 Tablespoons White Miso Paste
1/4 teaspoon sea salt

Instructions:

1. Preheat the oven to 325 degrees Fahrenheit. Spread miso paste on Silpat or other baking mat and bake until golden brown in middle with dark brown edges, approx. 12-15 minutes. Remove from the oven.

2. Make toasted brown rice powder: In a skillet or wok over medium high heat, add the rice and stir frequently. It’s ok if the pan is smoking. Some of the rice kernels will pop. This is ok too. Toast until deep golden brown. Cool. Grind in spice grinder.

3. Make ice cream base: Crack eggs into a mixing bowl and whisk fully.  Add sugar and whisk.  Add cream, milk and salt and and whisk until cream, sugar and eggs are combined. Add toasted rice powder and toasted miso. Whisk.

4. Cook/pasteurize ice cream base: Place ice cream base in a small pot and heat over medium heat, whisking or stirring continuously until temperature reaches 165-170 degrees. Remove from heat and cool to room temperature (an ice bath will do this in about 15-20 minutes). Strain base through a fine mesh strainer and put base in a clean container, cover, and chill in refrigerator overnight.

5. Churn ice cream base in ice cream machine according to manufacturer’s instructions.

*Yields approximately 2.5 pints


If you’d rather not make it, you can be one of two lucky winners of this fabulous, scratch made craft ice cream in our weekly pint giveaway. Enter your name in the comments section here, or on our facebook page under the posted contest. Two winners will be drawn randomly on Friday 1/16/15 at 4pm. Winners must be able to pick up locally in Minneapolis. Prizes must be claimed by email within one week or we will redistribute. 🙂 Good luck!
 

Facebook

Twitter

More...

Triple Citrus Cardamom

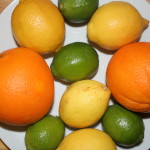
We’ve kicked 2015 off with citrus in last week’s wondeful Mimosa flavor, and since nothing cuts through the bitter cold better than lemons, limes and oranges we’re going to keep it going.


IMG_1412

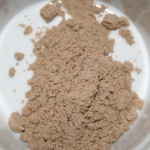
cardamom


The real inspiration for this week’s flavor, however, has as much to do with the cardamom as it does the fruit.  I realized several years ago that a little too much cardamom reminded me vividly of a flavor from my childhood, but could never pin it down.  Then one day I realized what it was – Fruit Loops.  That’s right.  I don’t know if they actually use Cardamom in the sugary kids cereal, but ever since I made the connection I’ve wanted to duplicate the fruit loop flavor in ice cream.   Naturally, it has to be paired with lemons, limes and oranges right?  RIGHT.


Triple Citrus


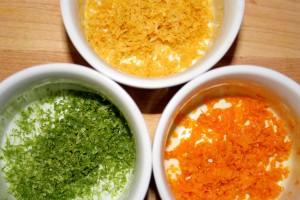
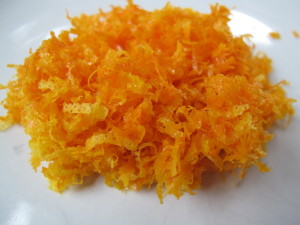
To impart the citrus flavor we use only the zest.  Ah the magic of zest.  All of the fruit flavor without all of the water content that makes ice cream icy – and the leftover juice for us to enjoy with something else.


Triple Citrus


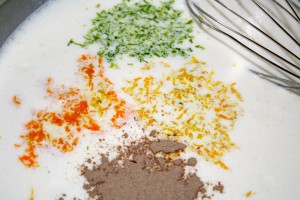
The cardamom is mixed into our sweet cream base along with all of the citrus zest, and all the flavor co-mingles during the pasteurization process.


Triple Citrus Cardamom


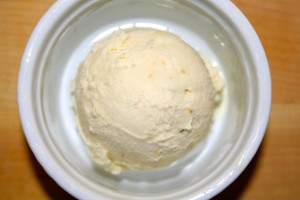
Rich sweet cream infused with lemon, lime, orange and cardamom.  A pretty spot on replication of the nostalgic fruit loop flavor. And for something new this year – the recipe!


Triple Citrus Cardamom Ice Cream:


Ingredients:

2 Cups of Heavy Cream
1 Cup of Milk (choose your percentage based on how fatty/creamy you’d like your ice cream to be – the higher percentage the creamier the ice cream)
2 large eggs
3/4 Cup sugar
1 teaspoon Lemon Zest
1 teaspoon Lime Zest
1 teaspoon Orange Zest
1 teaspoon cardamom

Instructions:

1. Crack eggs into a mixing bowl and whisk fully.  Add sugar and whisk more until cream, sugar and eggs are combined.  Add cream, milk, citrus zest and cardamom and whisk again until all are fully incorporated.

2. Place ice cream base in a small pot and heat over medium heat, whisking or stirring continuously until temperature reaches 165-170 degrees. Remove from heat and cool to room temperature (an ice bath will do this in about 15-20 minutes) and then place in a container, cover and chill in refrigerator overnight.

3.  Churn ice cream base in ice cream machine according to manufacturer’s instructions.  You can eat immediately as soft serve, but we would recommend freezing in a tightly covered container for at least 4 hours, preferably overnight if you can wait.  The flavors will continue to develop and change over the next few days.  Enjoy!

*Yields approximately 2.5 pints


If you’d rather not make it, you can be one of two lucky winners of this fabulous, scratch made craft ice cream in our weekly pint giveaway. Enter your name in the comments section here, or on our facebook page under the posted contest. Two winners will be drawn randomly on Friday 1/9/15 at 4pm. Winners must be able to pick up locally in Minneapolis. Prizes must be claimed by email within one week or we will redistribute. 🙂 Good luck!
 

Facebook

Twitter

More...

Mimosa

This week’s flavor seemed like a no-brainer. What better way to celebrate today, New Year’s Day, than with brunch, and everyone’s fave brunch beverage, Mimosa? After all, it’s not just New Year’s Day, it’s citrus season too. So get into it and check out this week’s flavor, Mimosa!


Navel OrangesOrange Zest Juiced Oranges

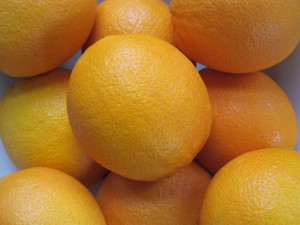
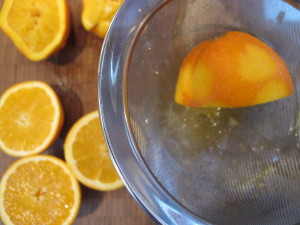
Organic navel oranges! Citrus season is in full effect, and if you can give yourself any semblance of warmer weather, eating oranges and citrus fruit this time of year in Minnesota might do it. Probably not though. For the ice cream, we’re going to jam as much orange flavor as we can in it. So first, the orange zest goes into the base before pasteurization. Second, we’re going to juice these bad boys and reduce it down to concentrate flavors.


Sparkling Wine AKA Champagne Champagne Reduction


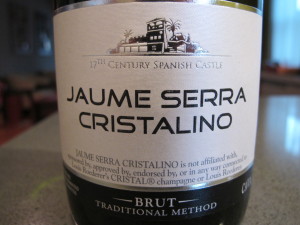
Next, Champagne. Well technically, sparkling wine, because this Brut doesn’t actually come from the Champagne region of France, but we’re going to call it champagne just to spite all the snobs. The champagne gets reduced with the orange juice to concentrate flavors and gets added into the ice cream base during pasteurization.


Mimosa


Mimosa! Let’s celebrate New Year’s together with a bowl of Mimosa ice cream. It’s a no brainer. Cheers!


You can be one of two lucky winners of this fabulous, scratch made craft ice cream in our weekly pint giveaway. Enter your name in the comments section here, or on our facebook page under the posted contest. Two winners will be drawn randomly on Friday 1/2/15 at 4pm. Winners must be able to pick up locally in Minneapolis. Prizes must be claimed by email within one week or we will redistribute. 🙂 Good luck!
 

Facebook

Twitter

More...