Smoked Apple

Long before our ice cream days began, us Broz spent much of our time scheming about BBQ and hanging around grills and smokers.  To this day we both remain grilling fanatics and our love for all things cooked over a fire often finds its way into our flavor development.  Every year when apple season rolls around we challenge ourselves to come up with new ways to incorporate apples into our ice cream.  This week’s flavor found us back at the smoker – stripping things down to our basic first apple flavor but adding one new dimension – applewood smoke.


appleappleIMG_1908


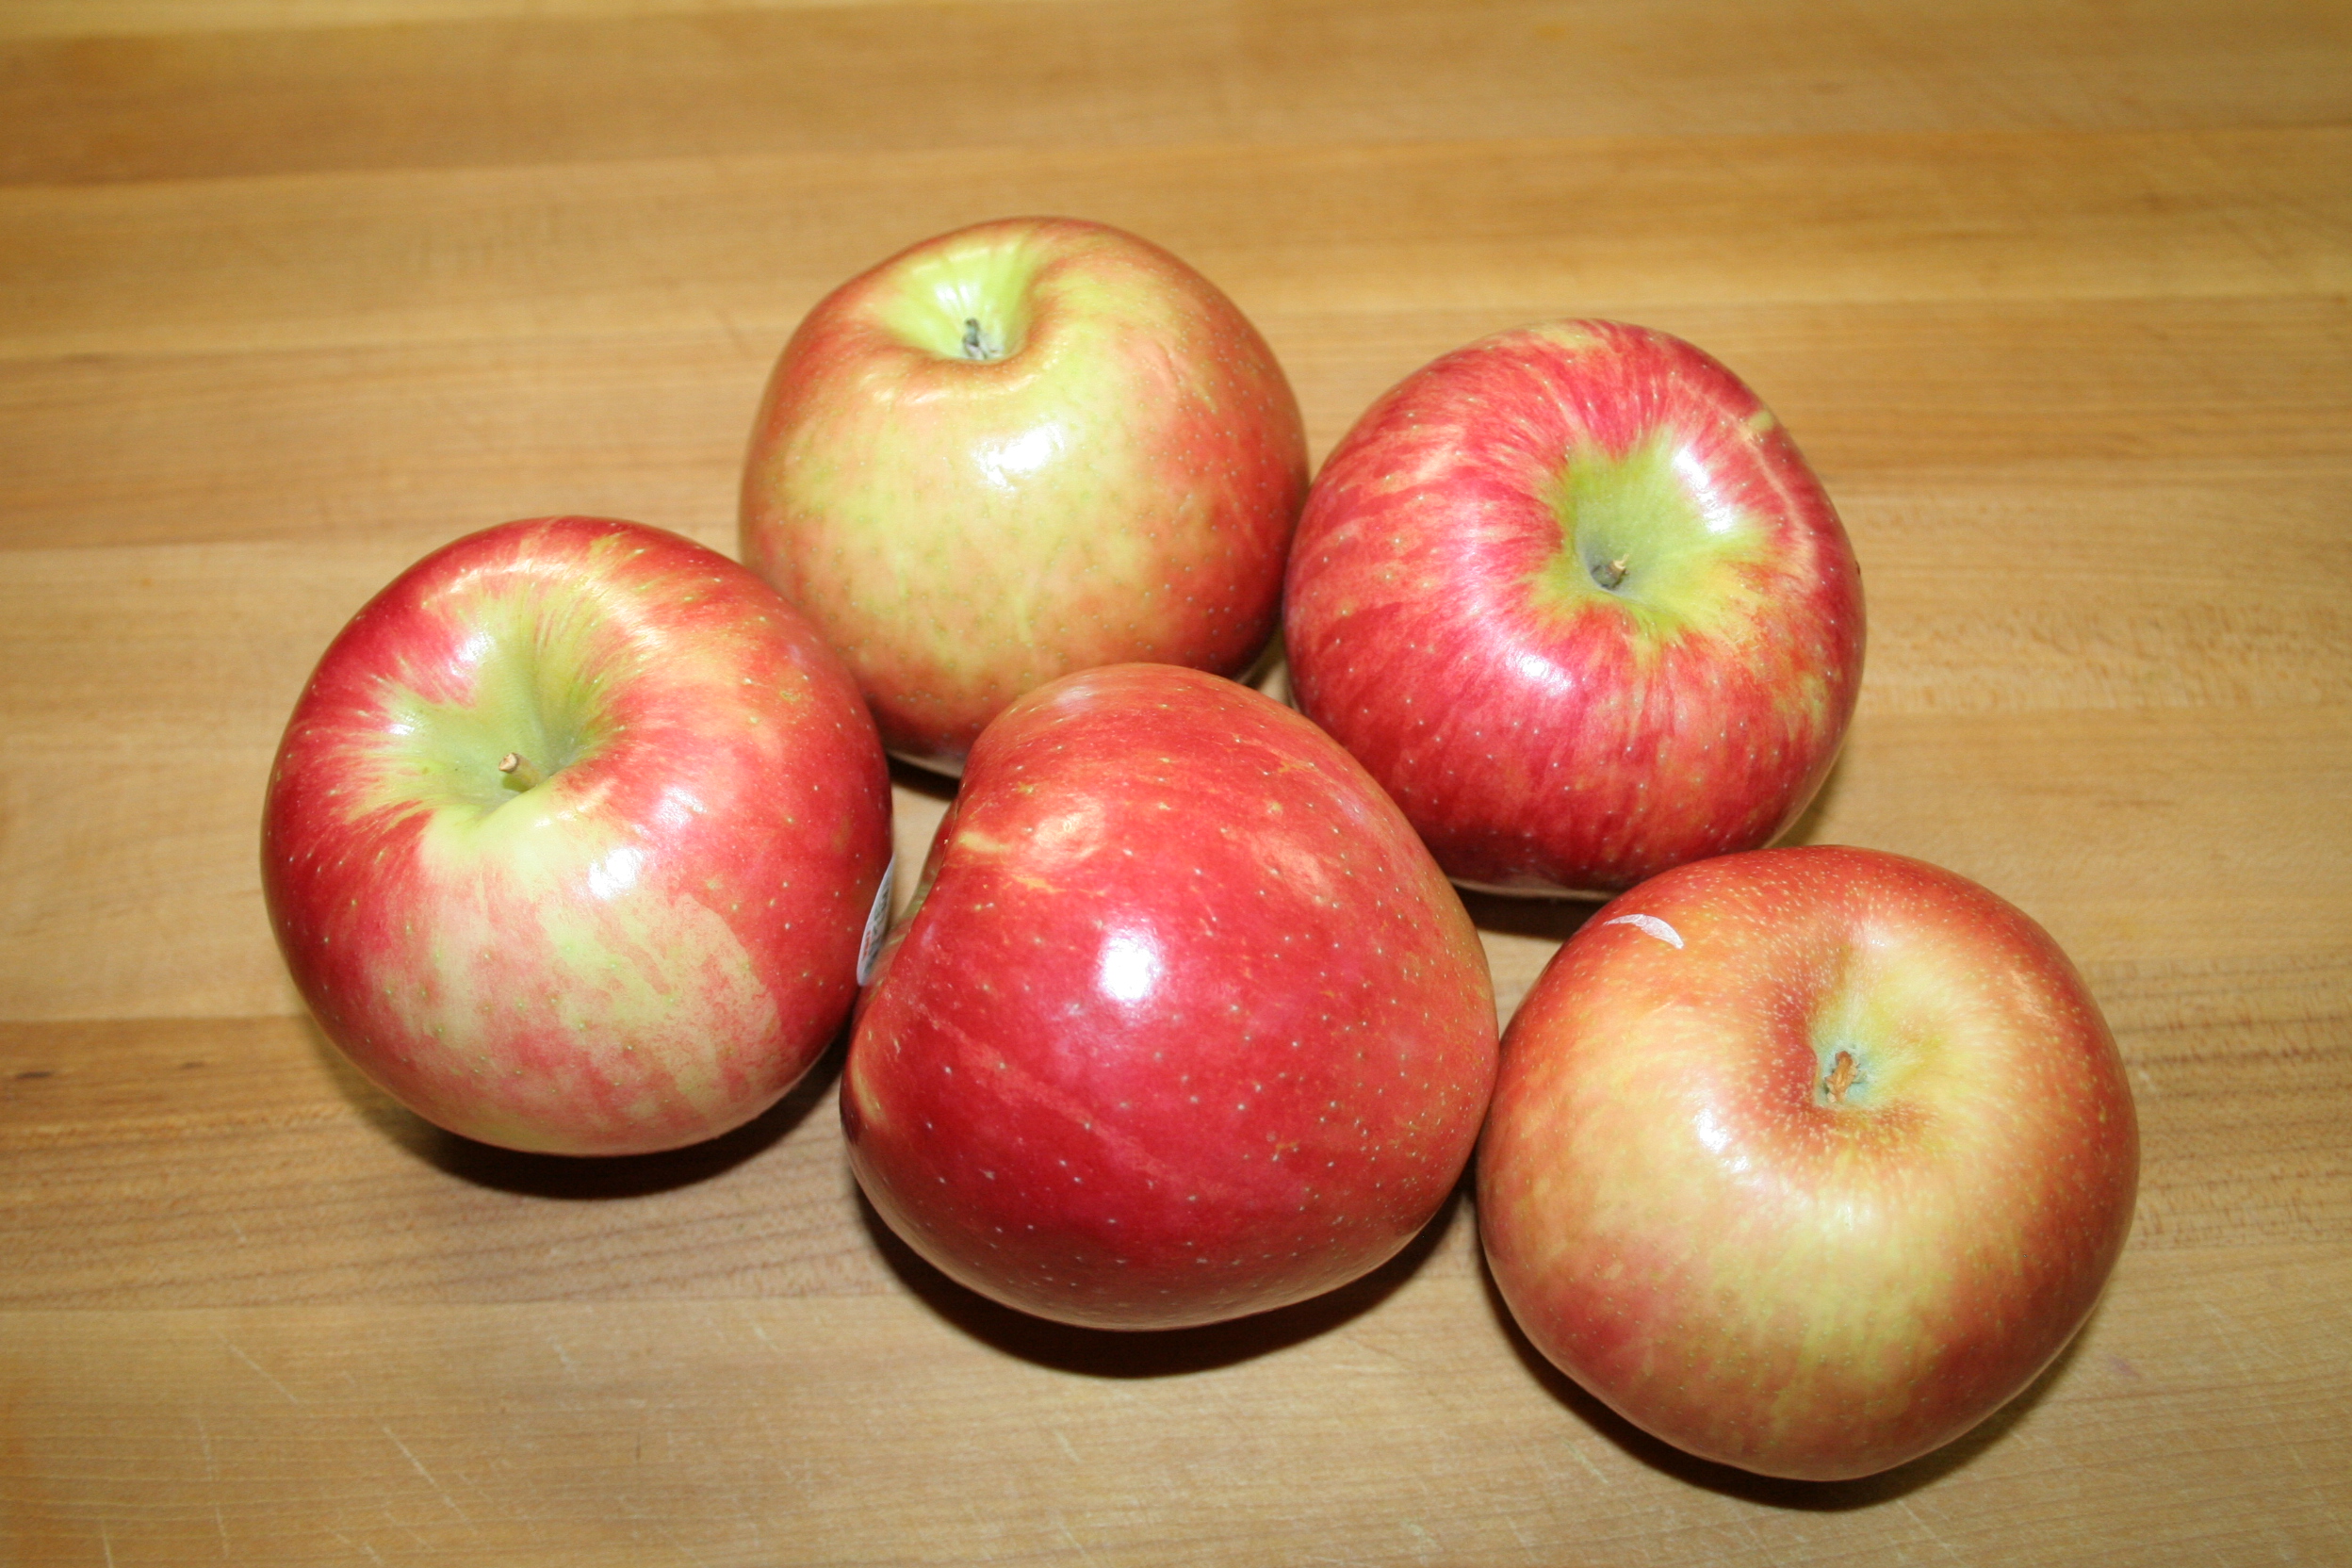
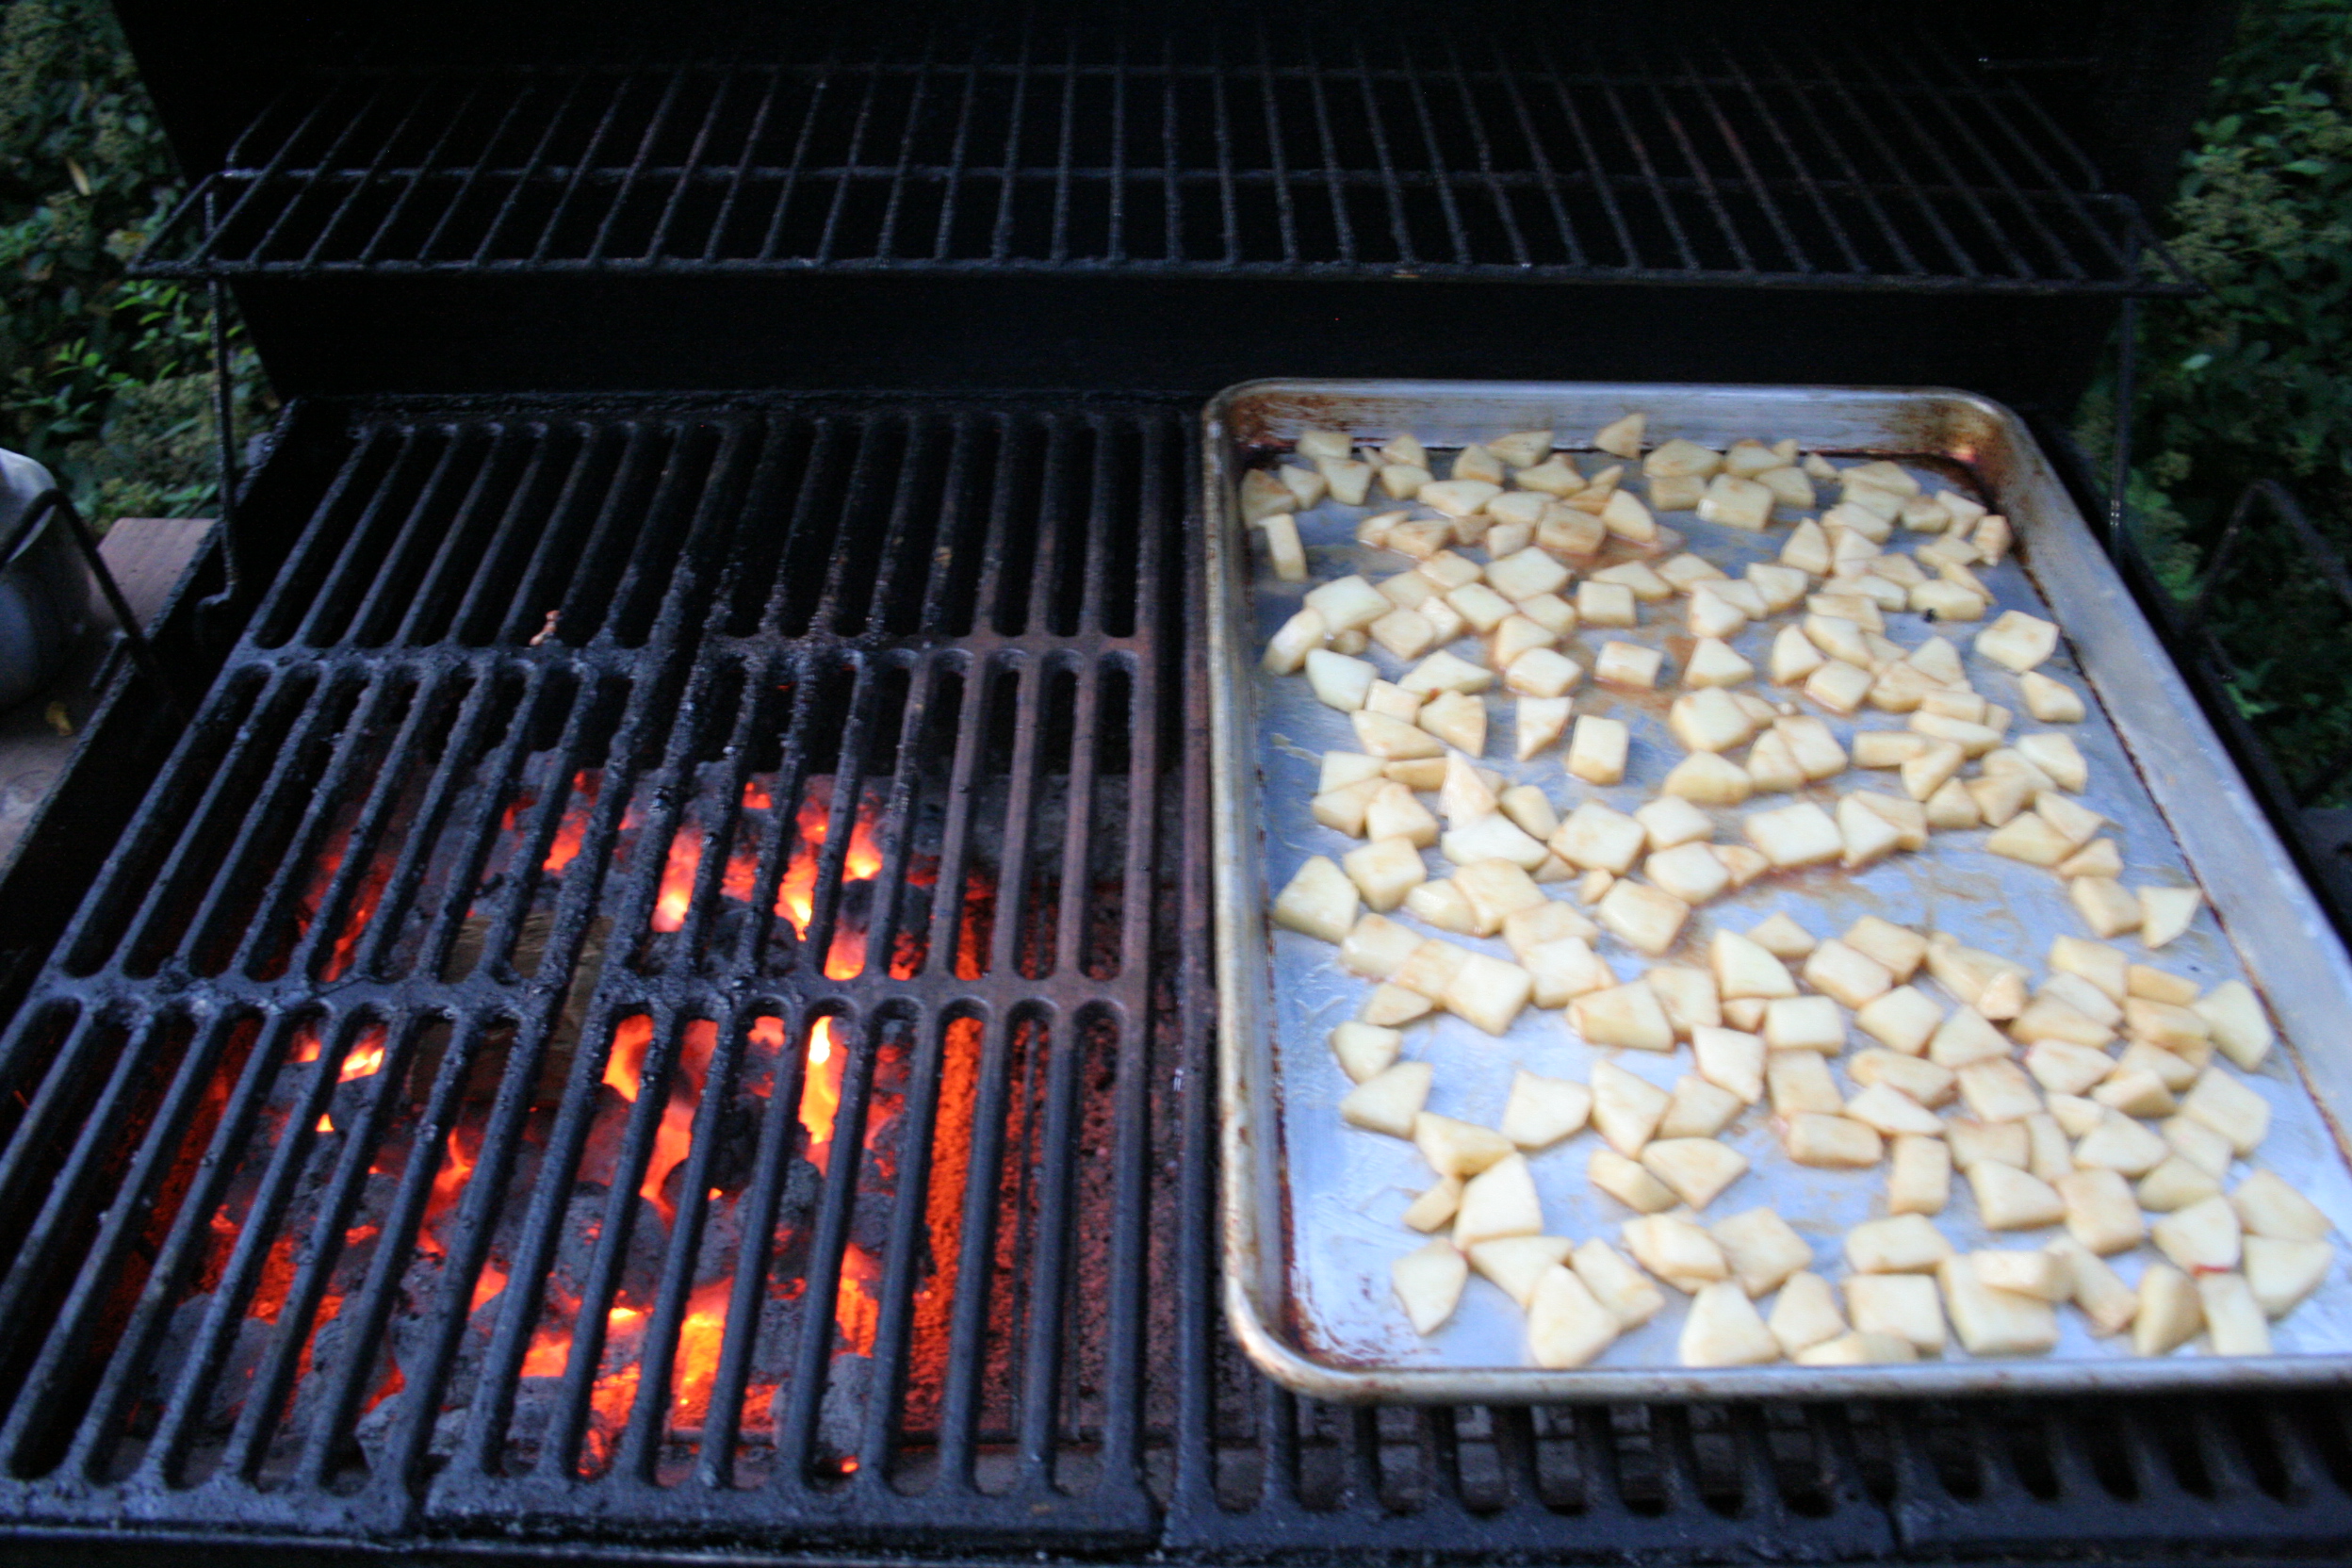
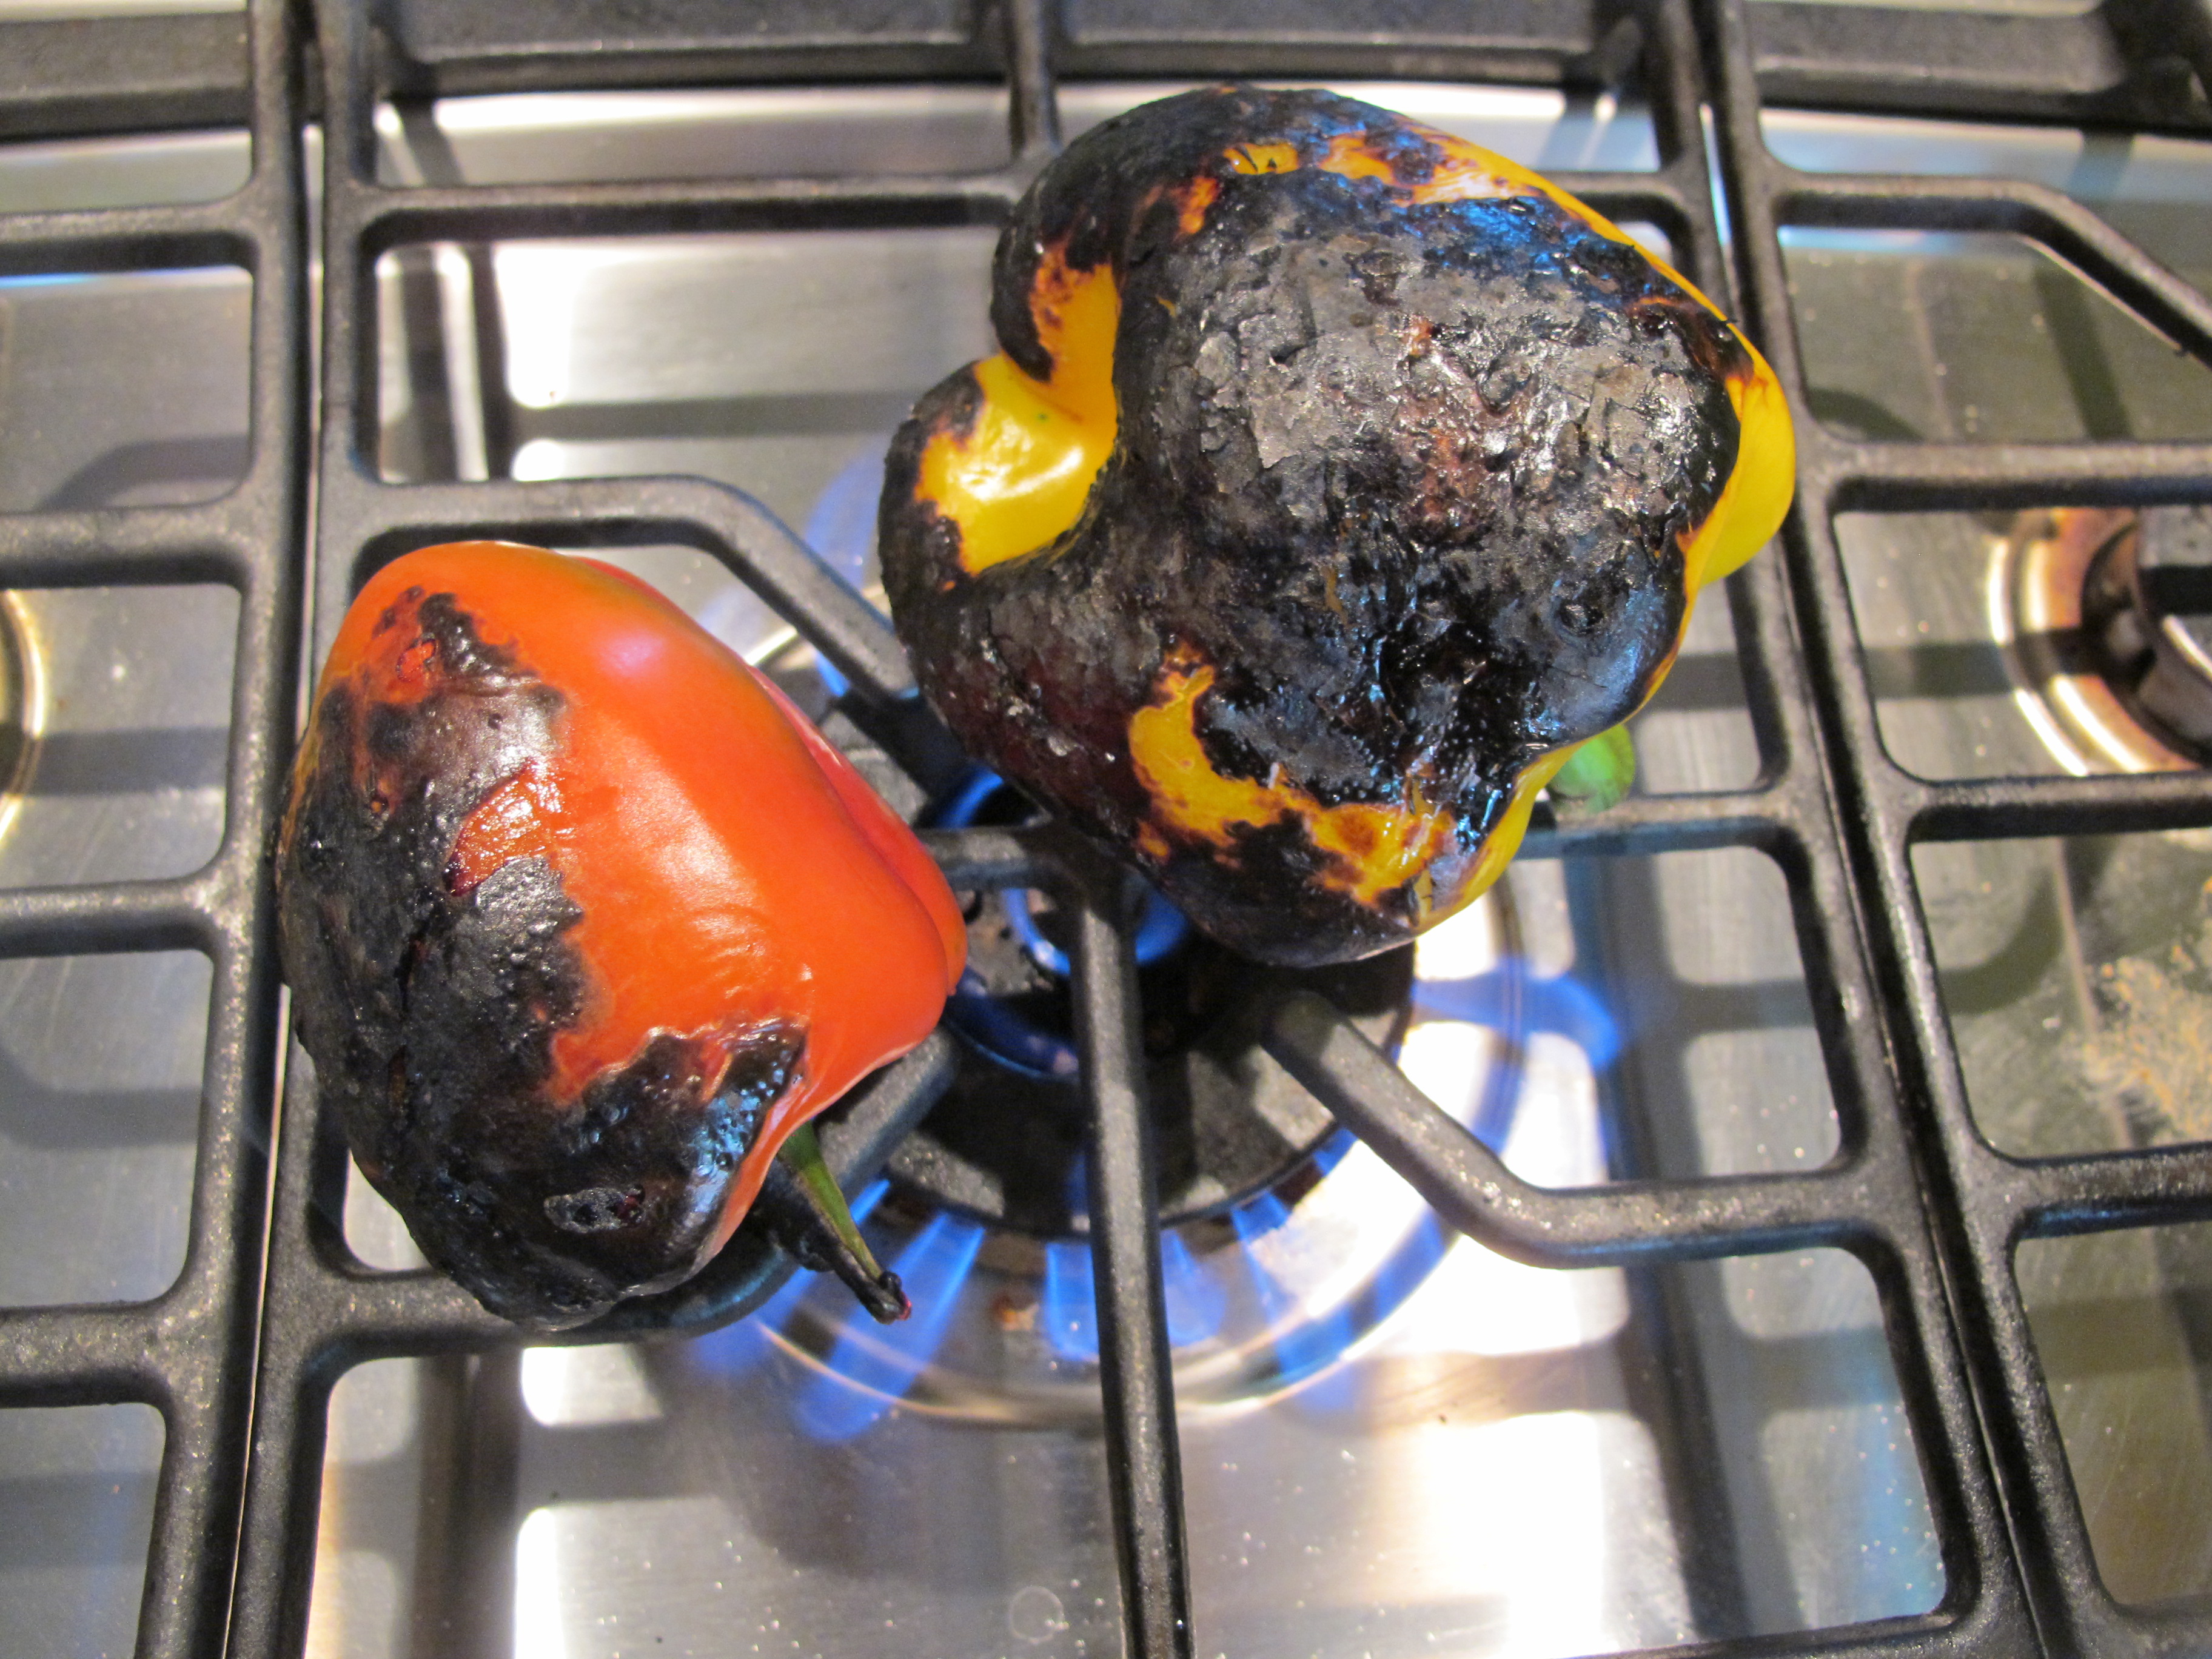
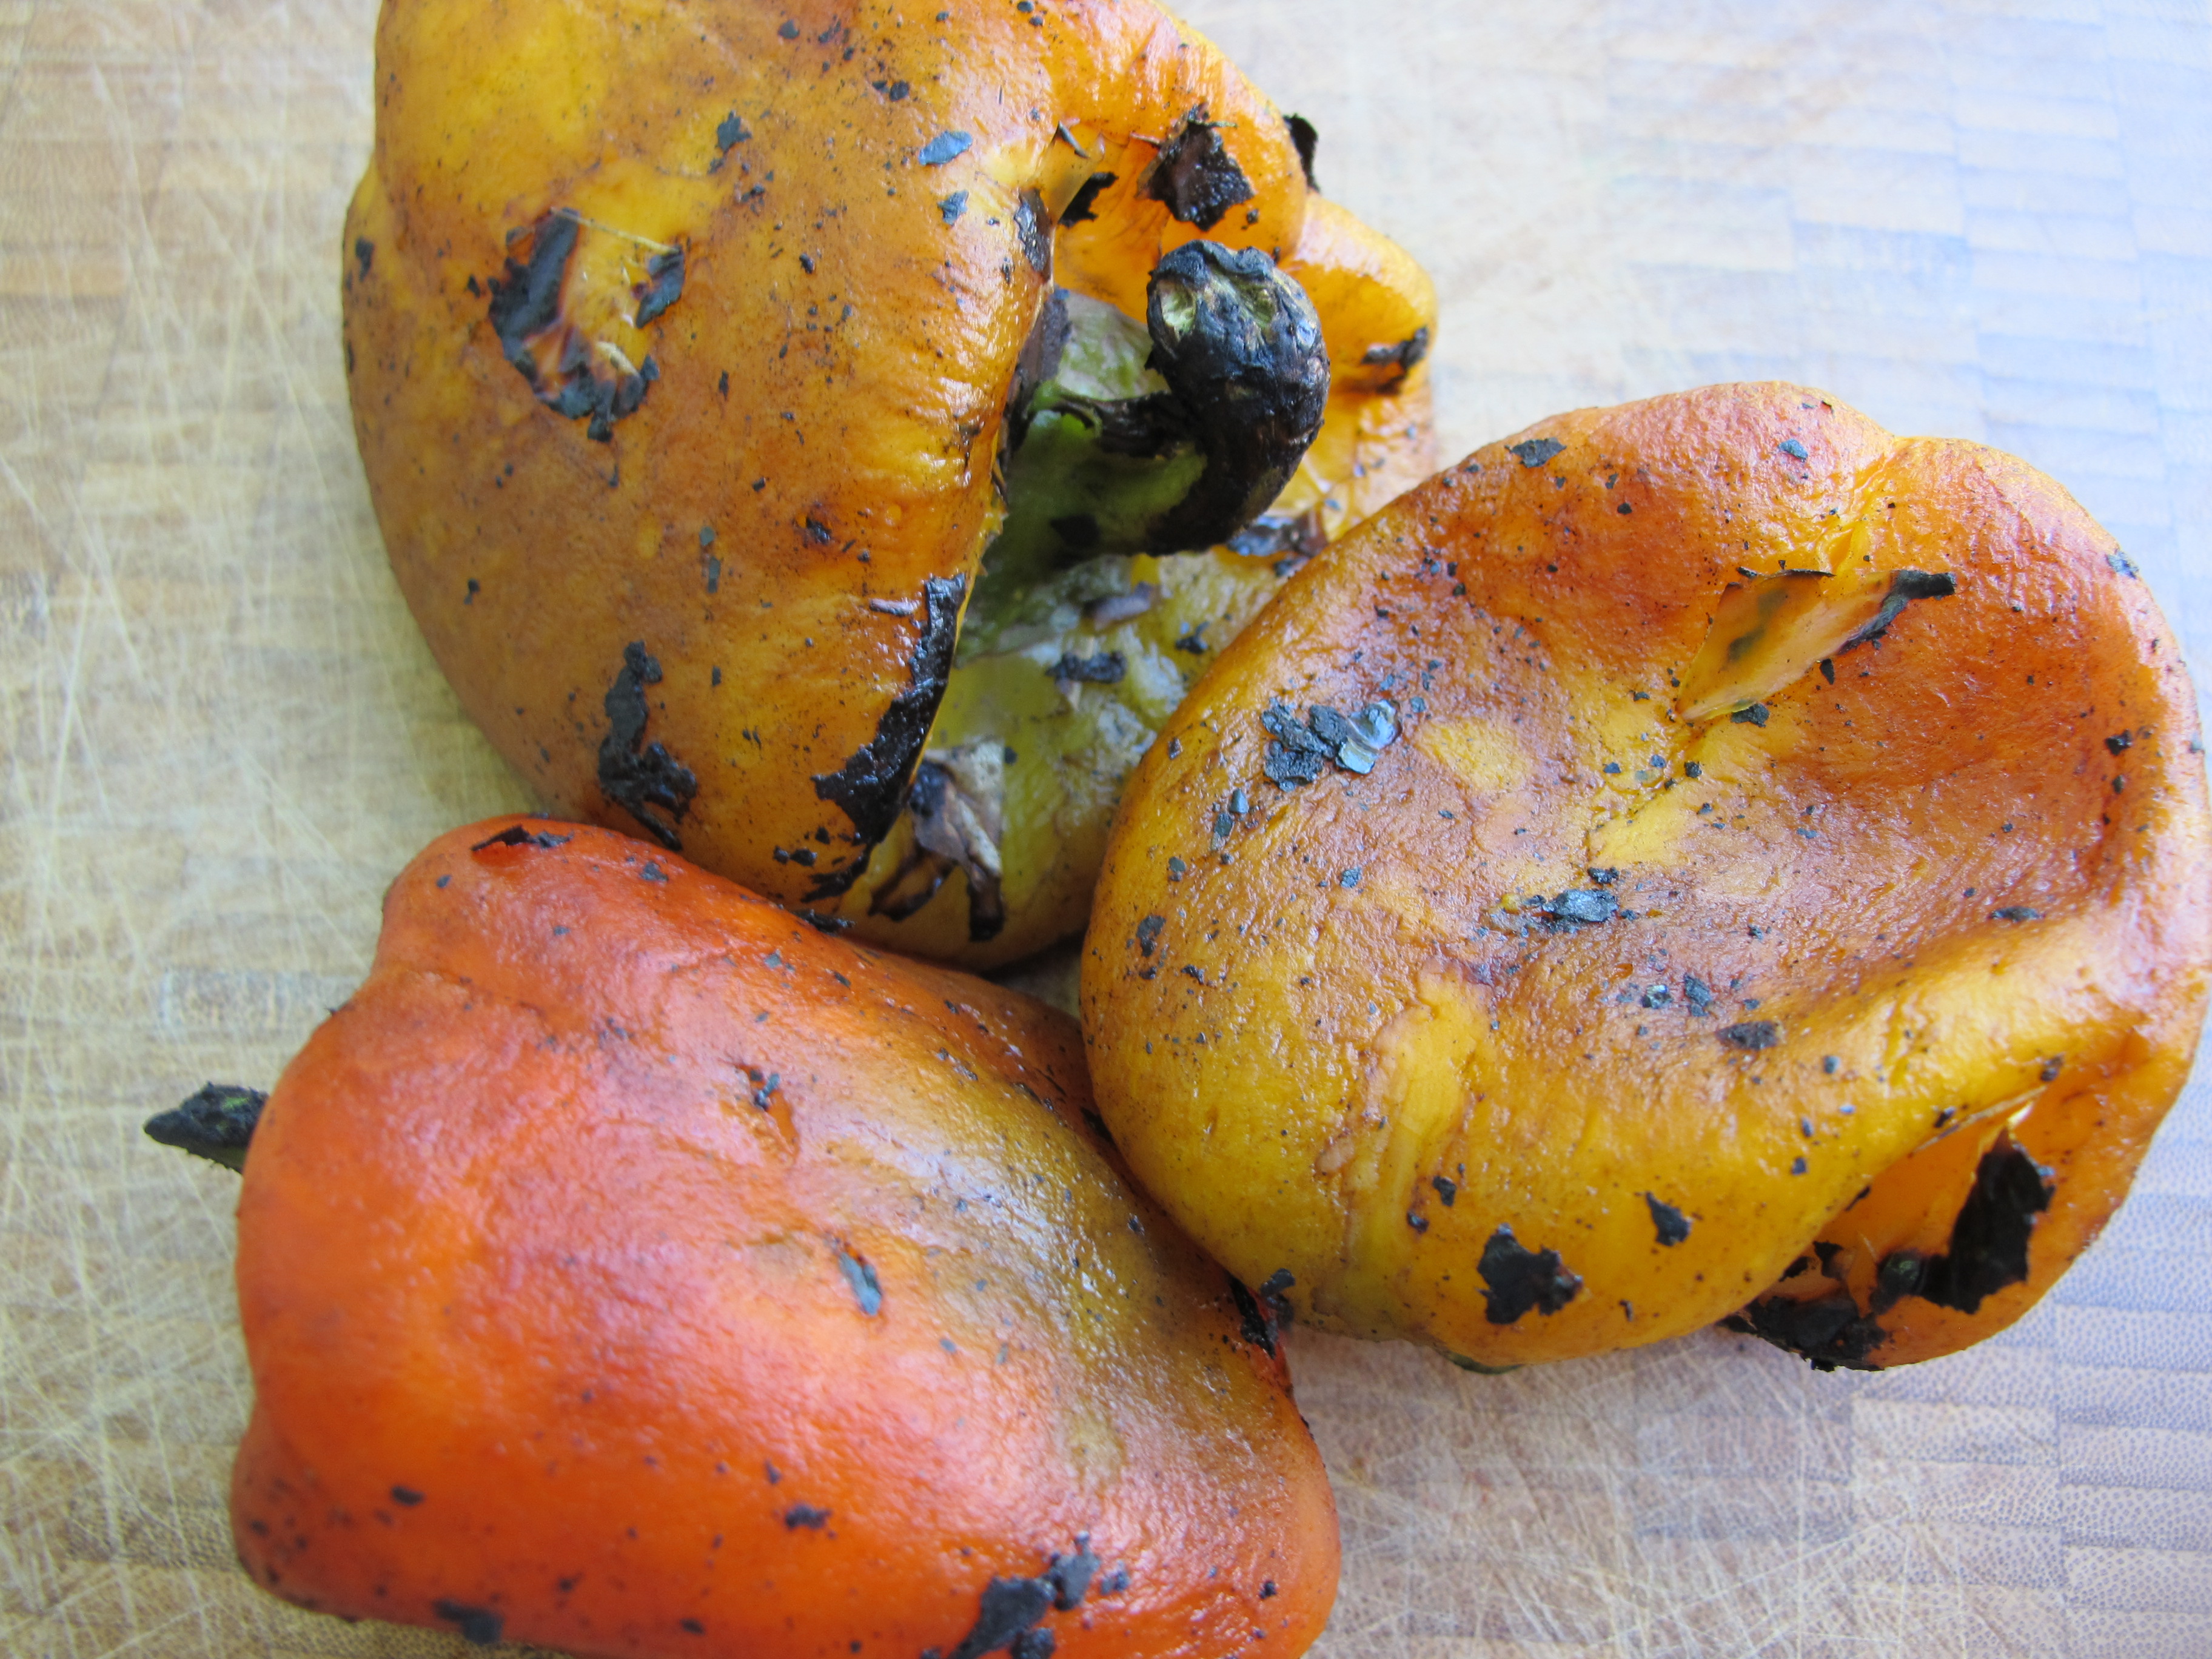
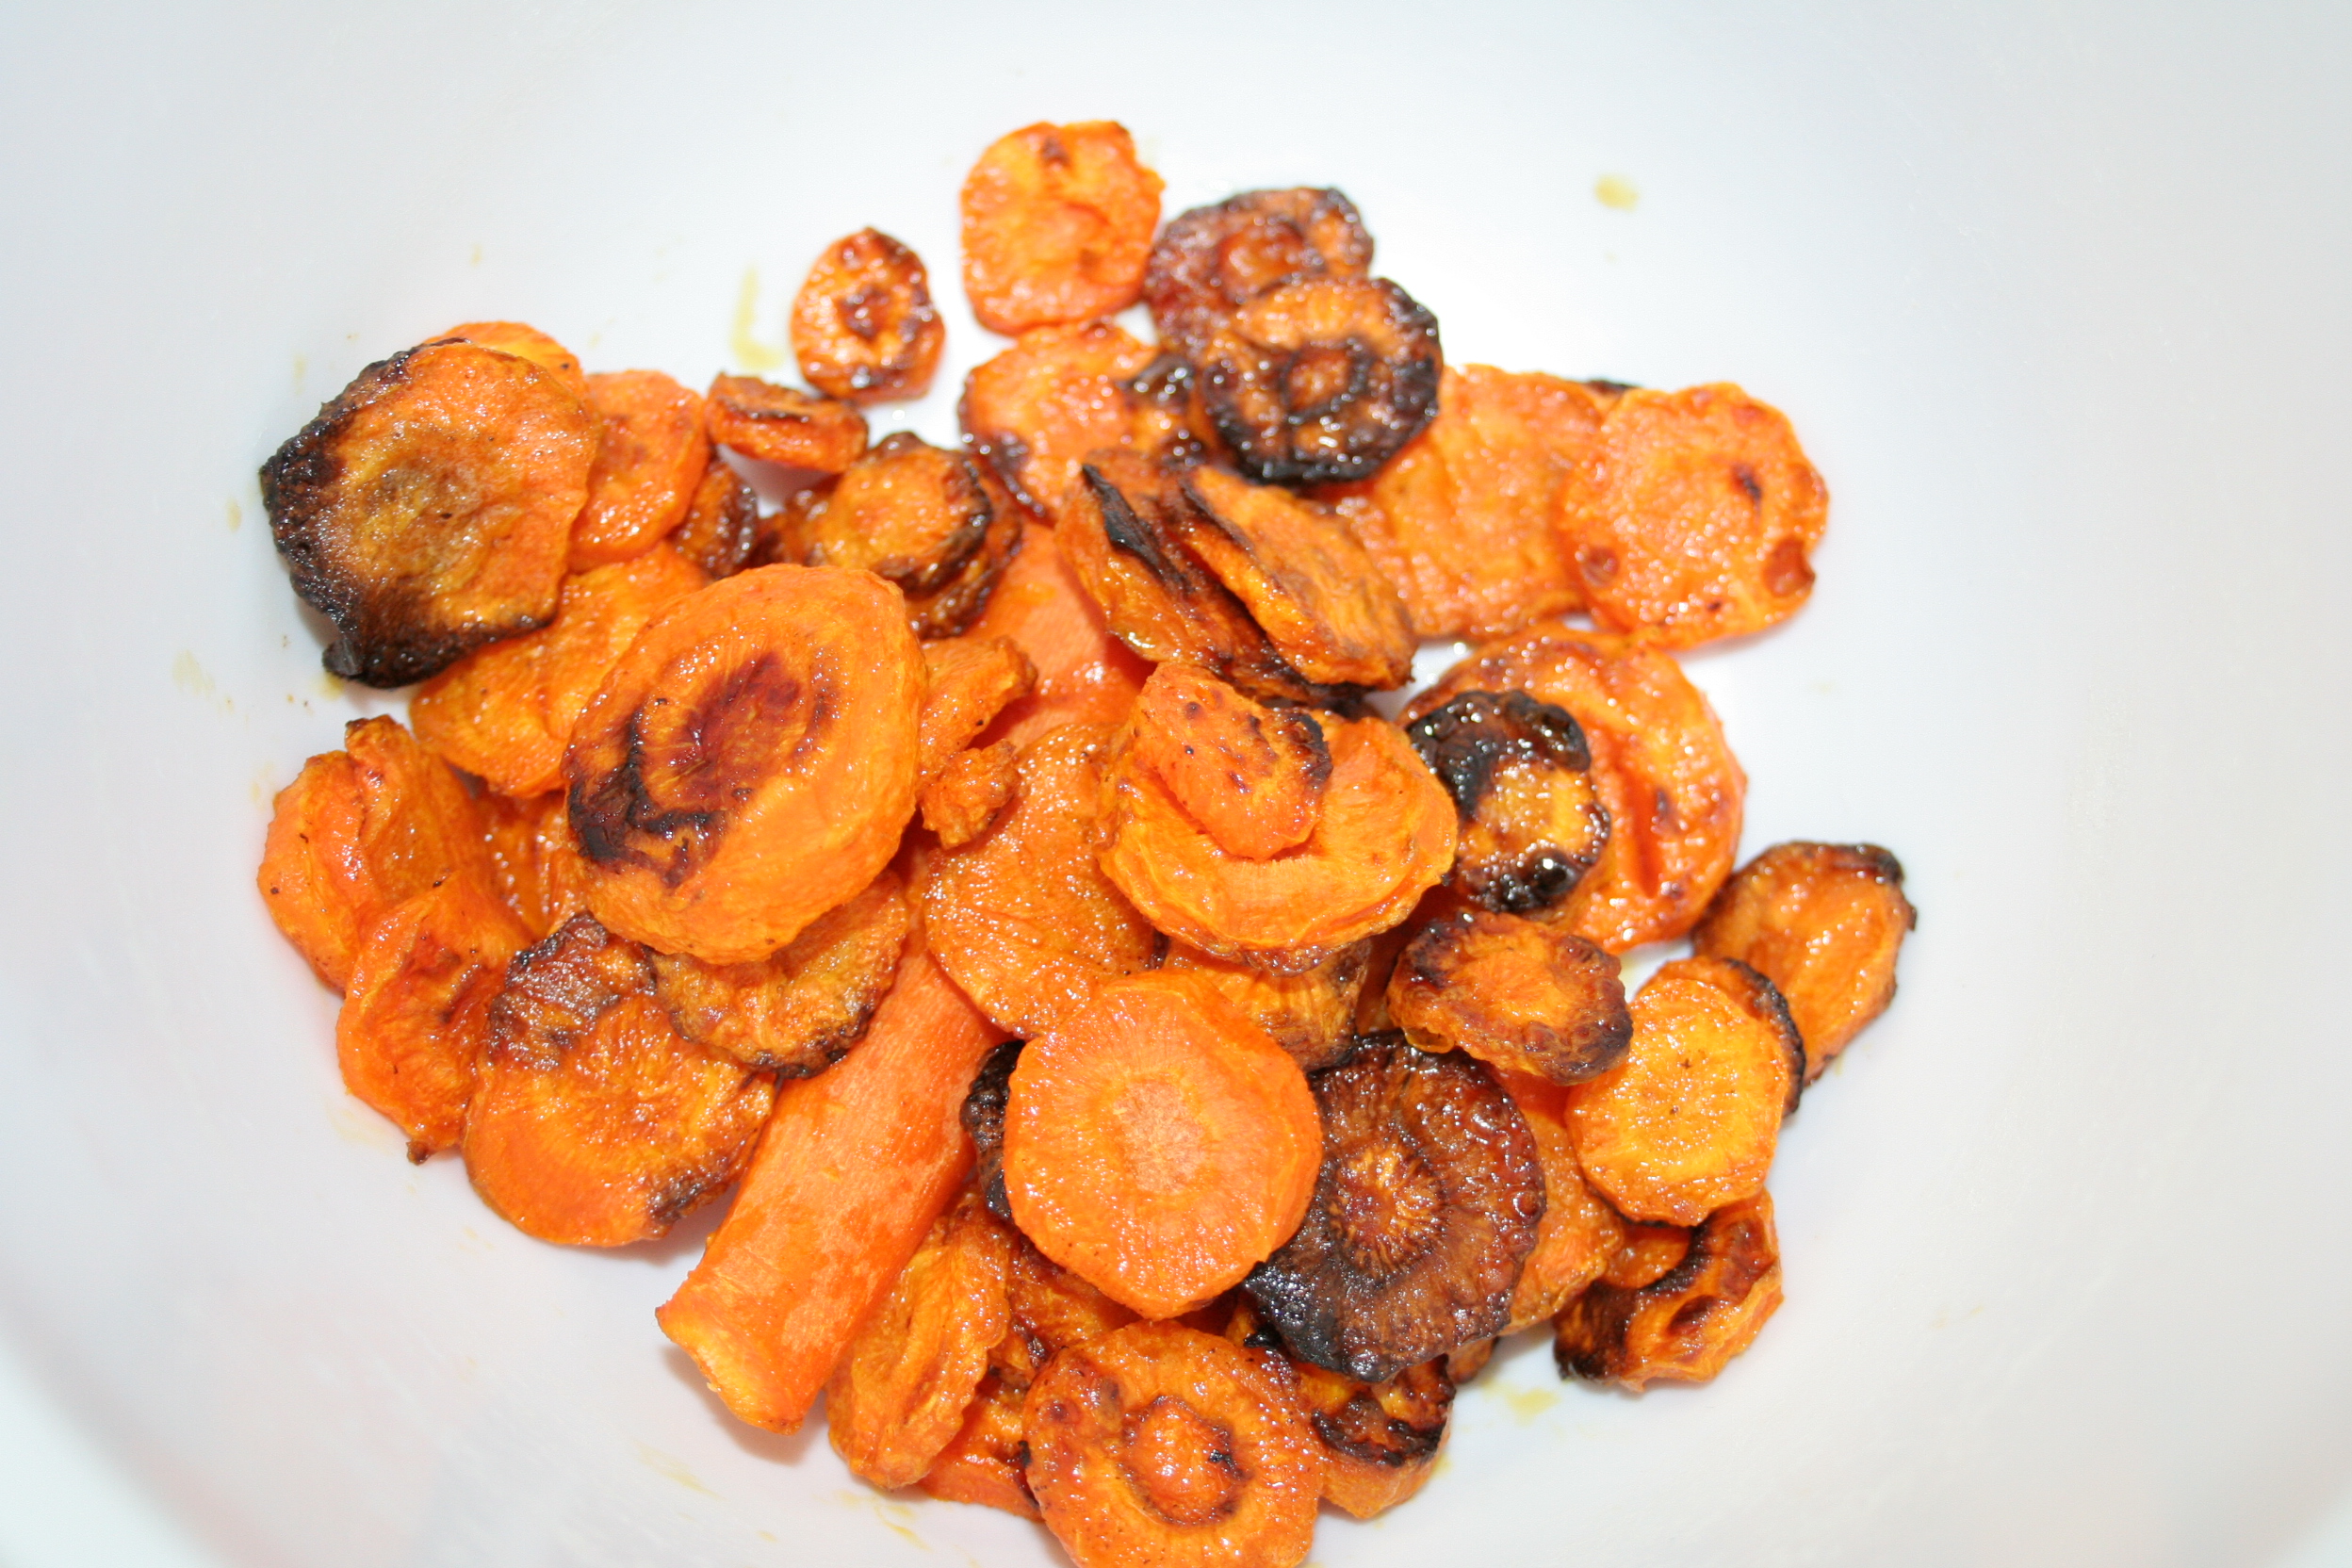
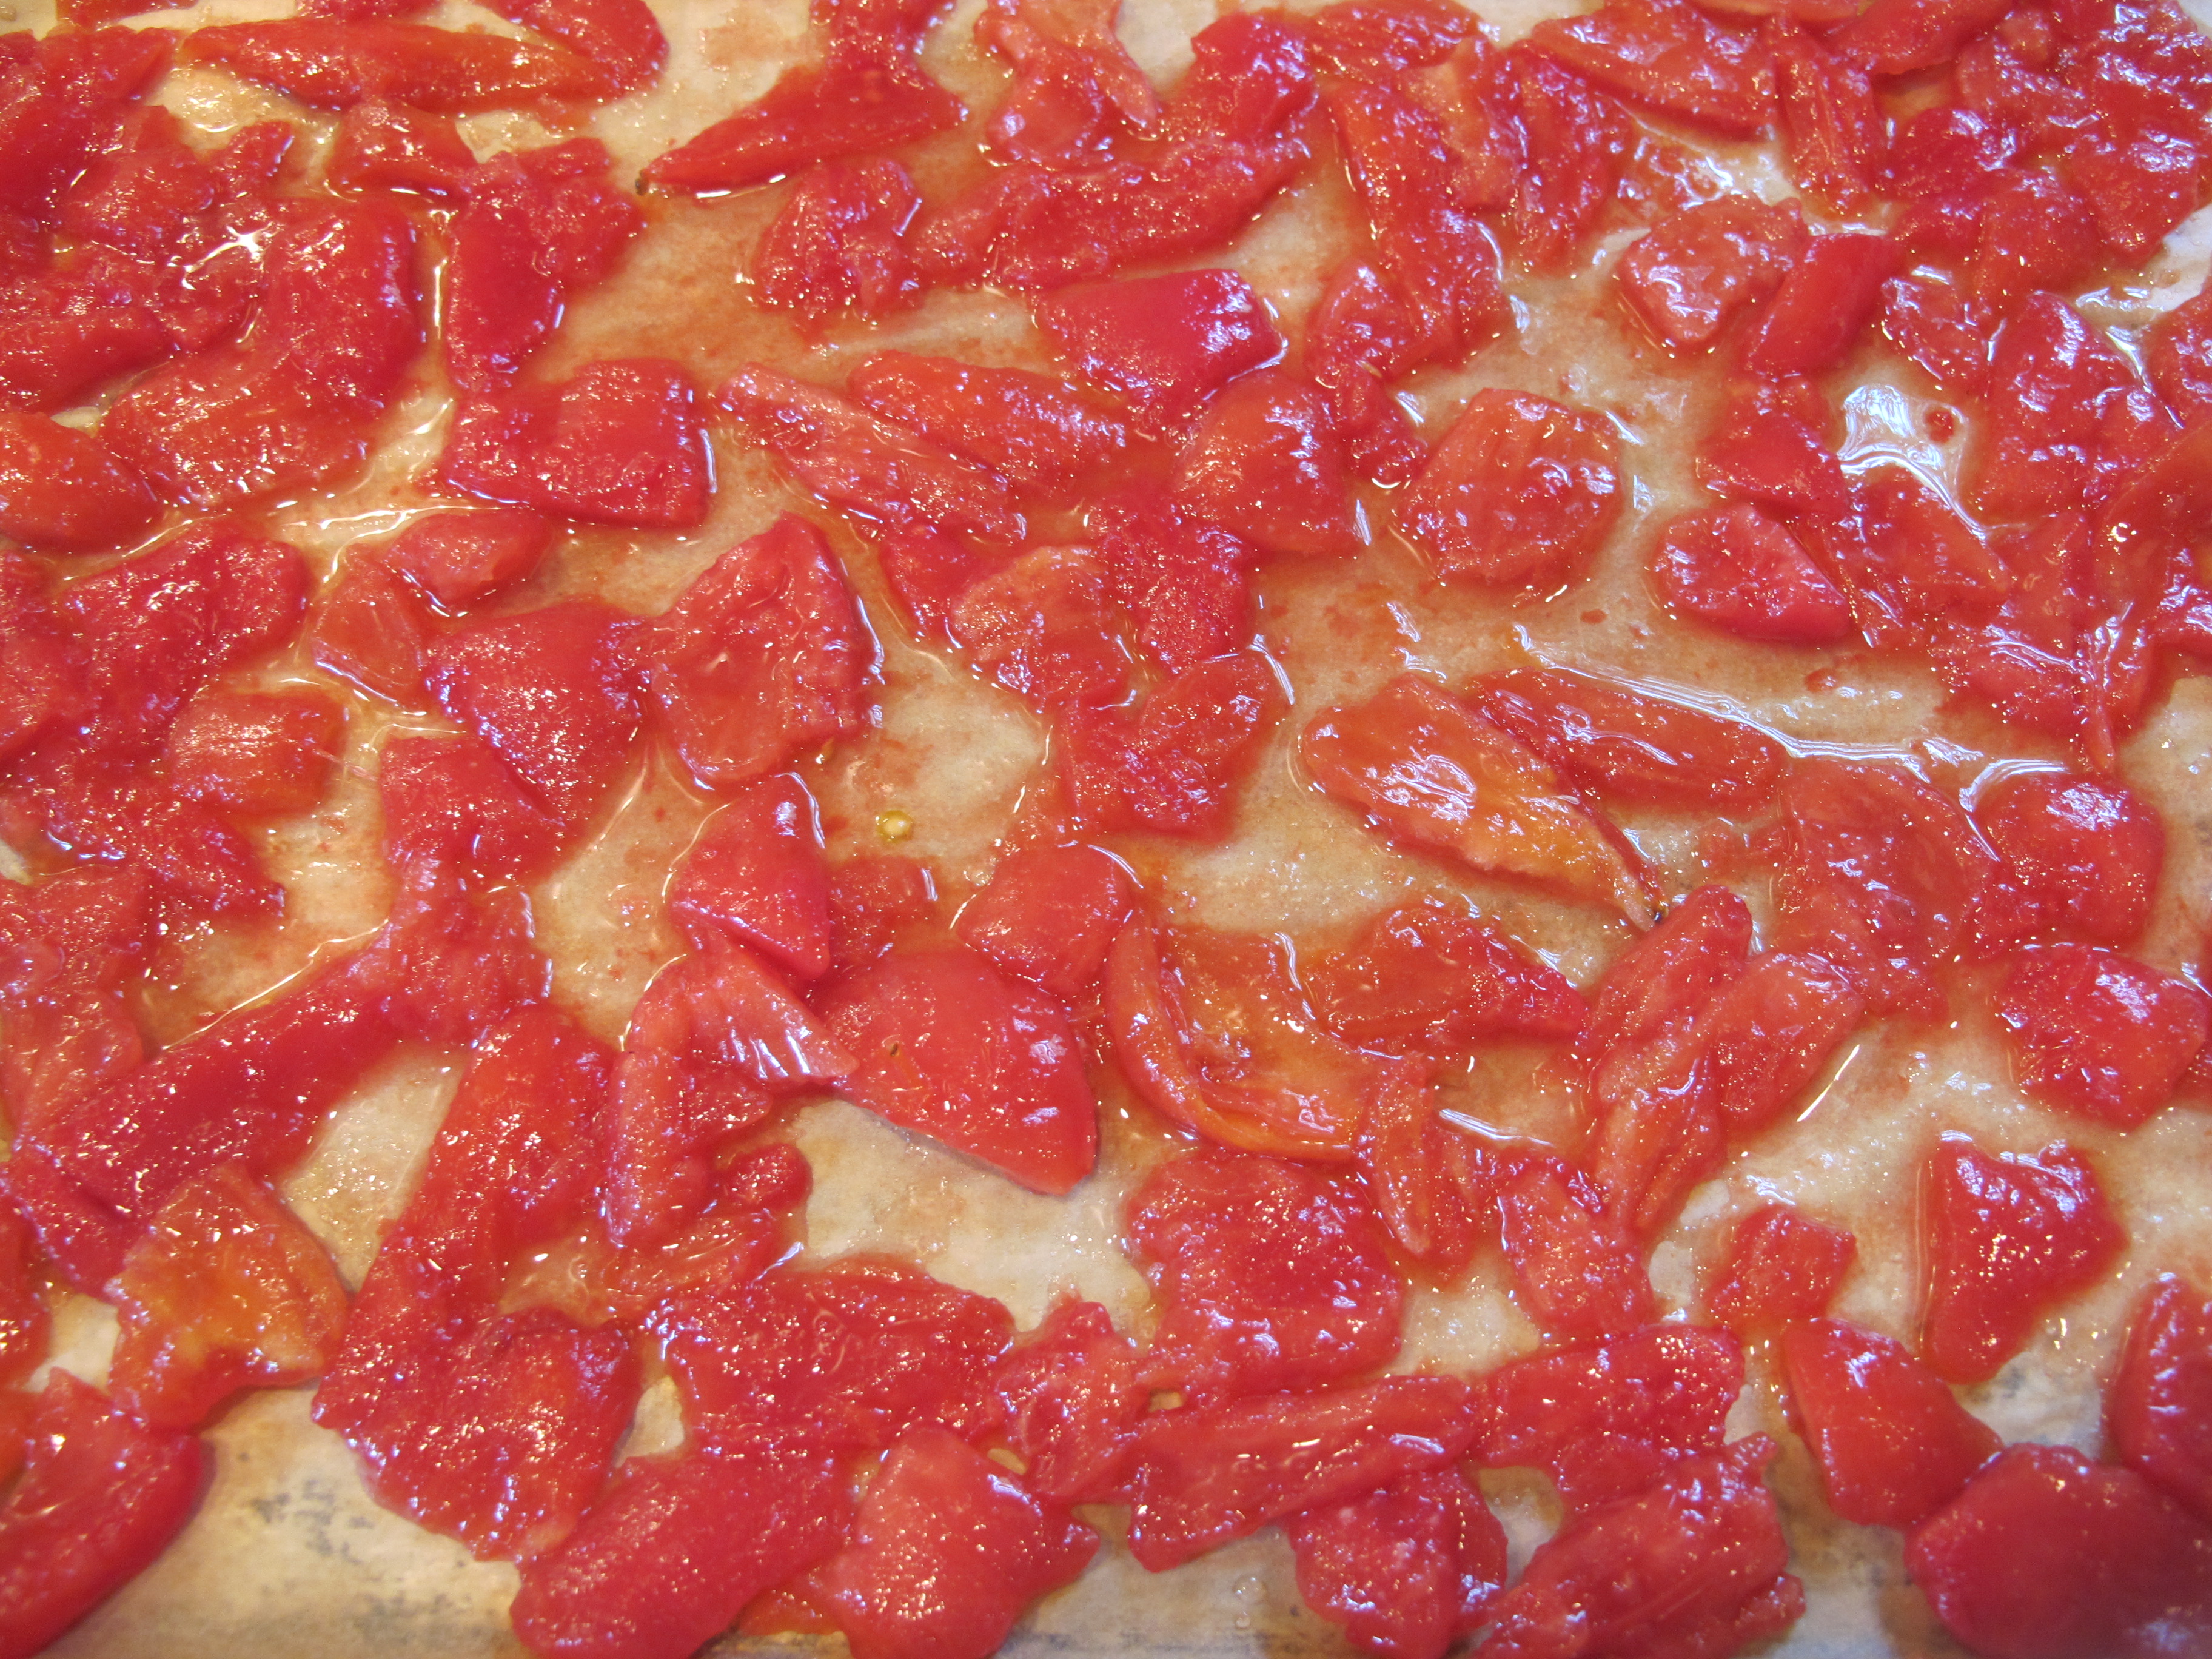
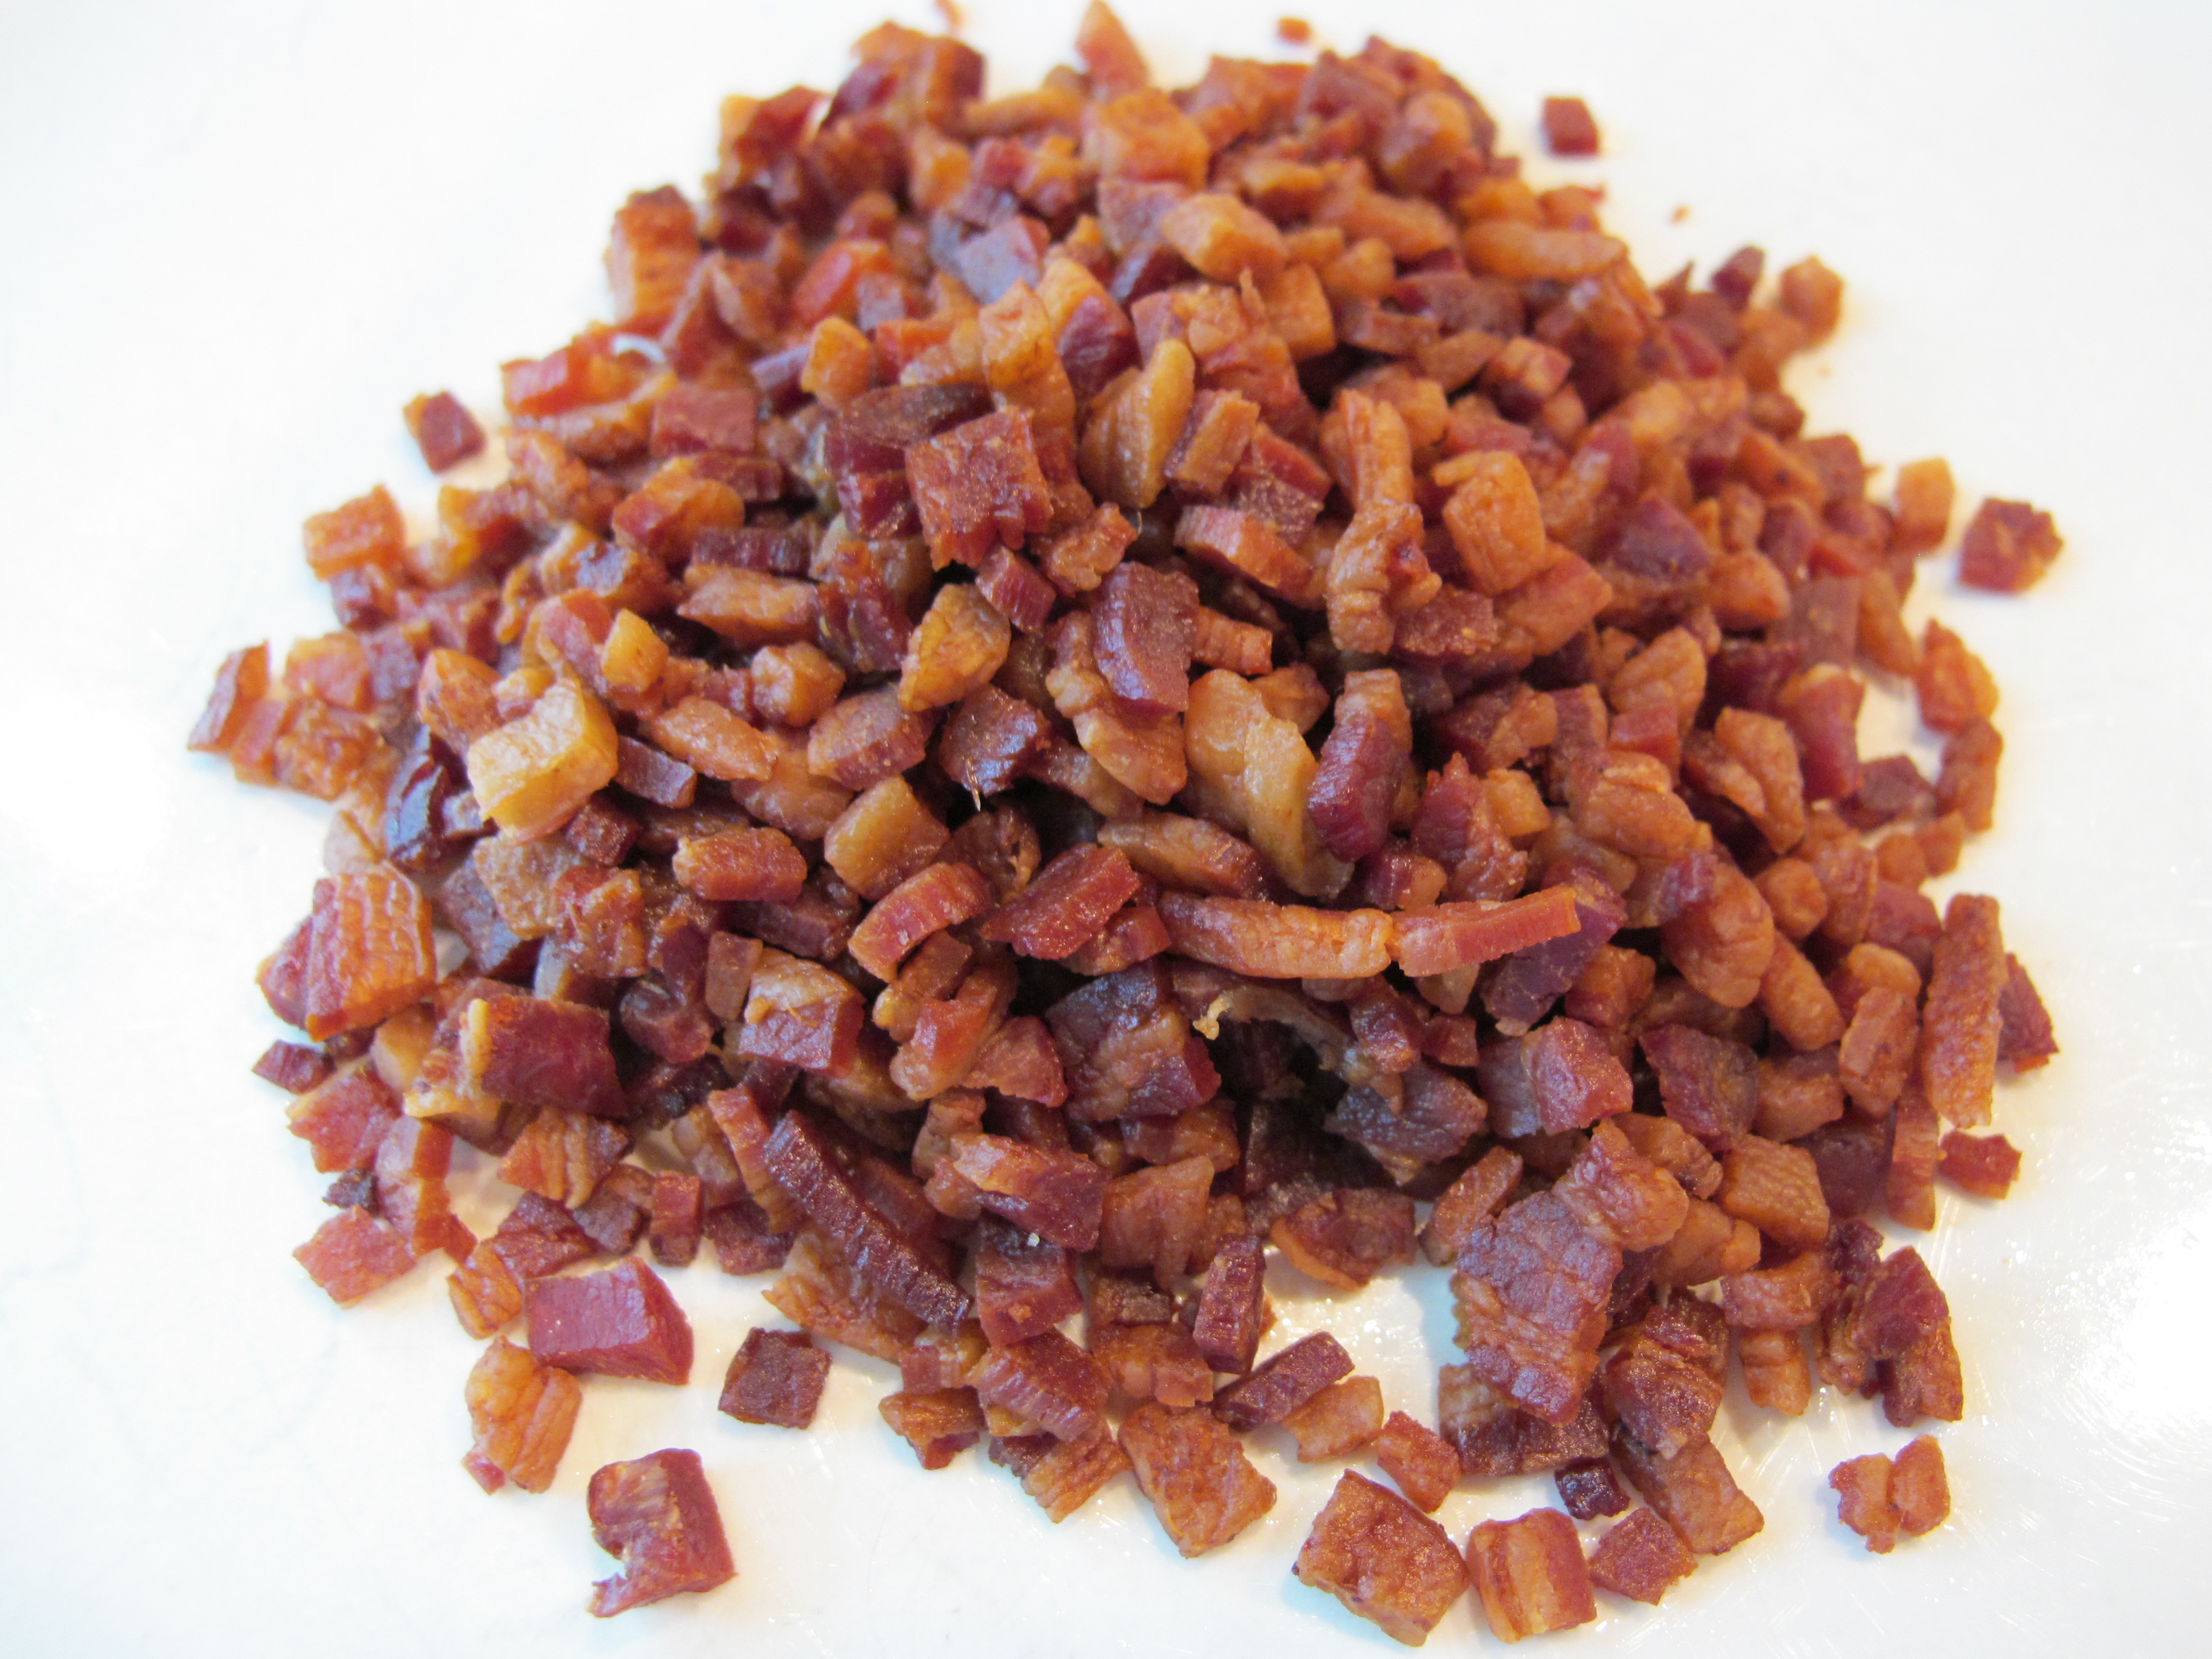
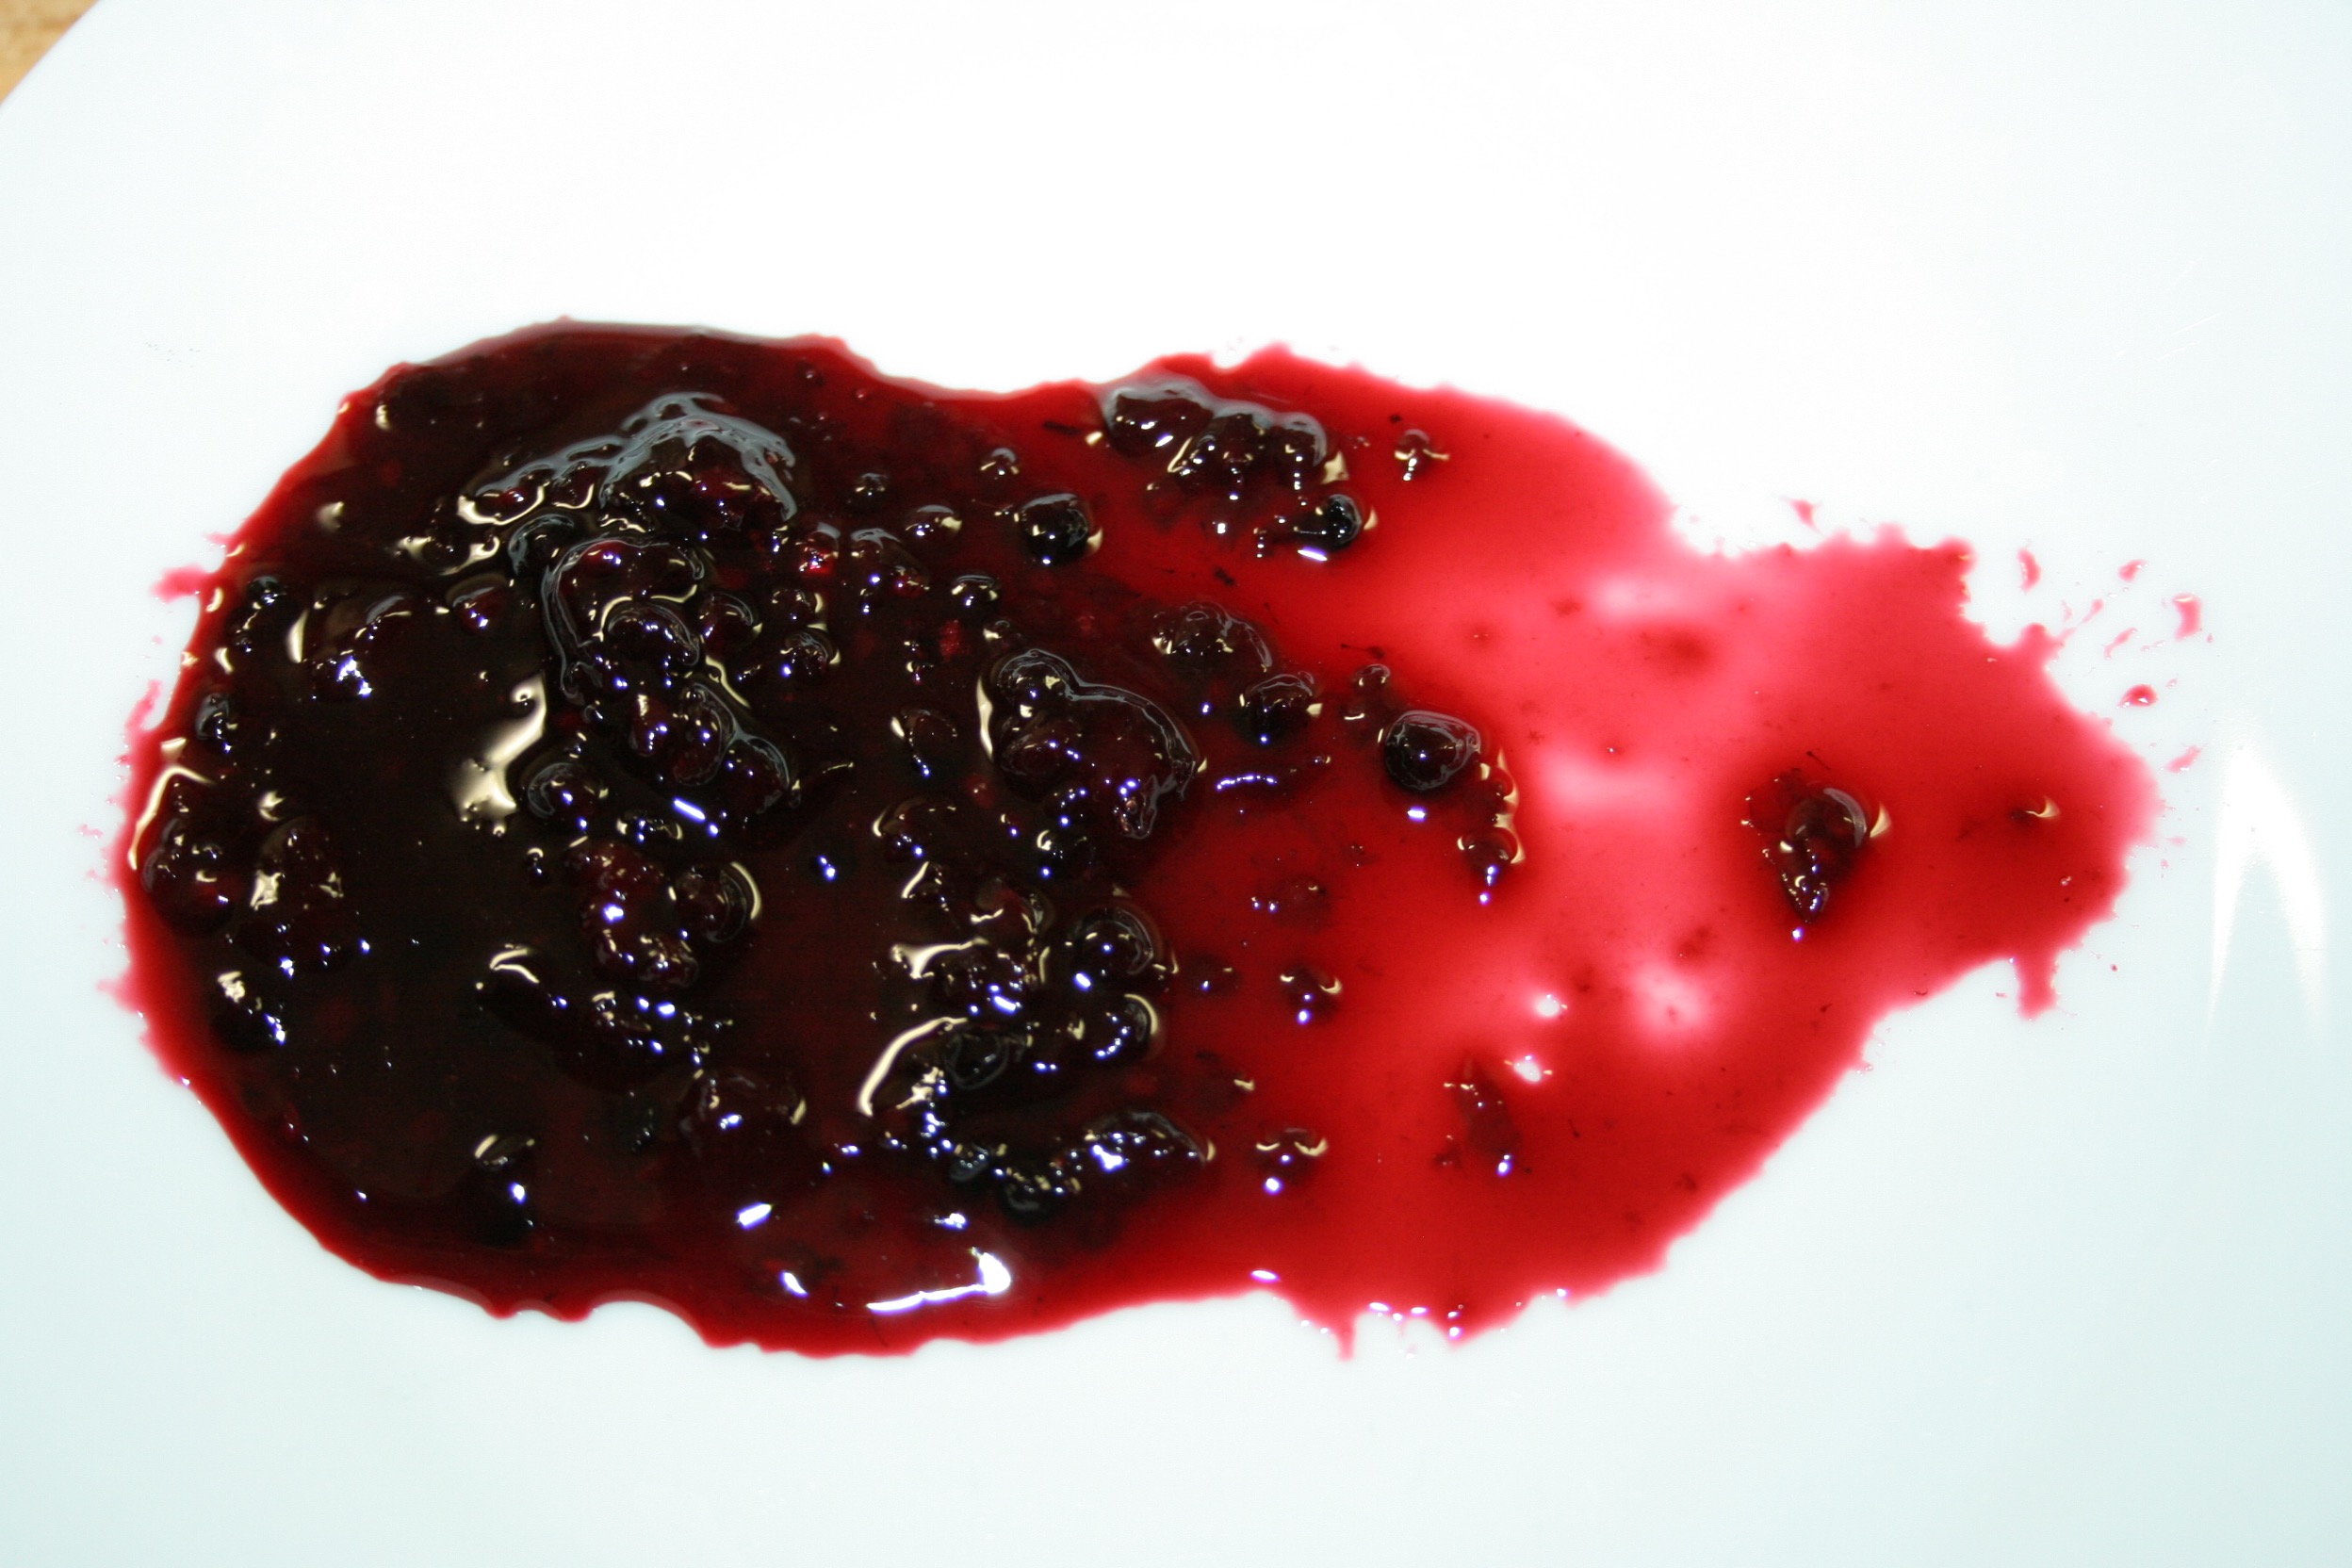
These gorgeous local honeycrisp apples (my personal favorite variety)  are diced, tossed in butter, brown sugar and cinnamon and then smoked over applewood for around an hour.  This process closely resembles our typical roasting of the apples for incorporating into ice cream, but we’ve added the smoke to the process which gives them a very distinct, smokey flavor.


Smoked Vanilla Bean Grindercharred vanilla


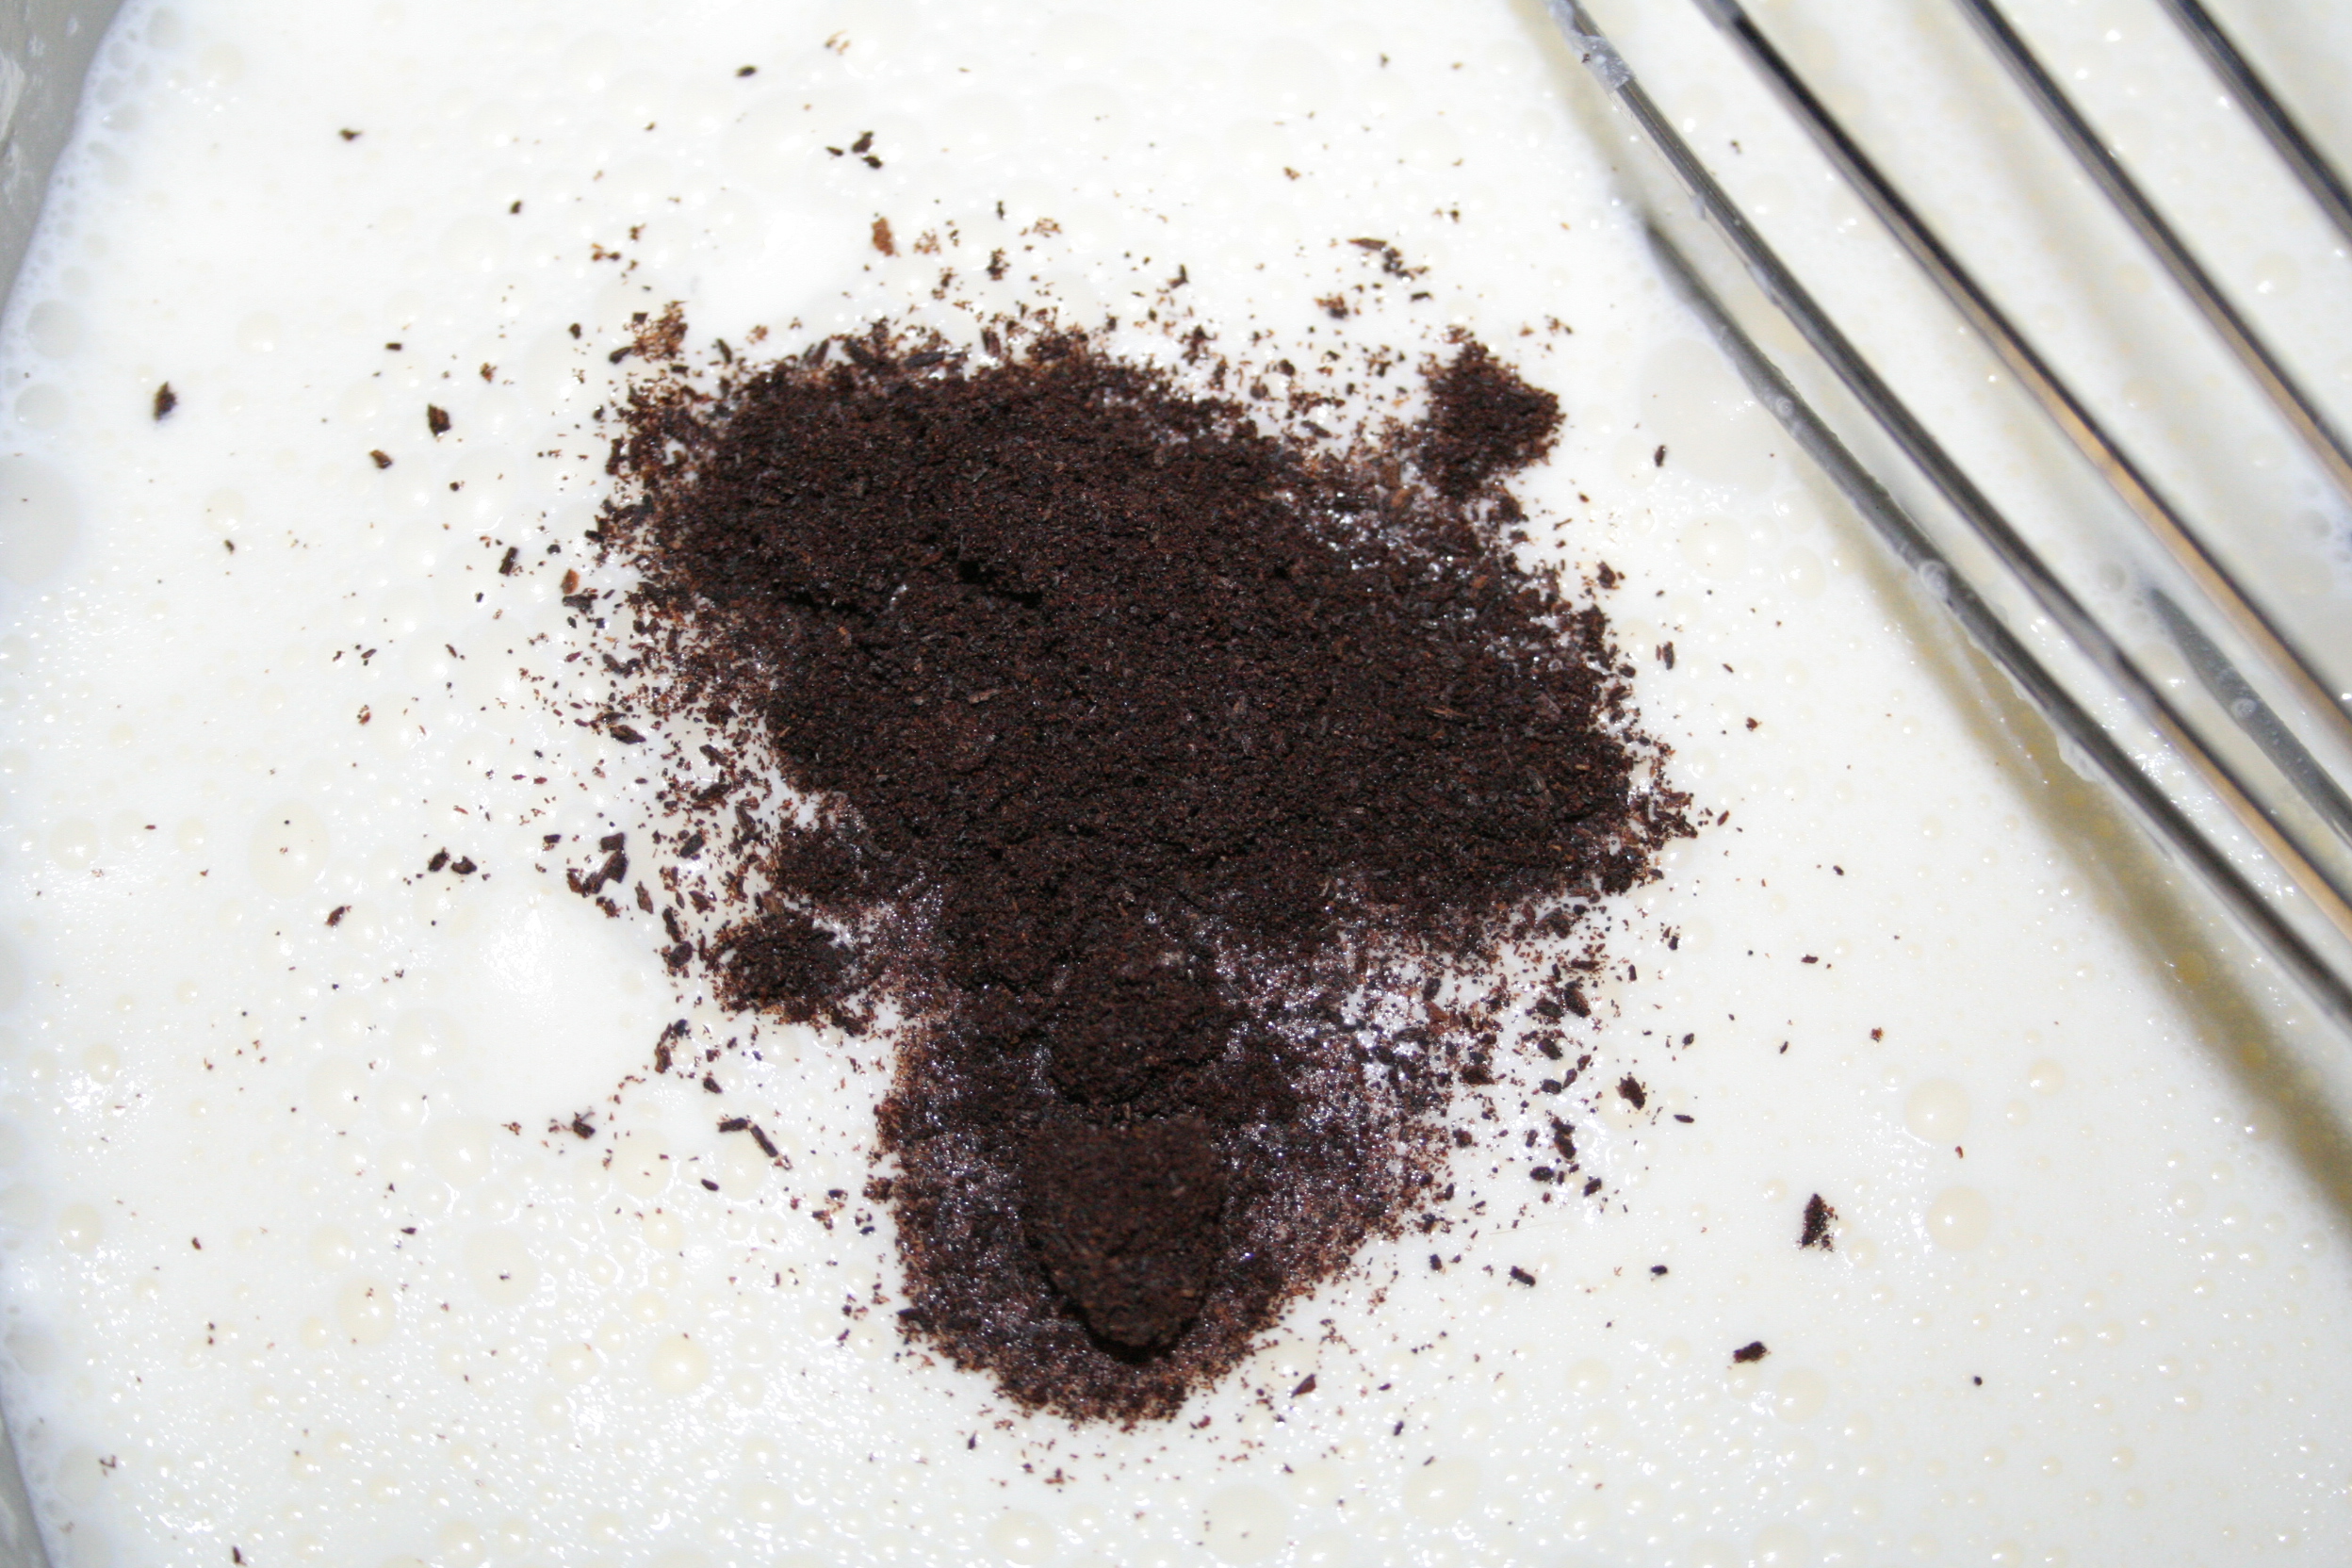
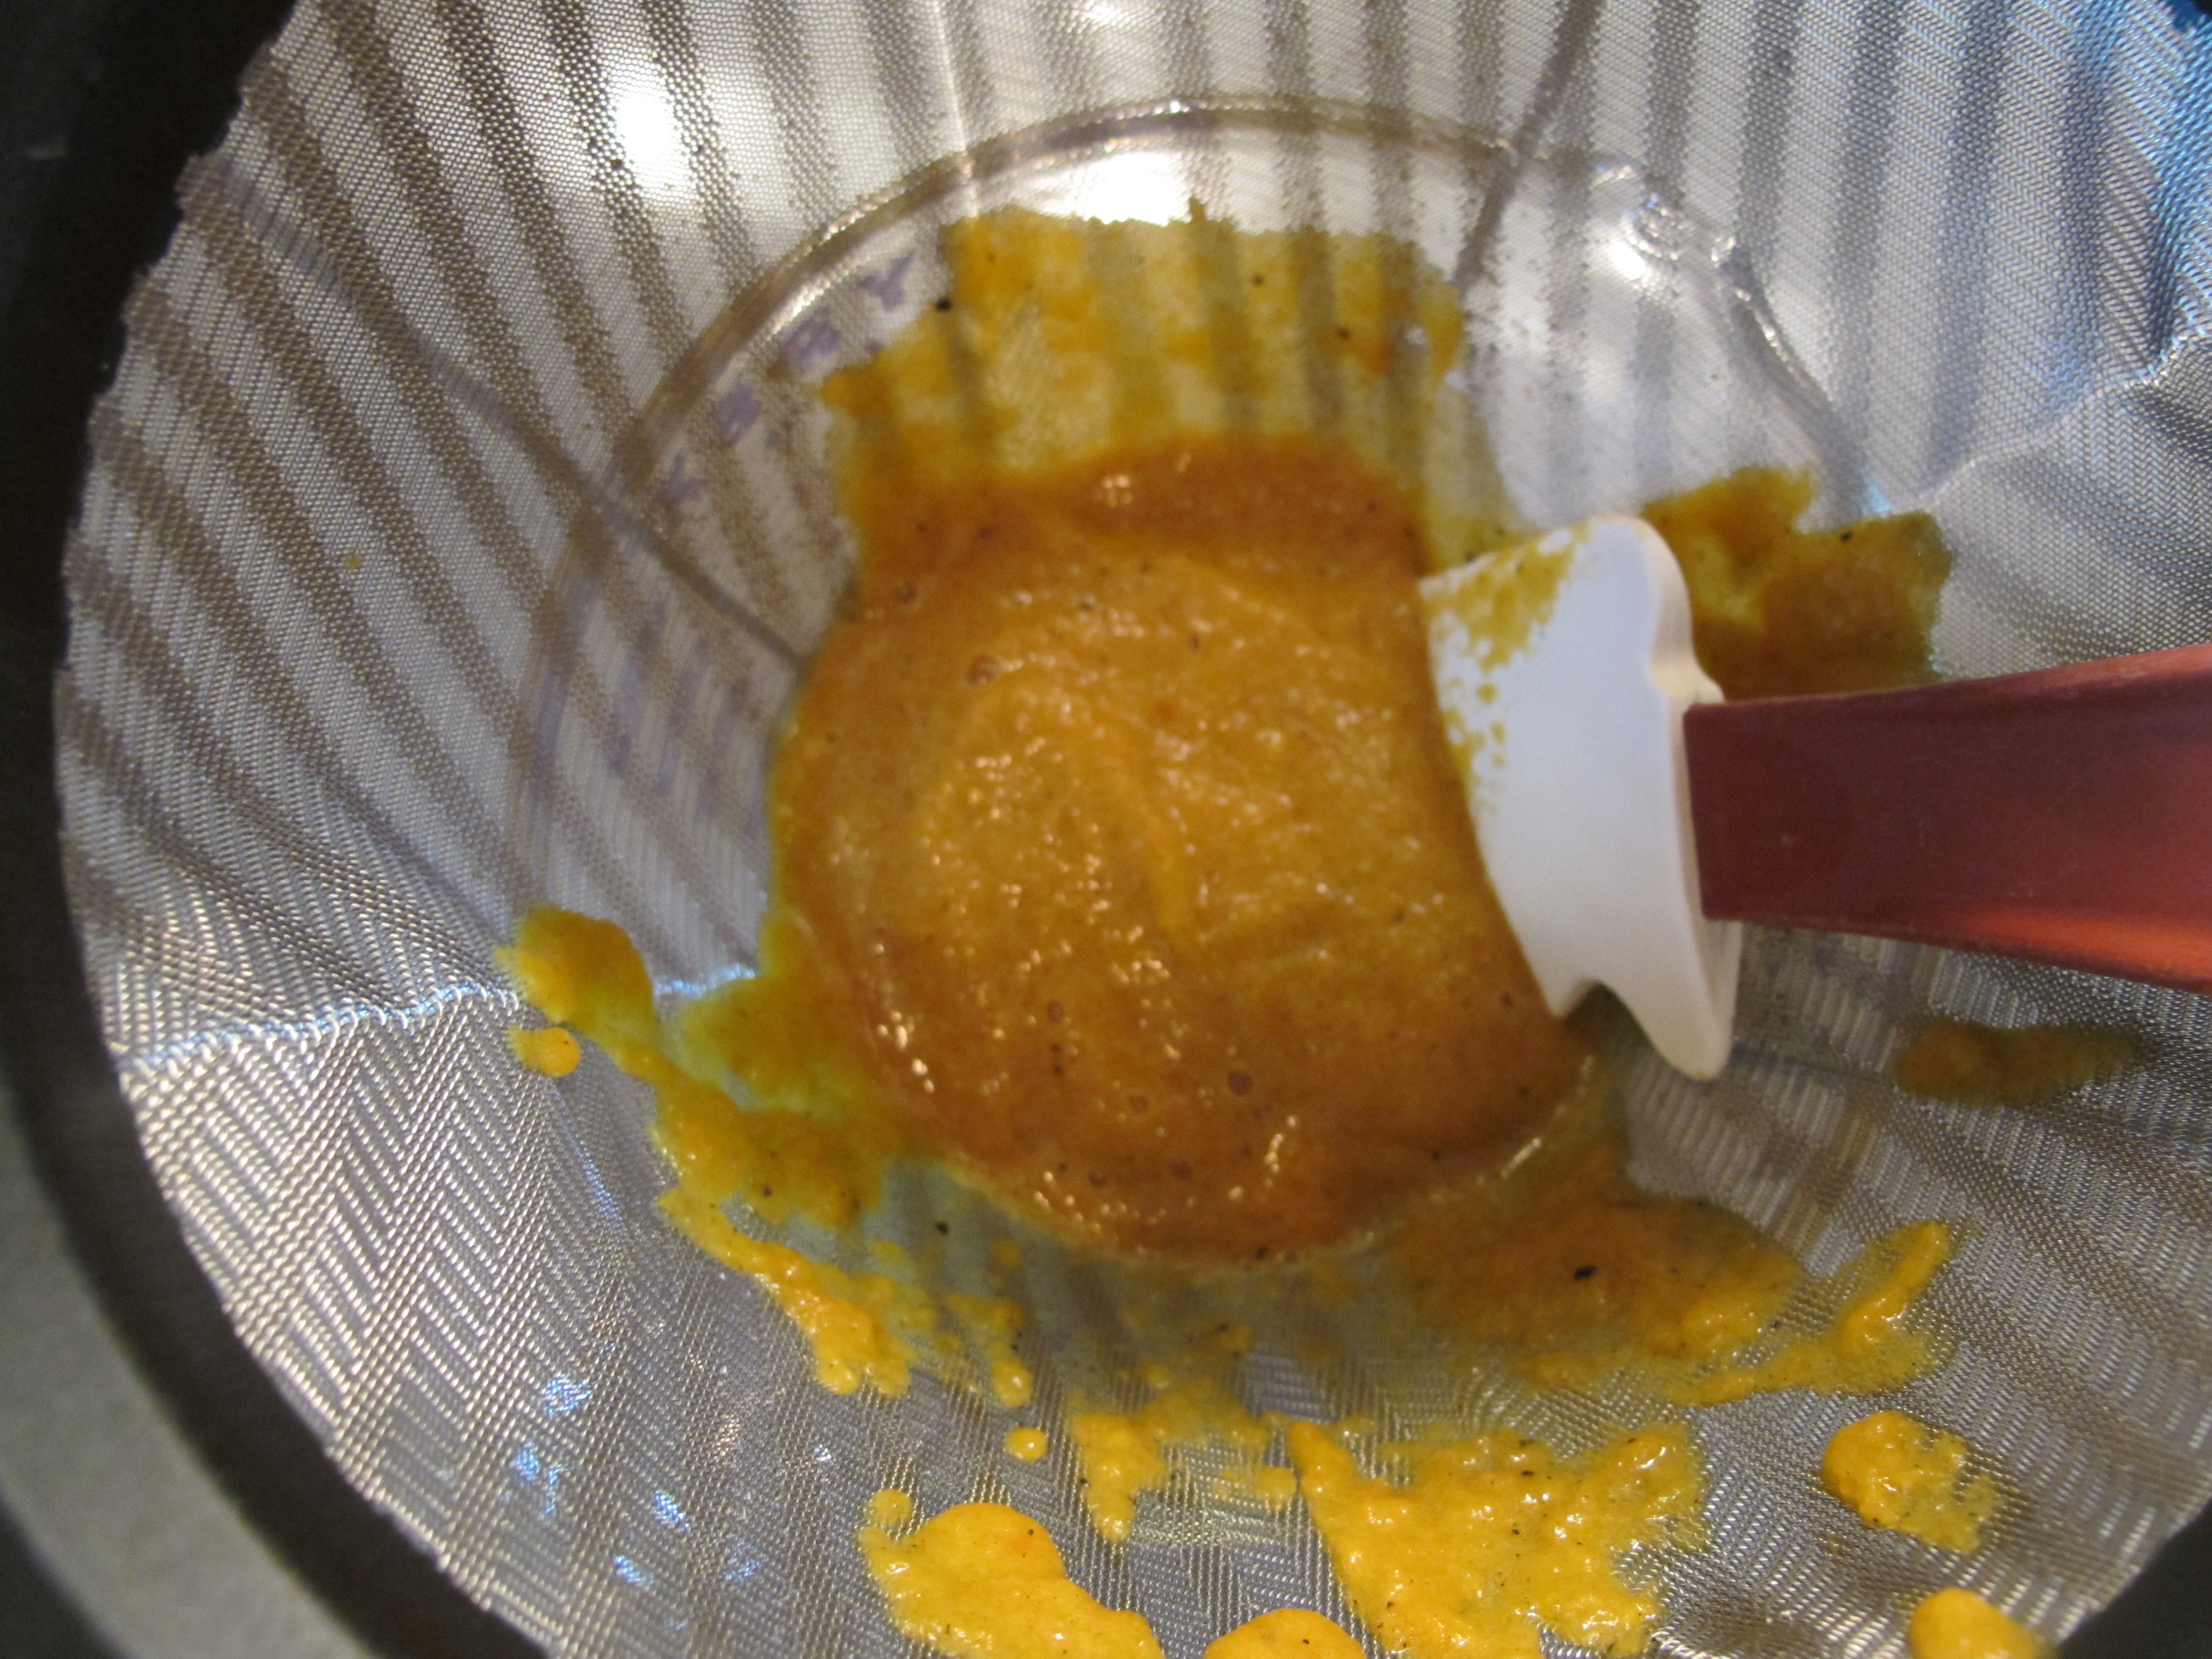
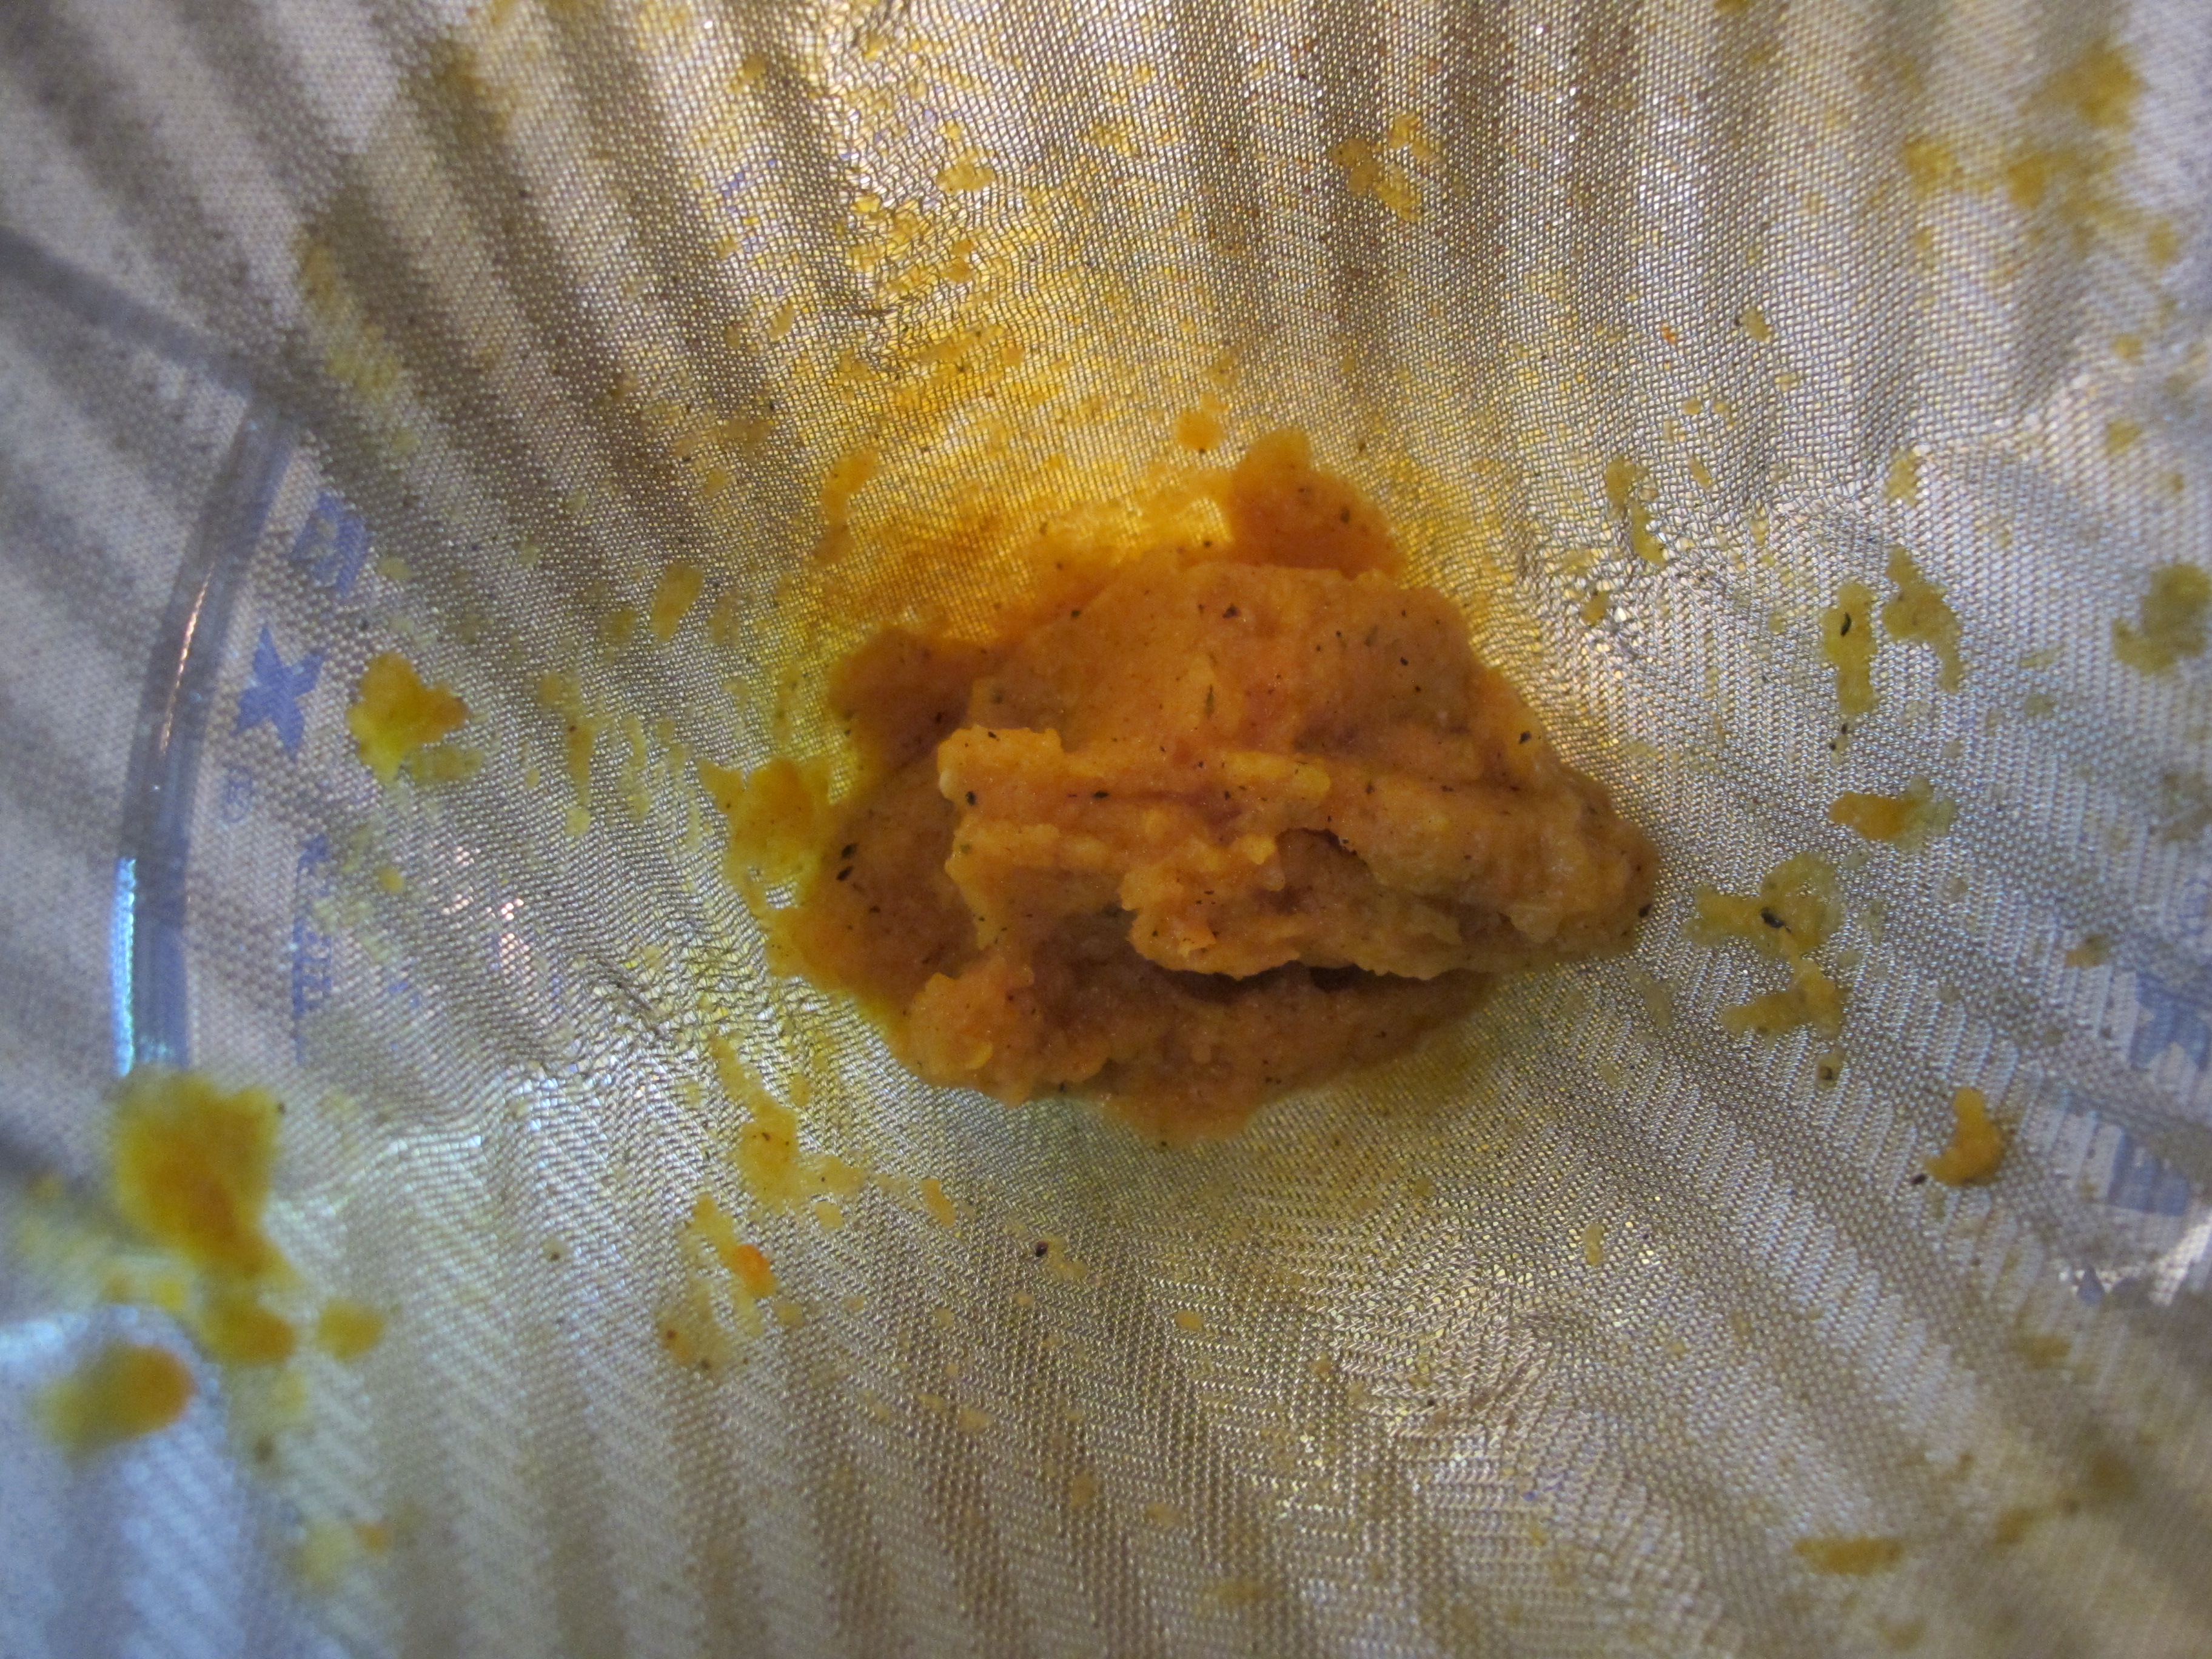
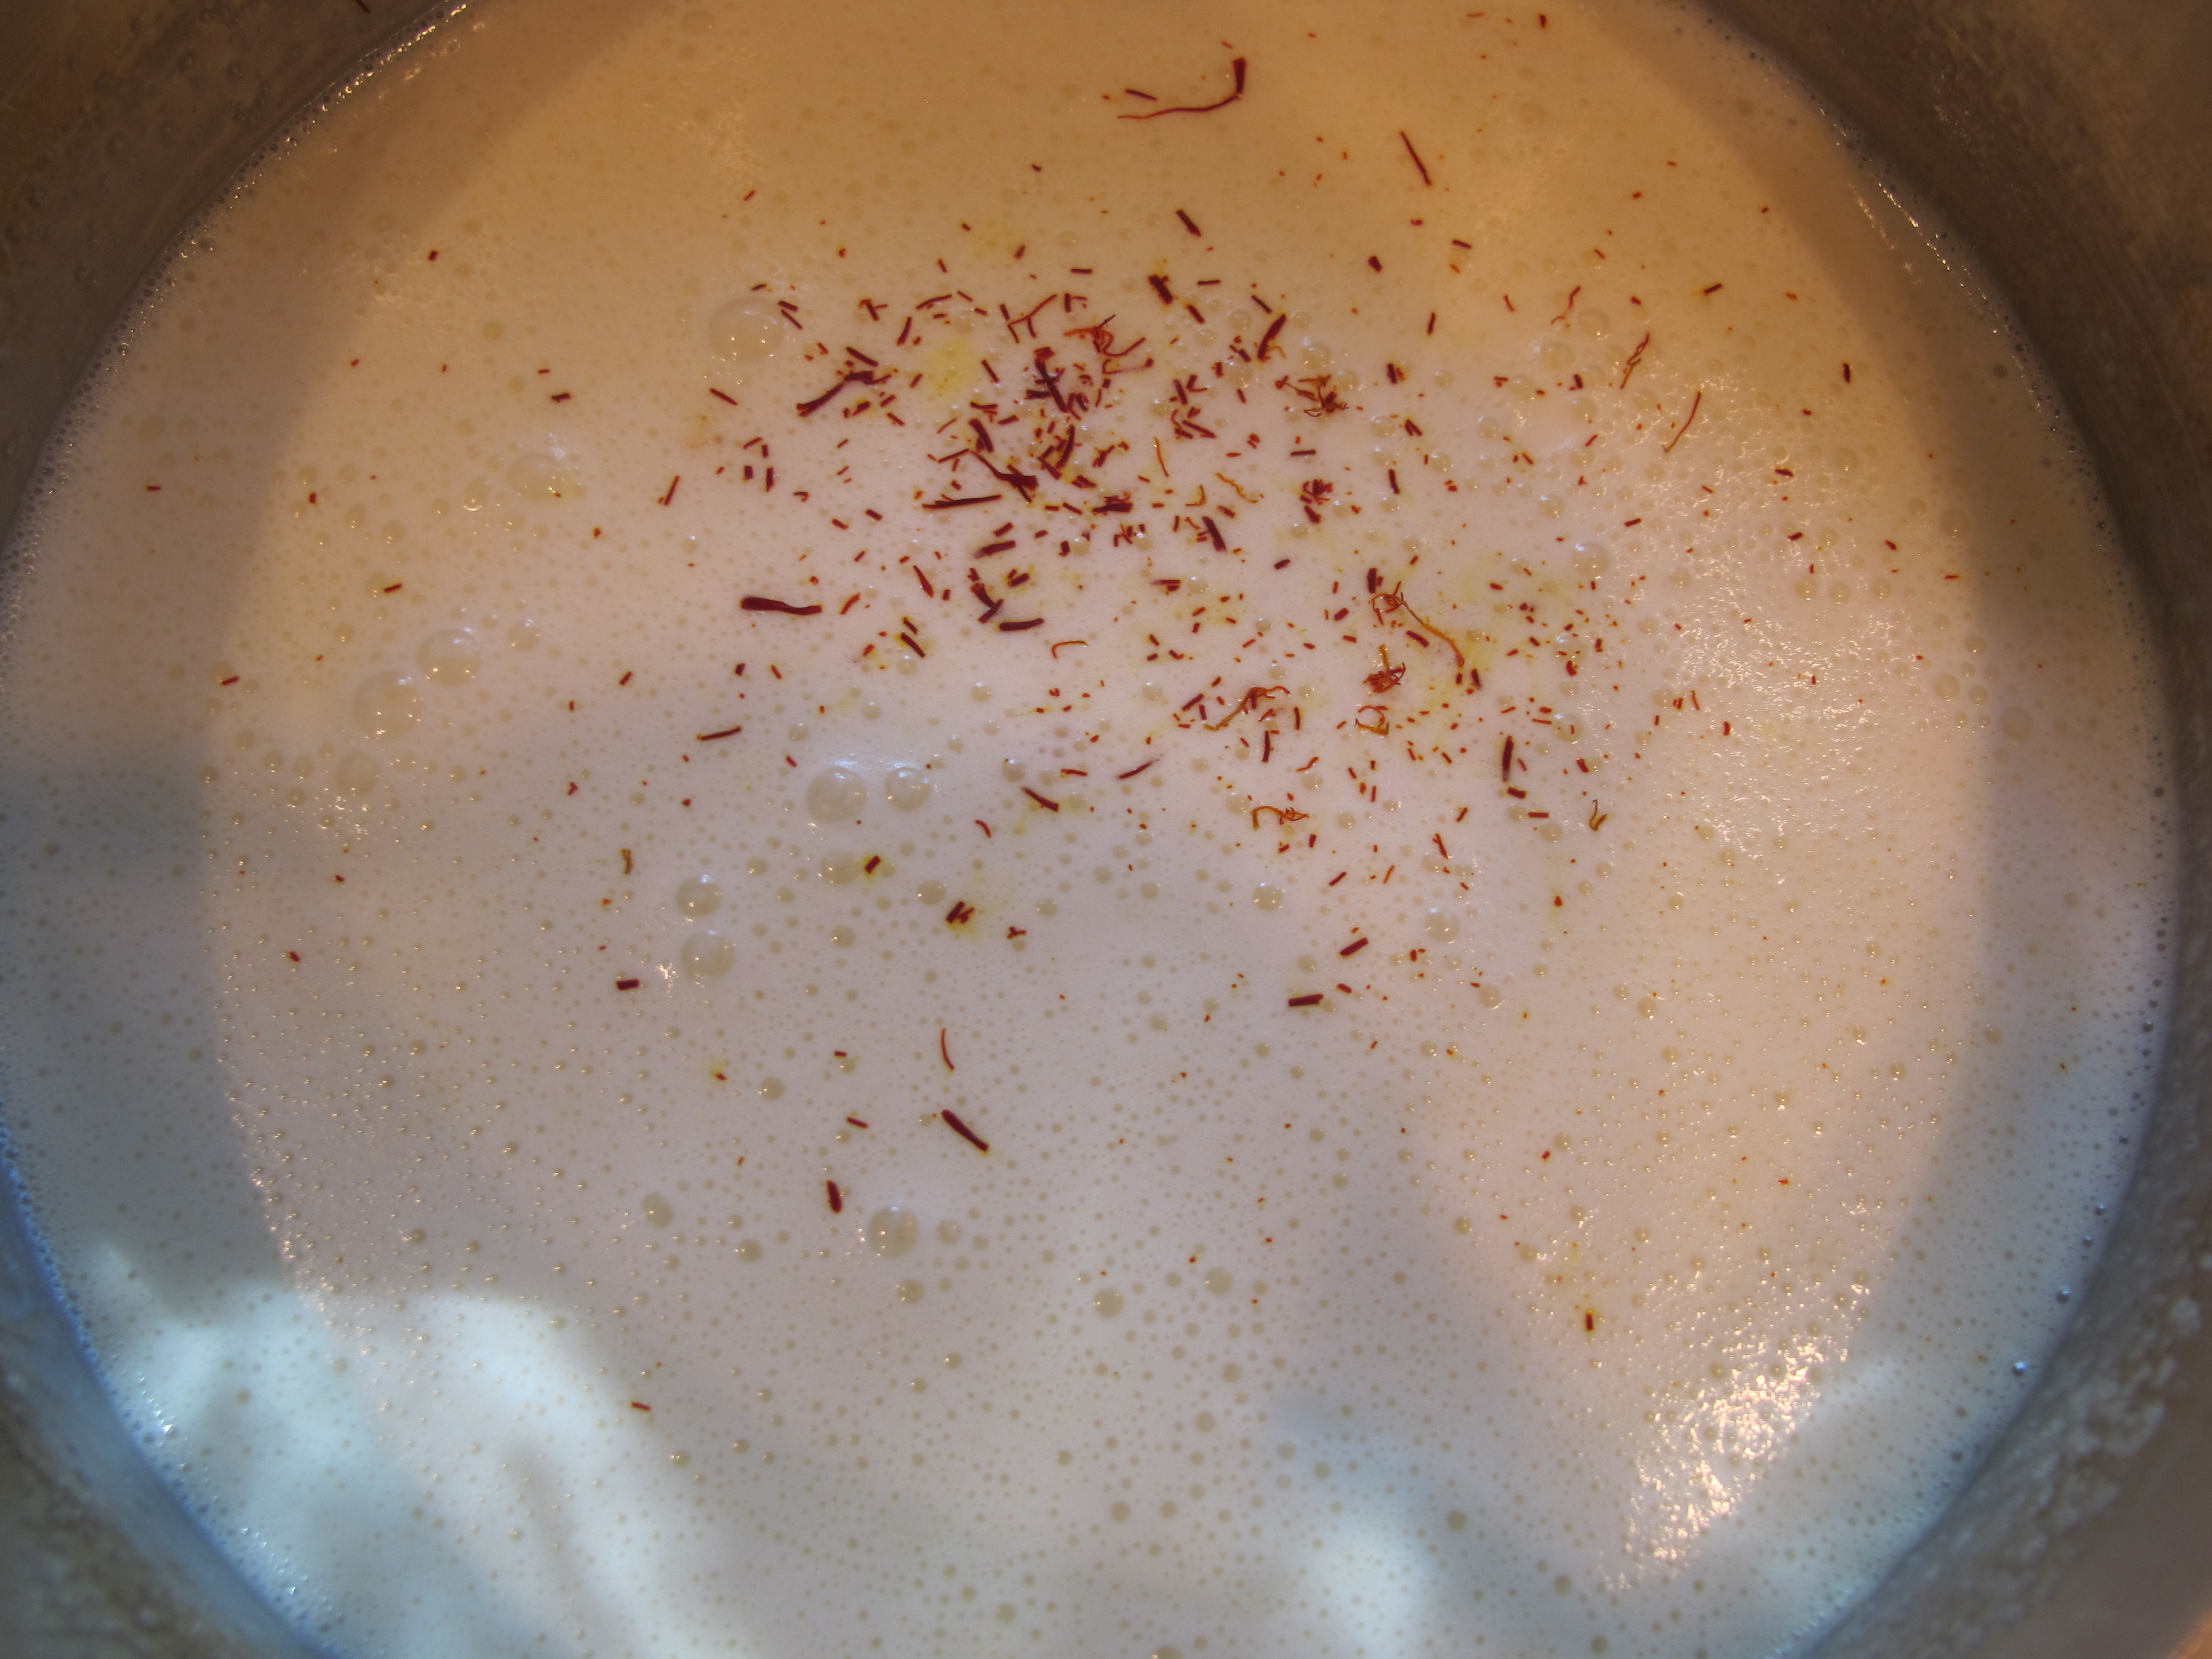
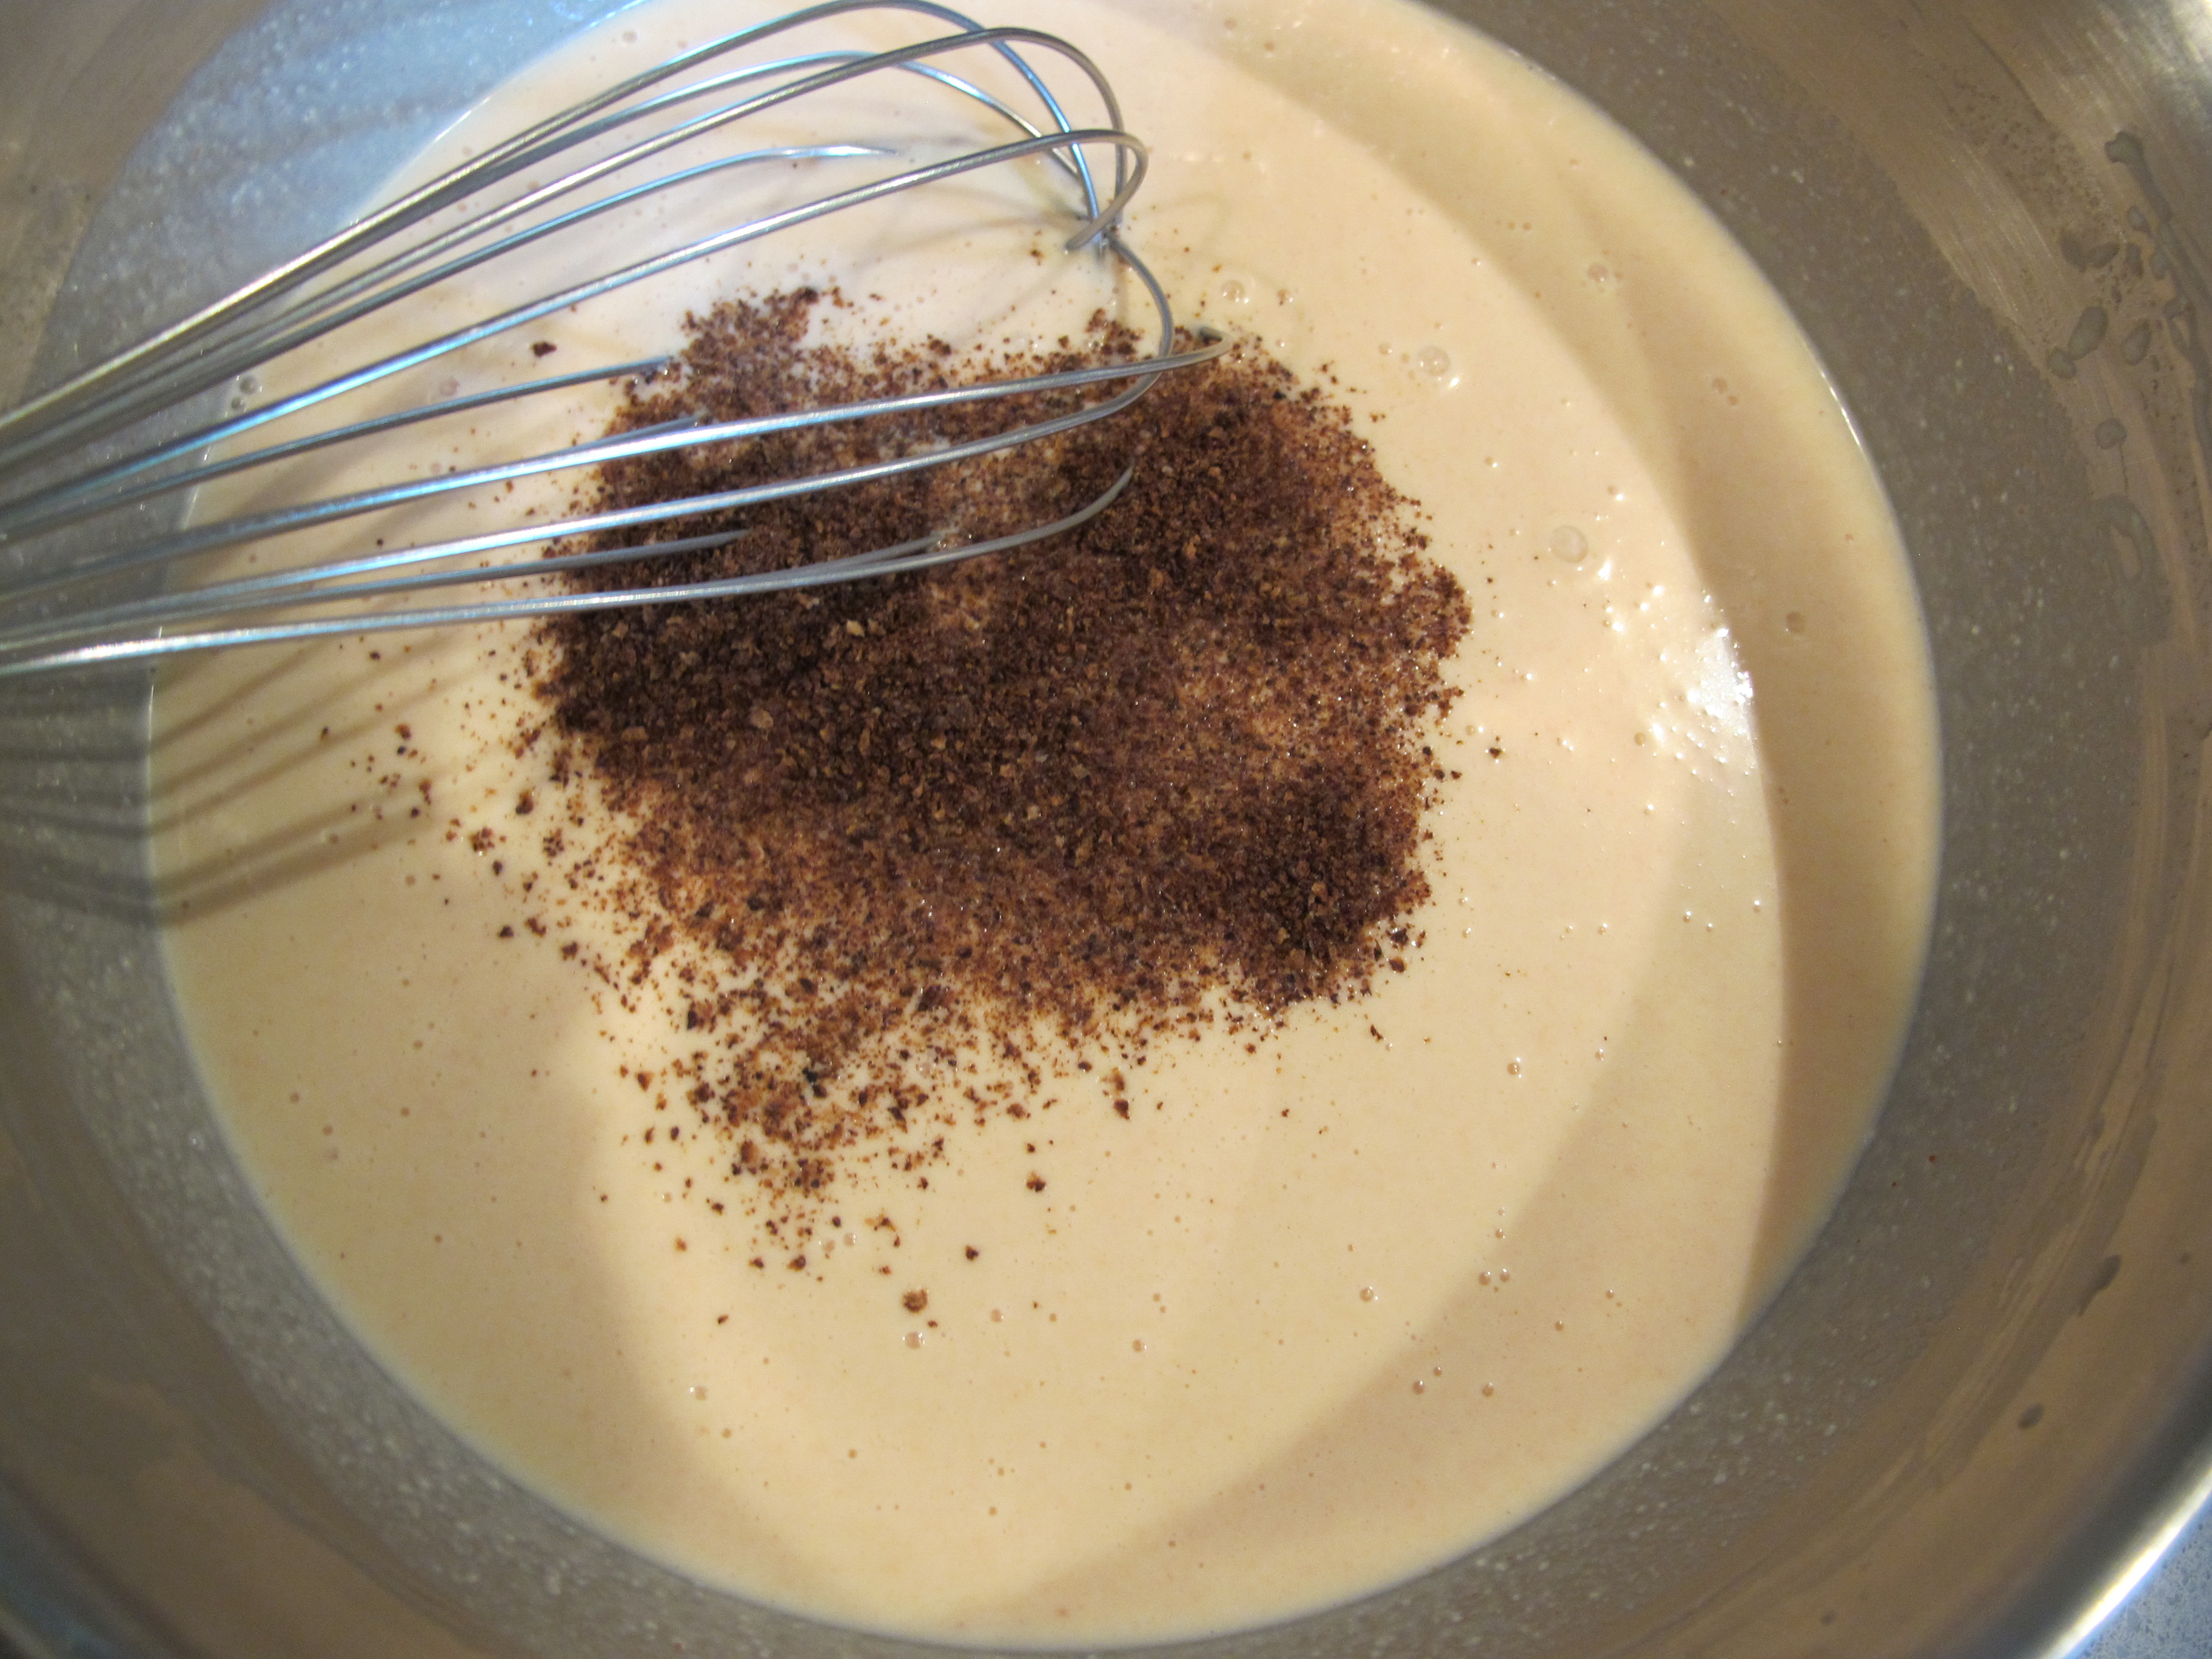
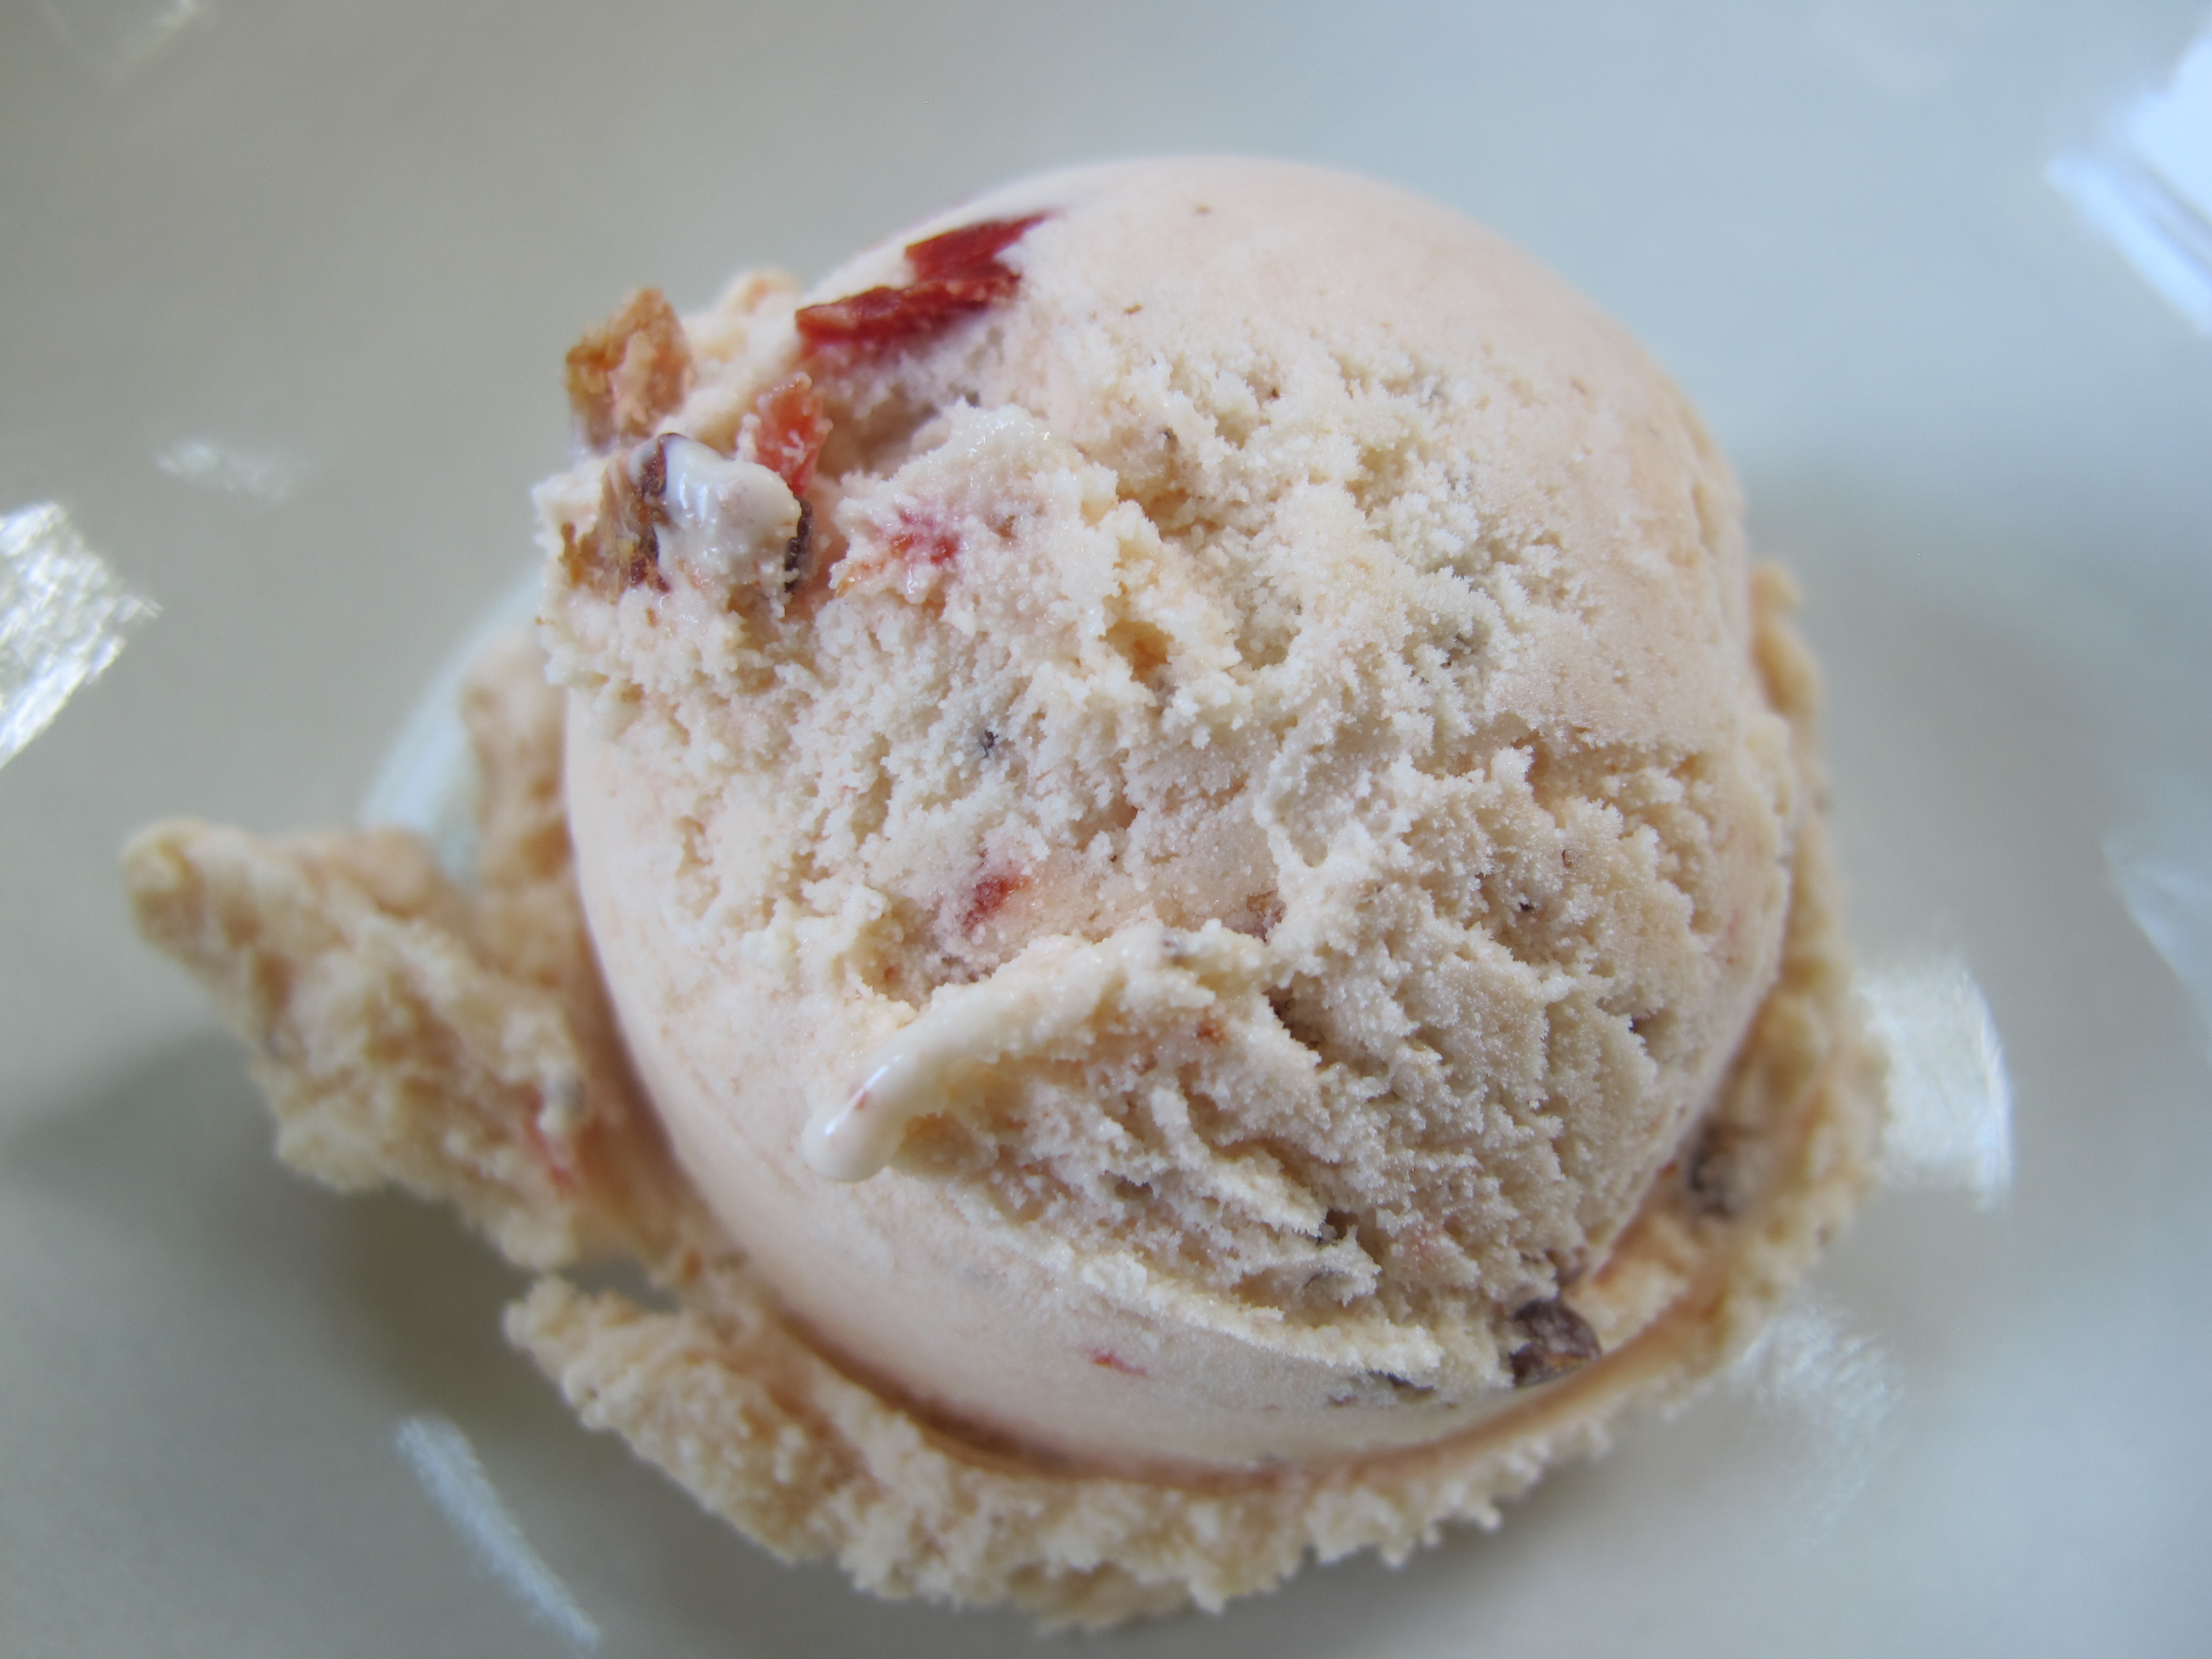
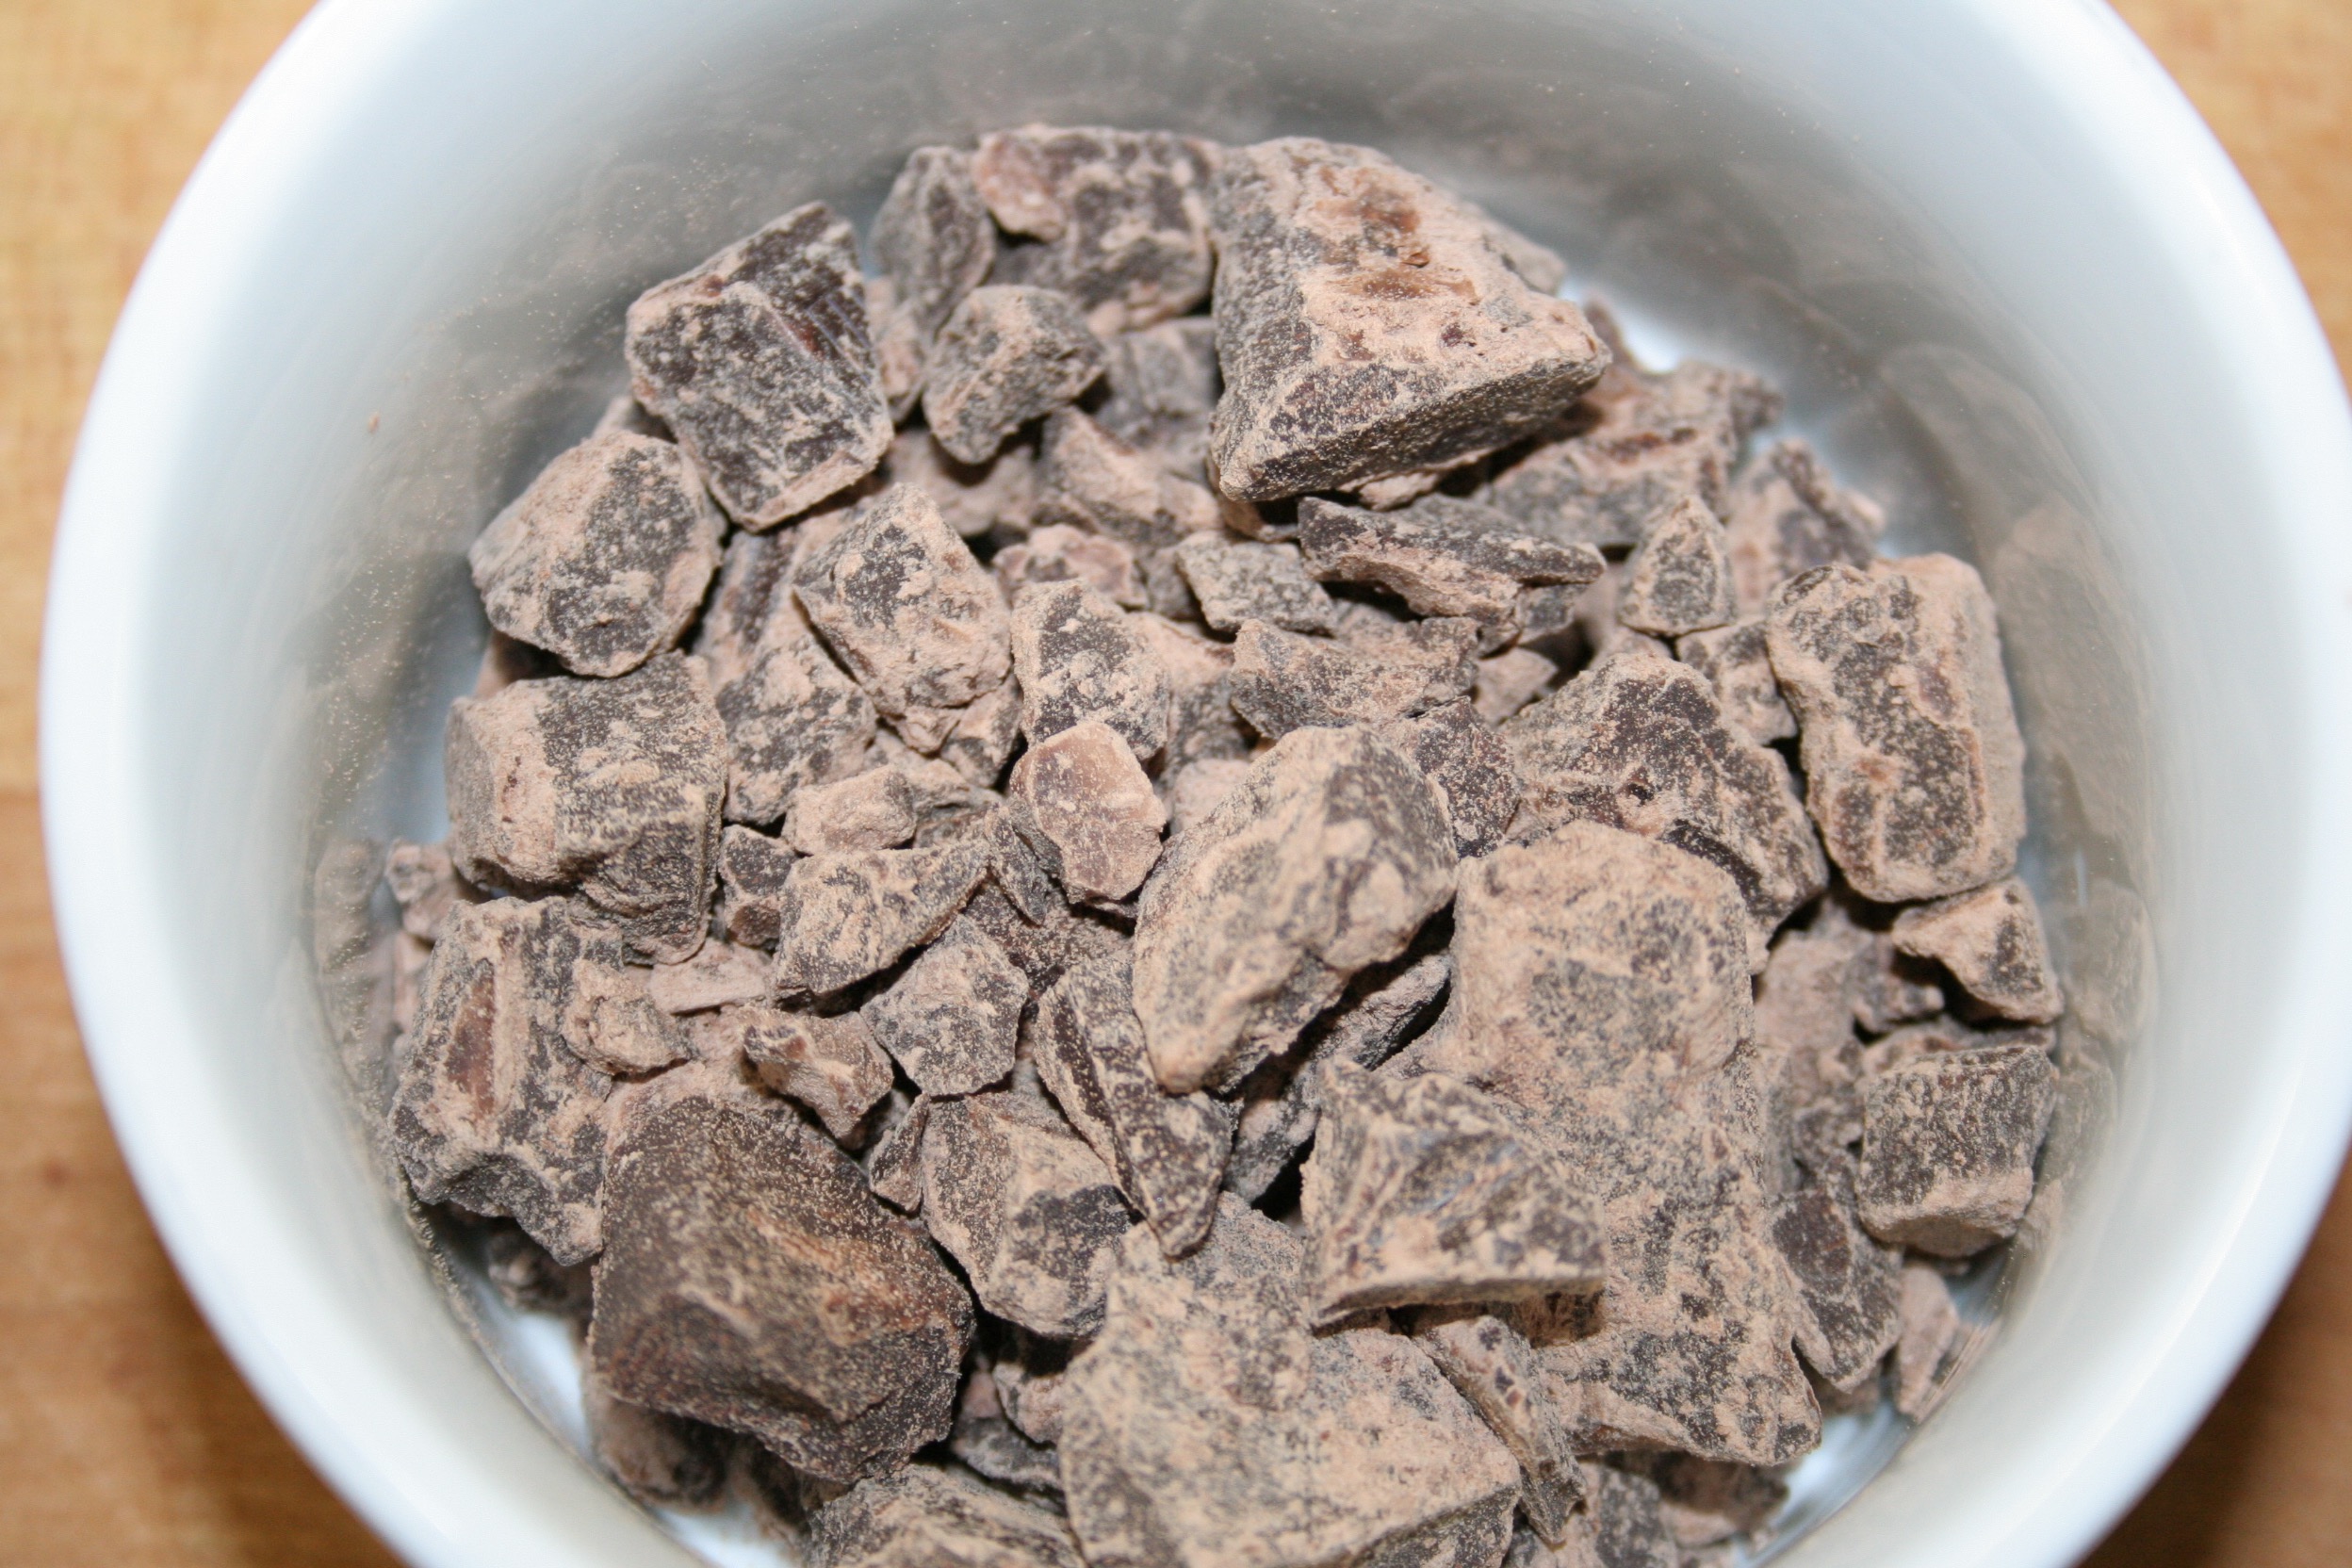
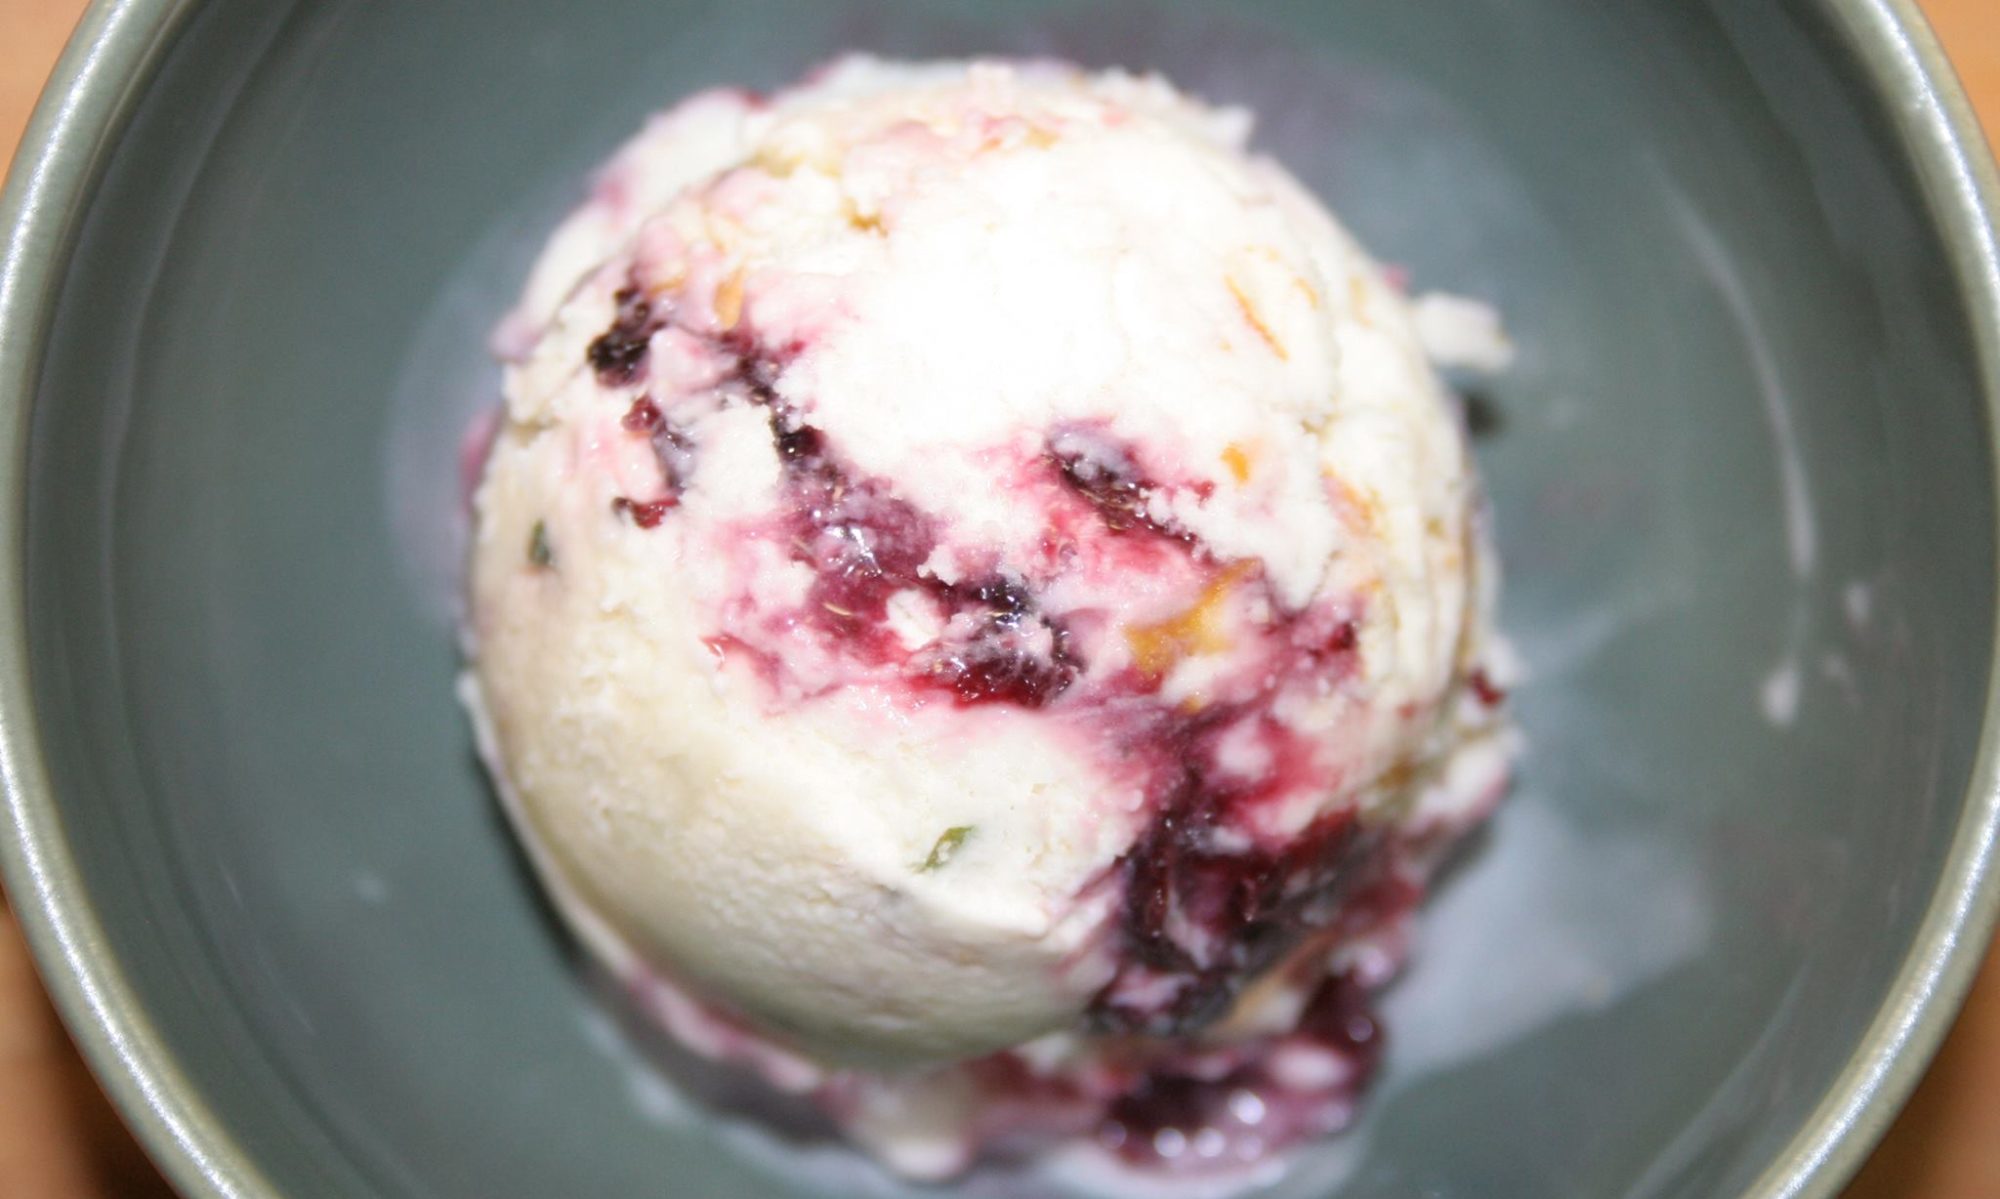
Since we’re already using smoked apples, it only seemed right to flavor the cream with our signature charred vanilla.  The vanilla beans are also smoked over applewood until crispy and then ground whole into a fine powder and infused into the cream. These work as a great substitute for vanilla in any recipe.


smoke apple


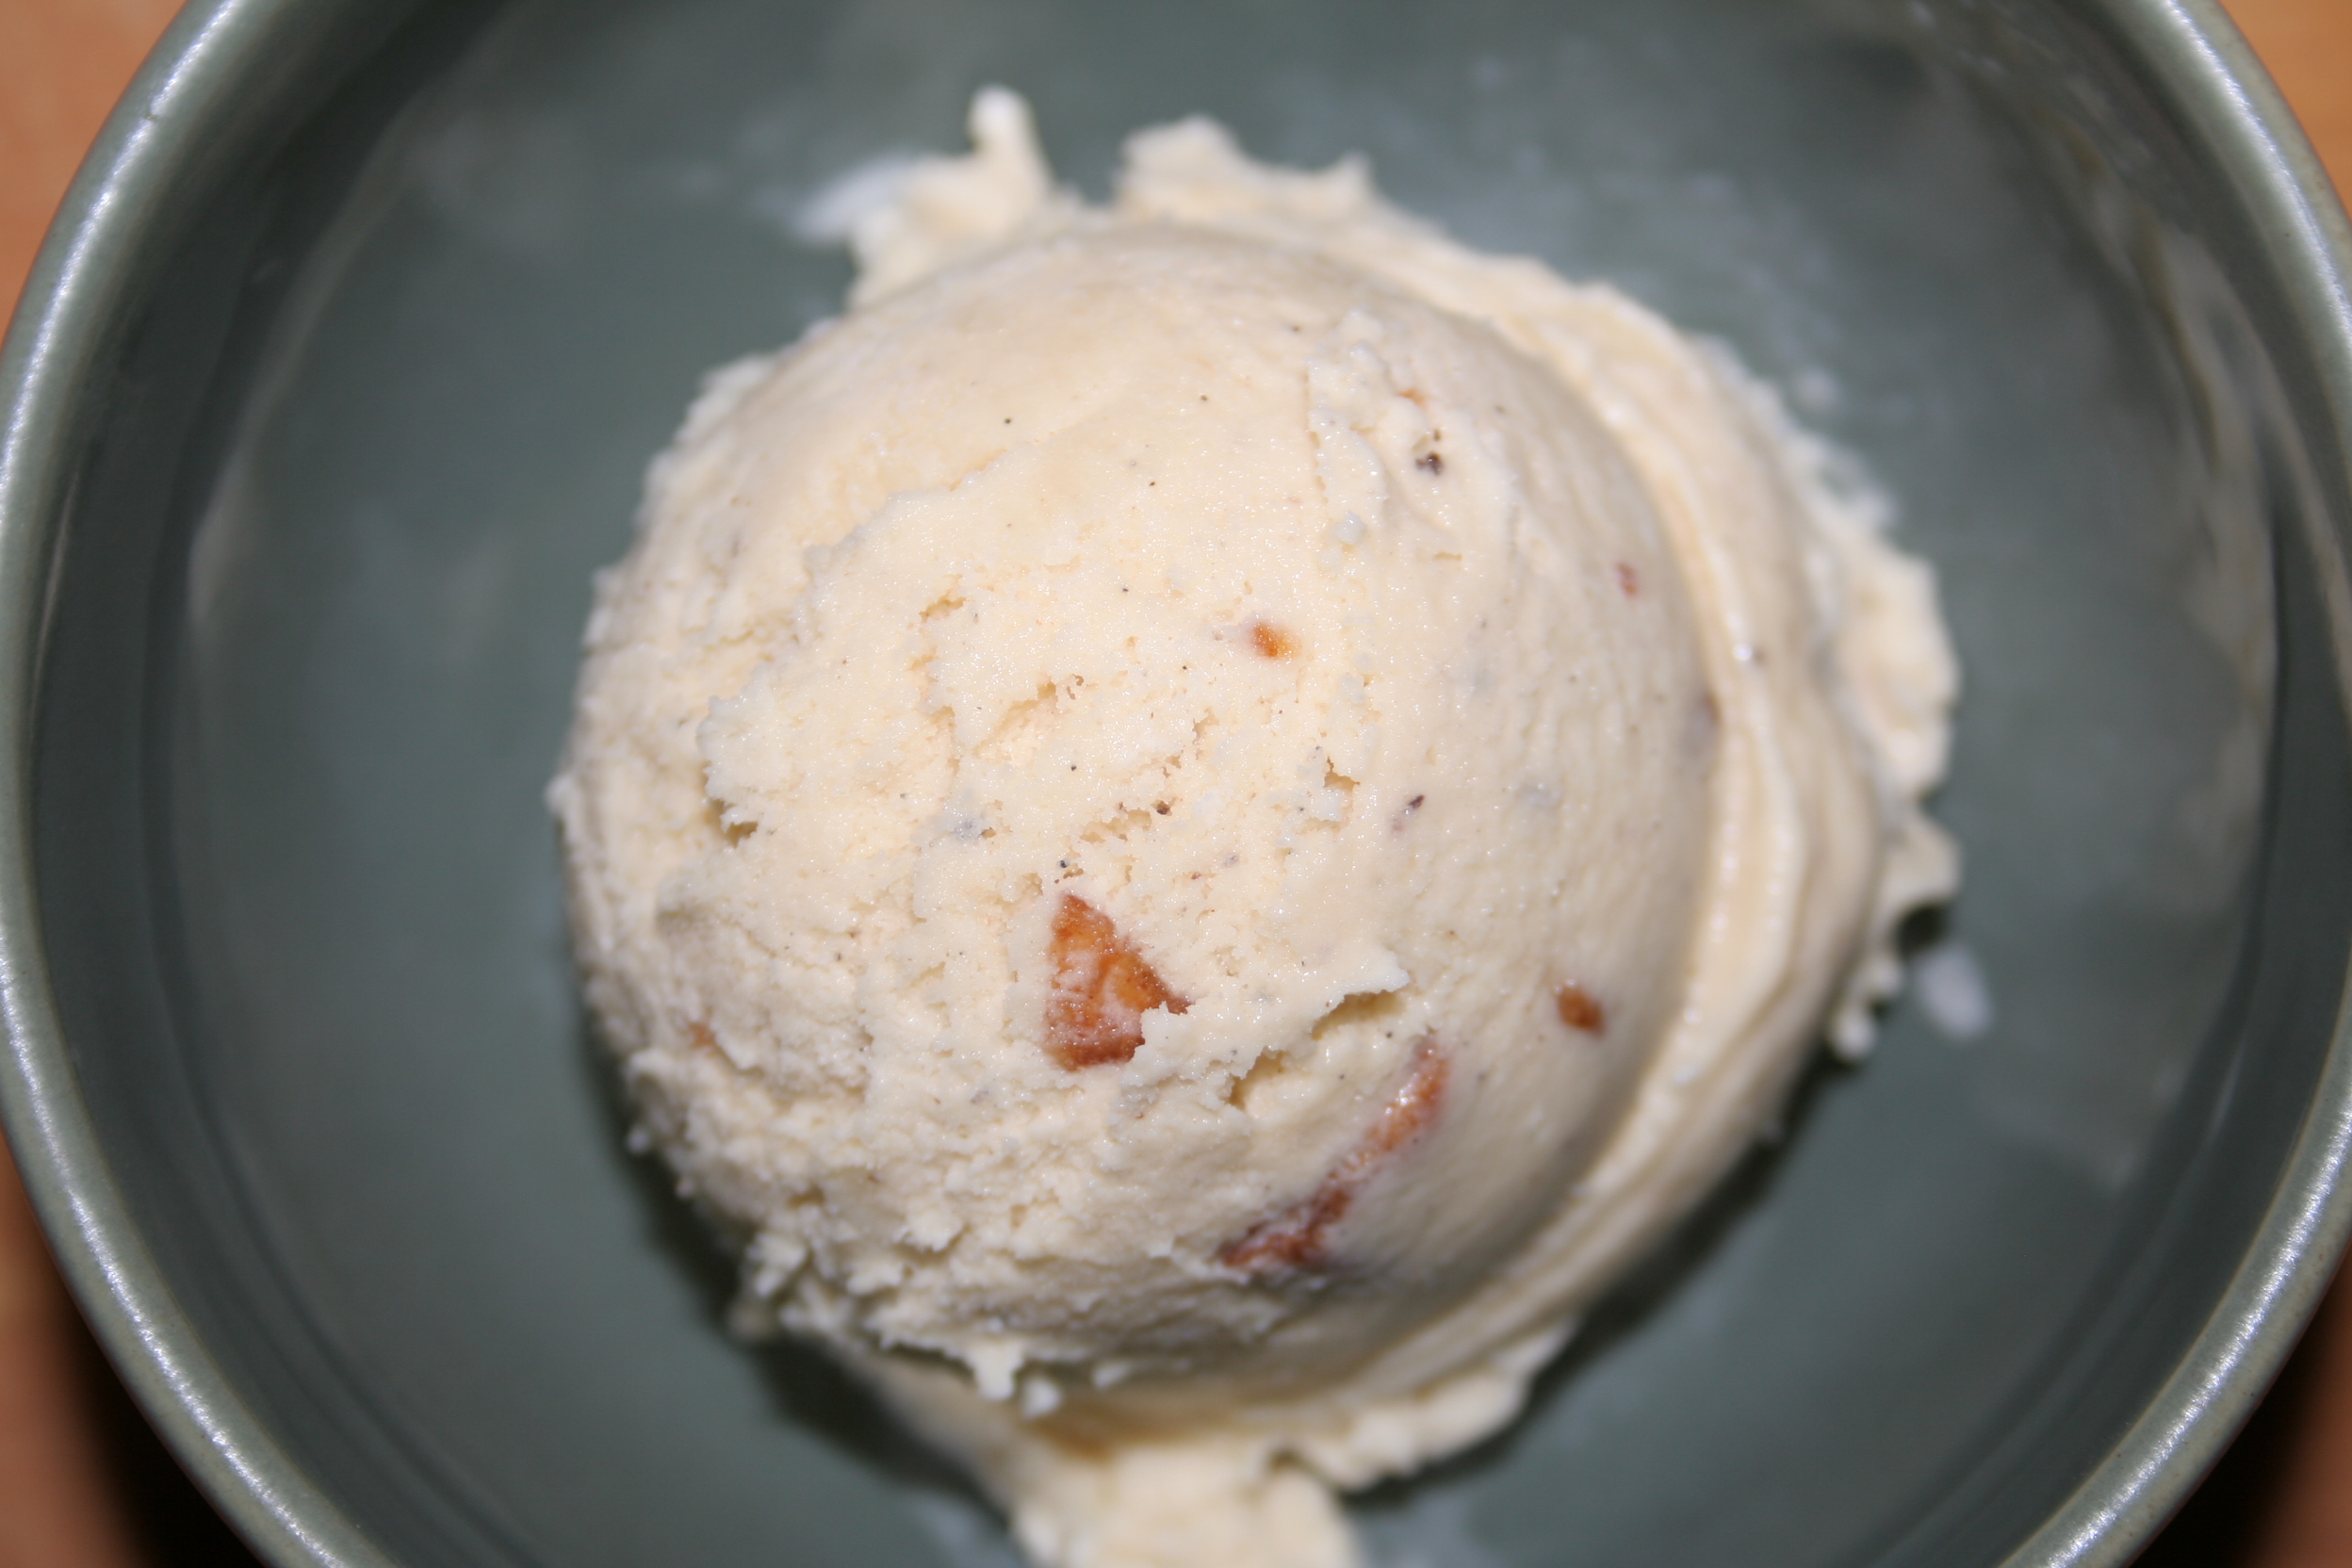
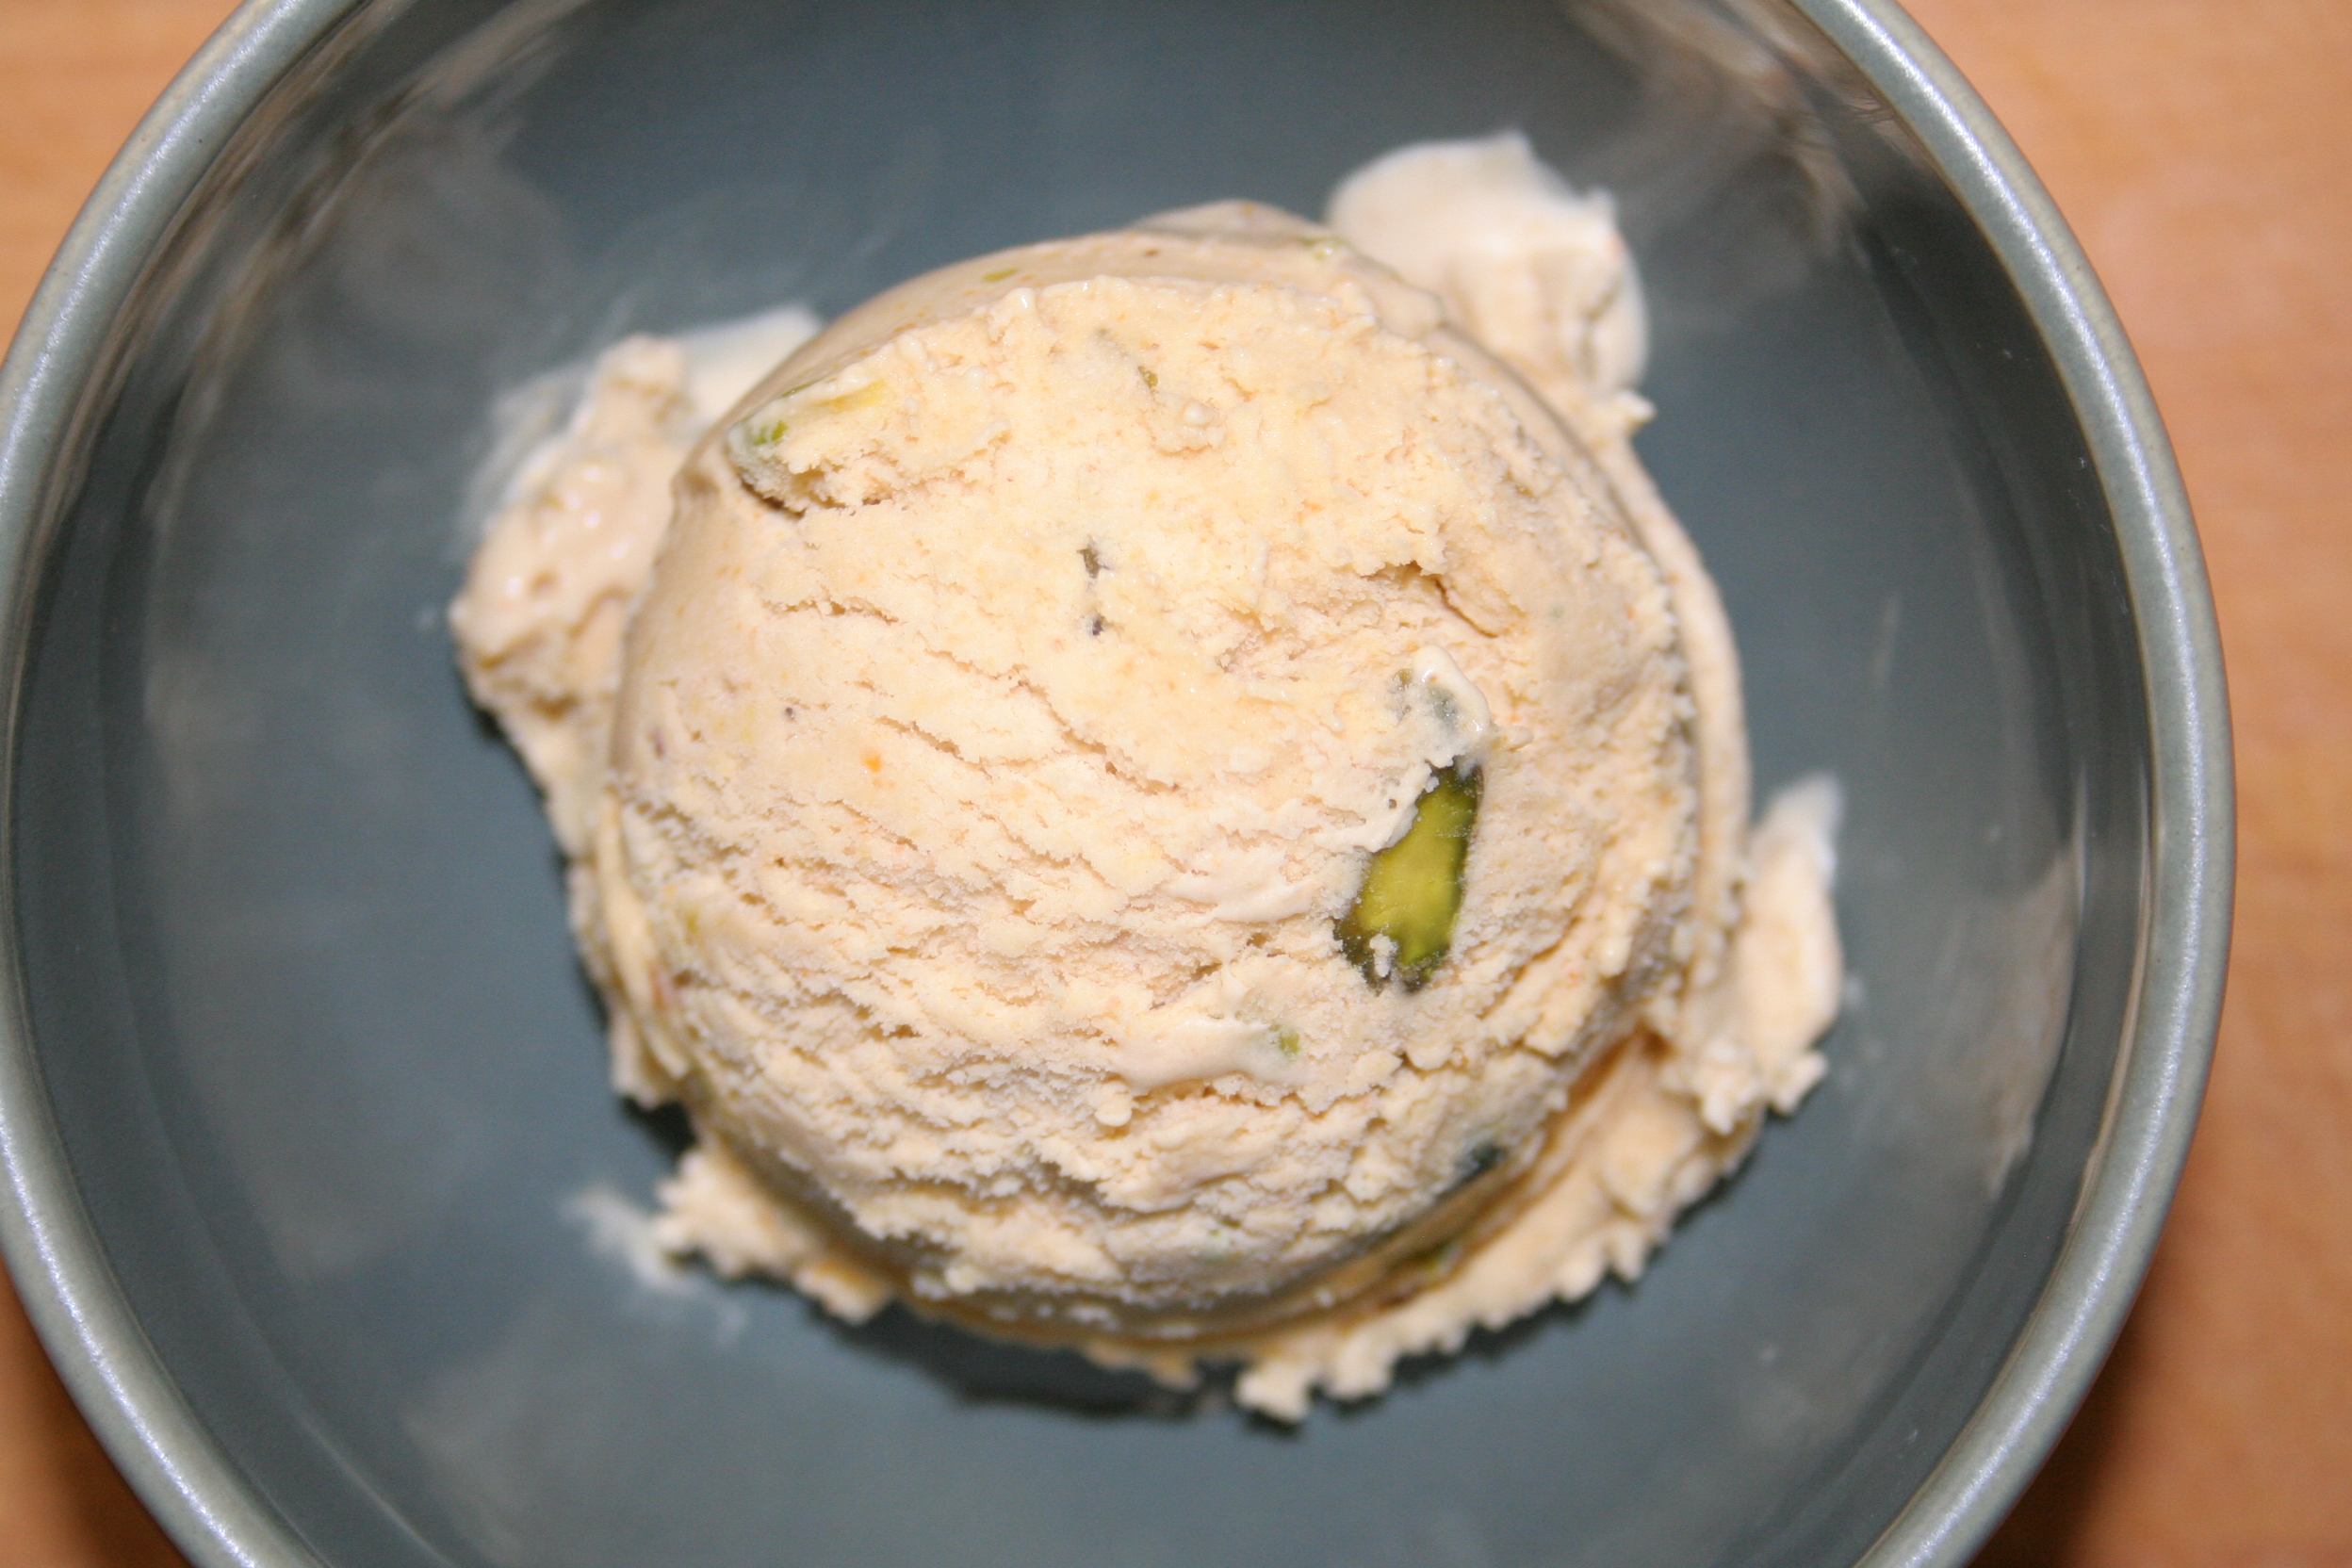
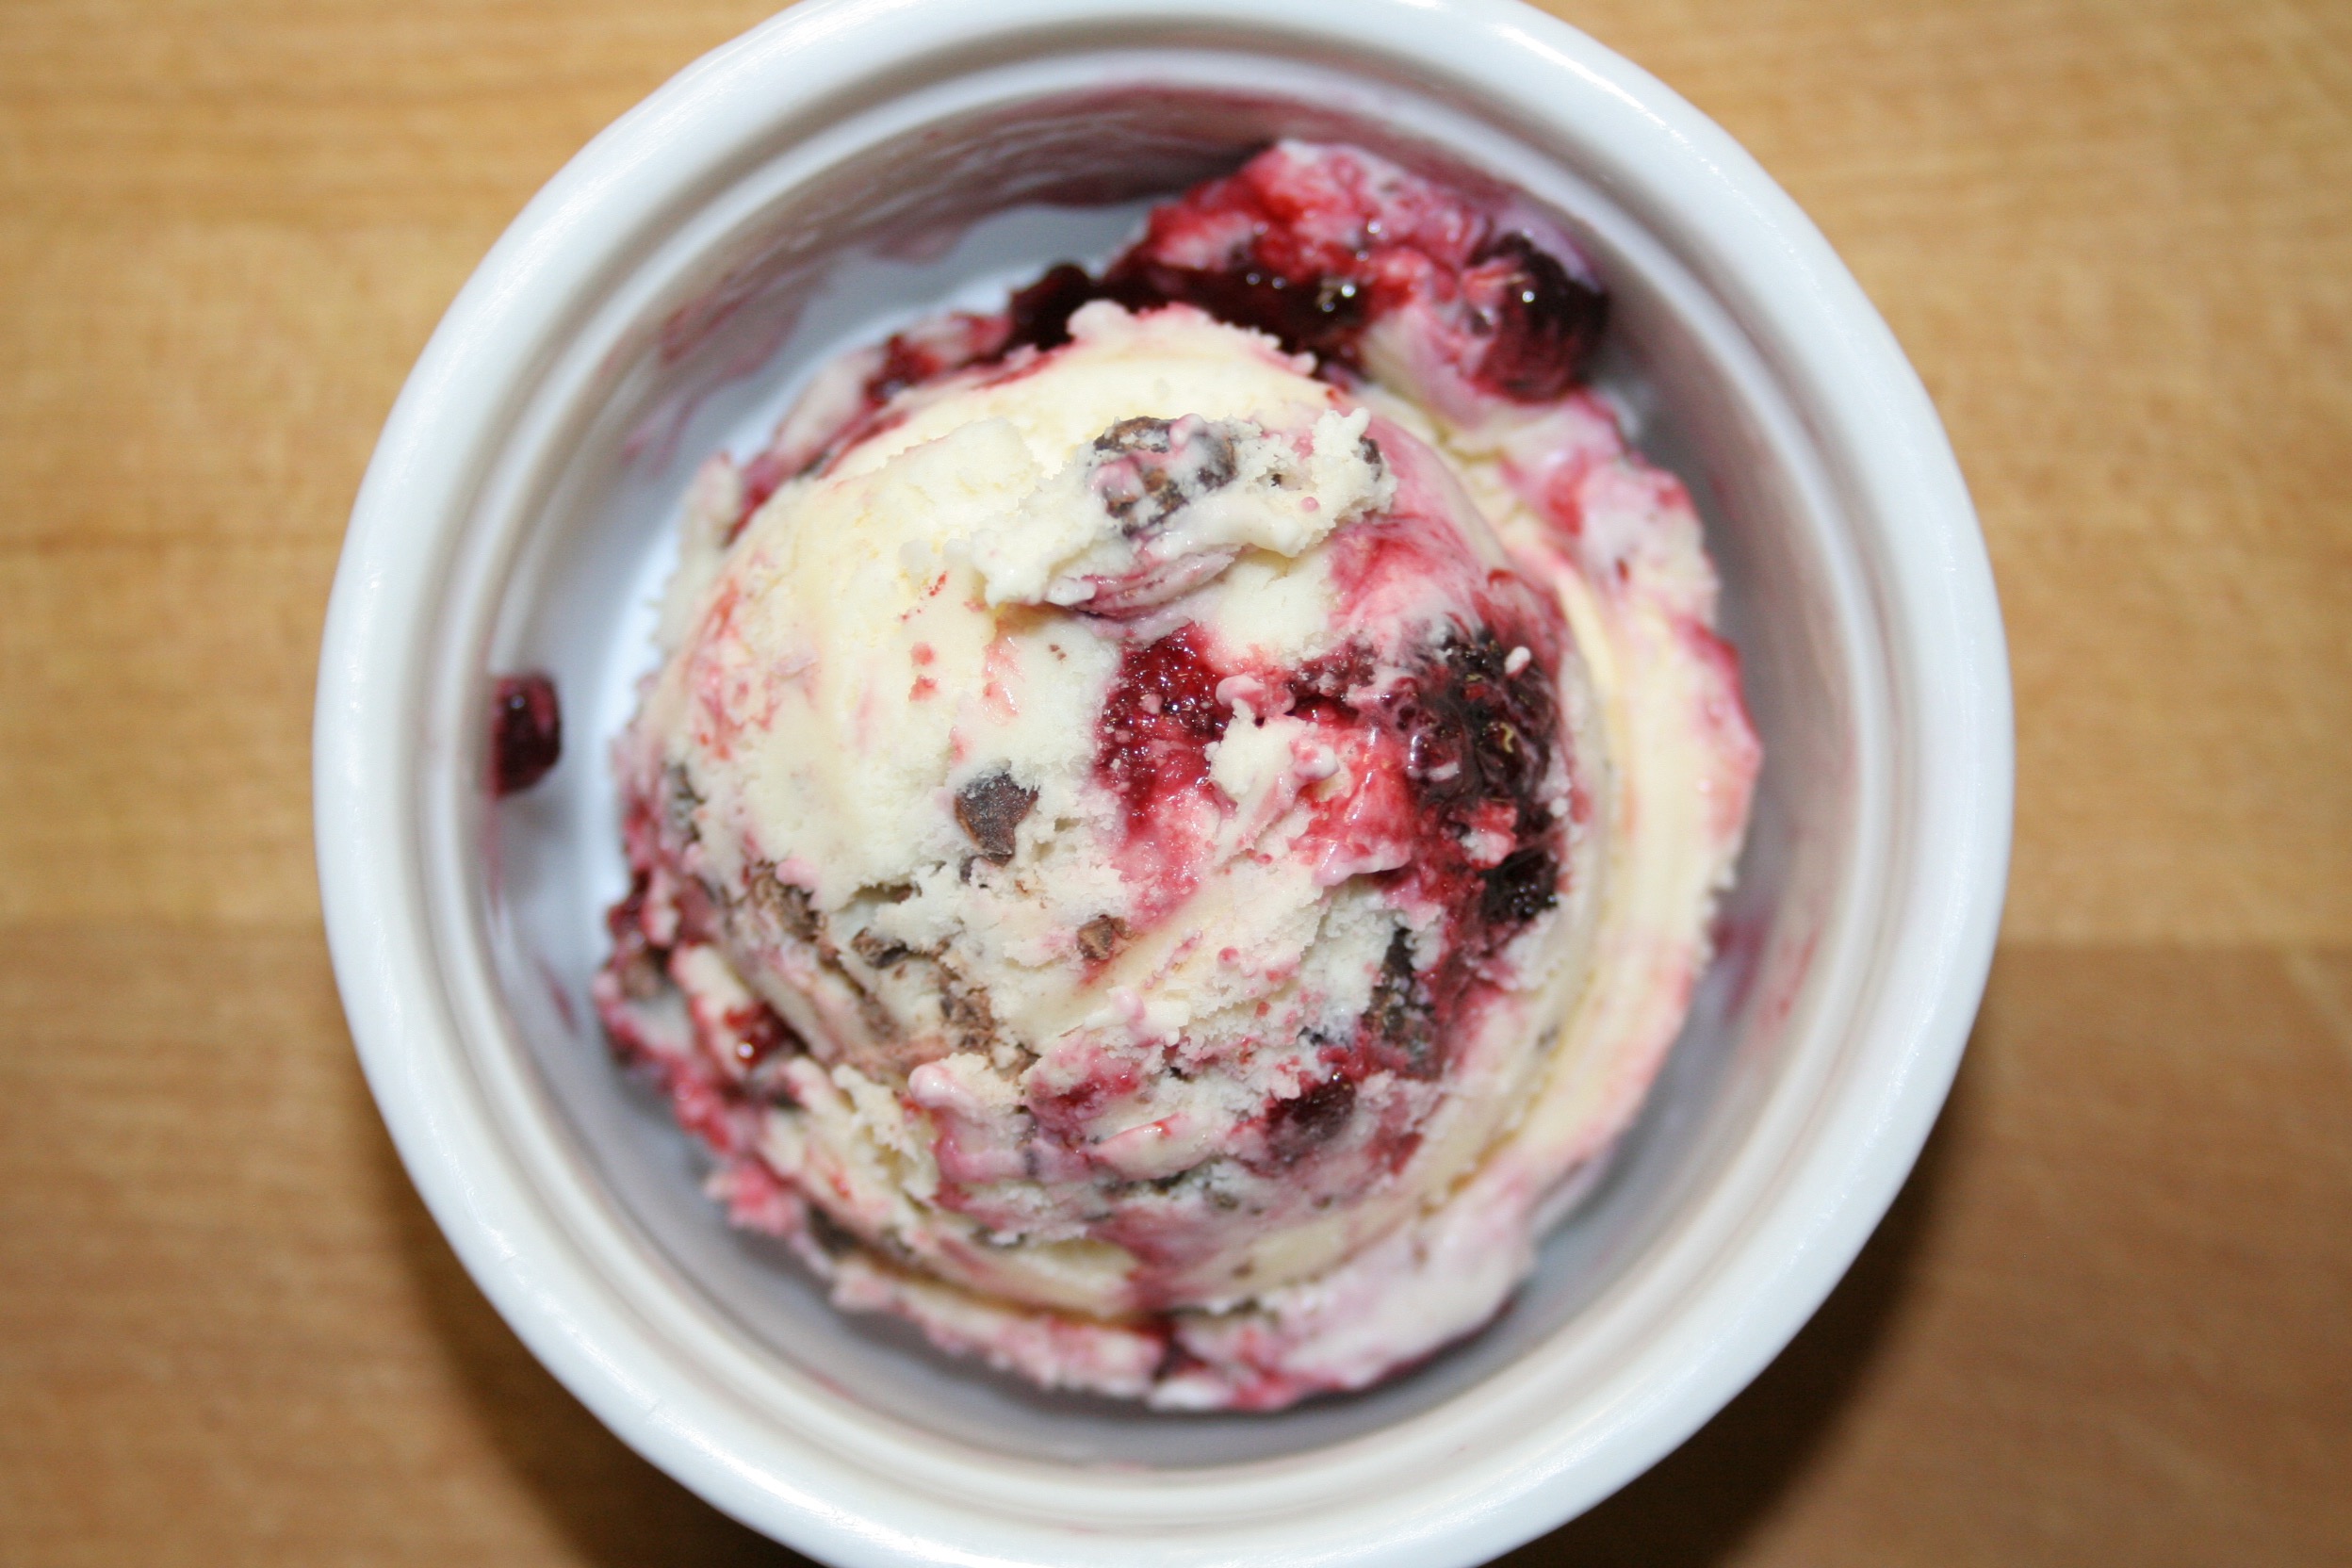
The scoop is nothing short of harmonious, especially if you’re a fan of apples, vanilla and things cooked over open fire.  An in-your- face charred vanilla ice cream decorated with chewy chunks of smoked honeycrisp apples.


Smoked Apple Ice Cream Recipe

(makes approx 1-1/2 quarts)

Ingredients:

2C Heavy Cream
1C Milk (use any fat percentage you prefer – higher lends to a creamier base)
2 Eggs
3/4C Sugar
1 Whole Charred Vanilla bean, ground
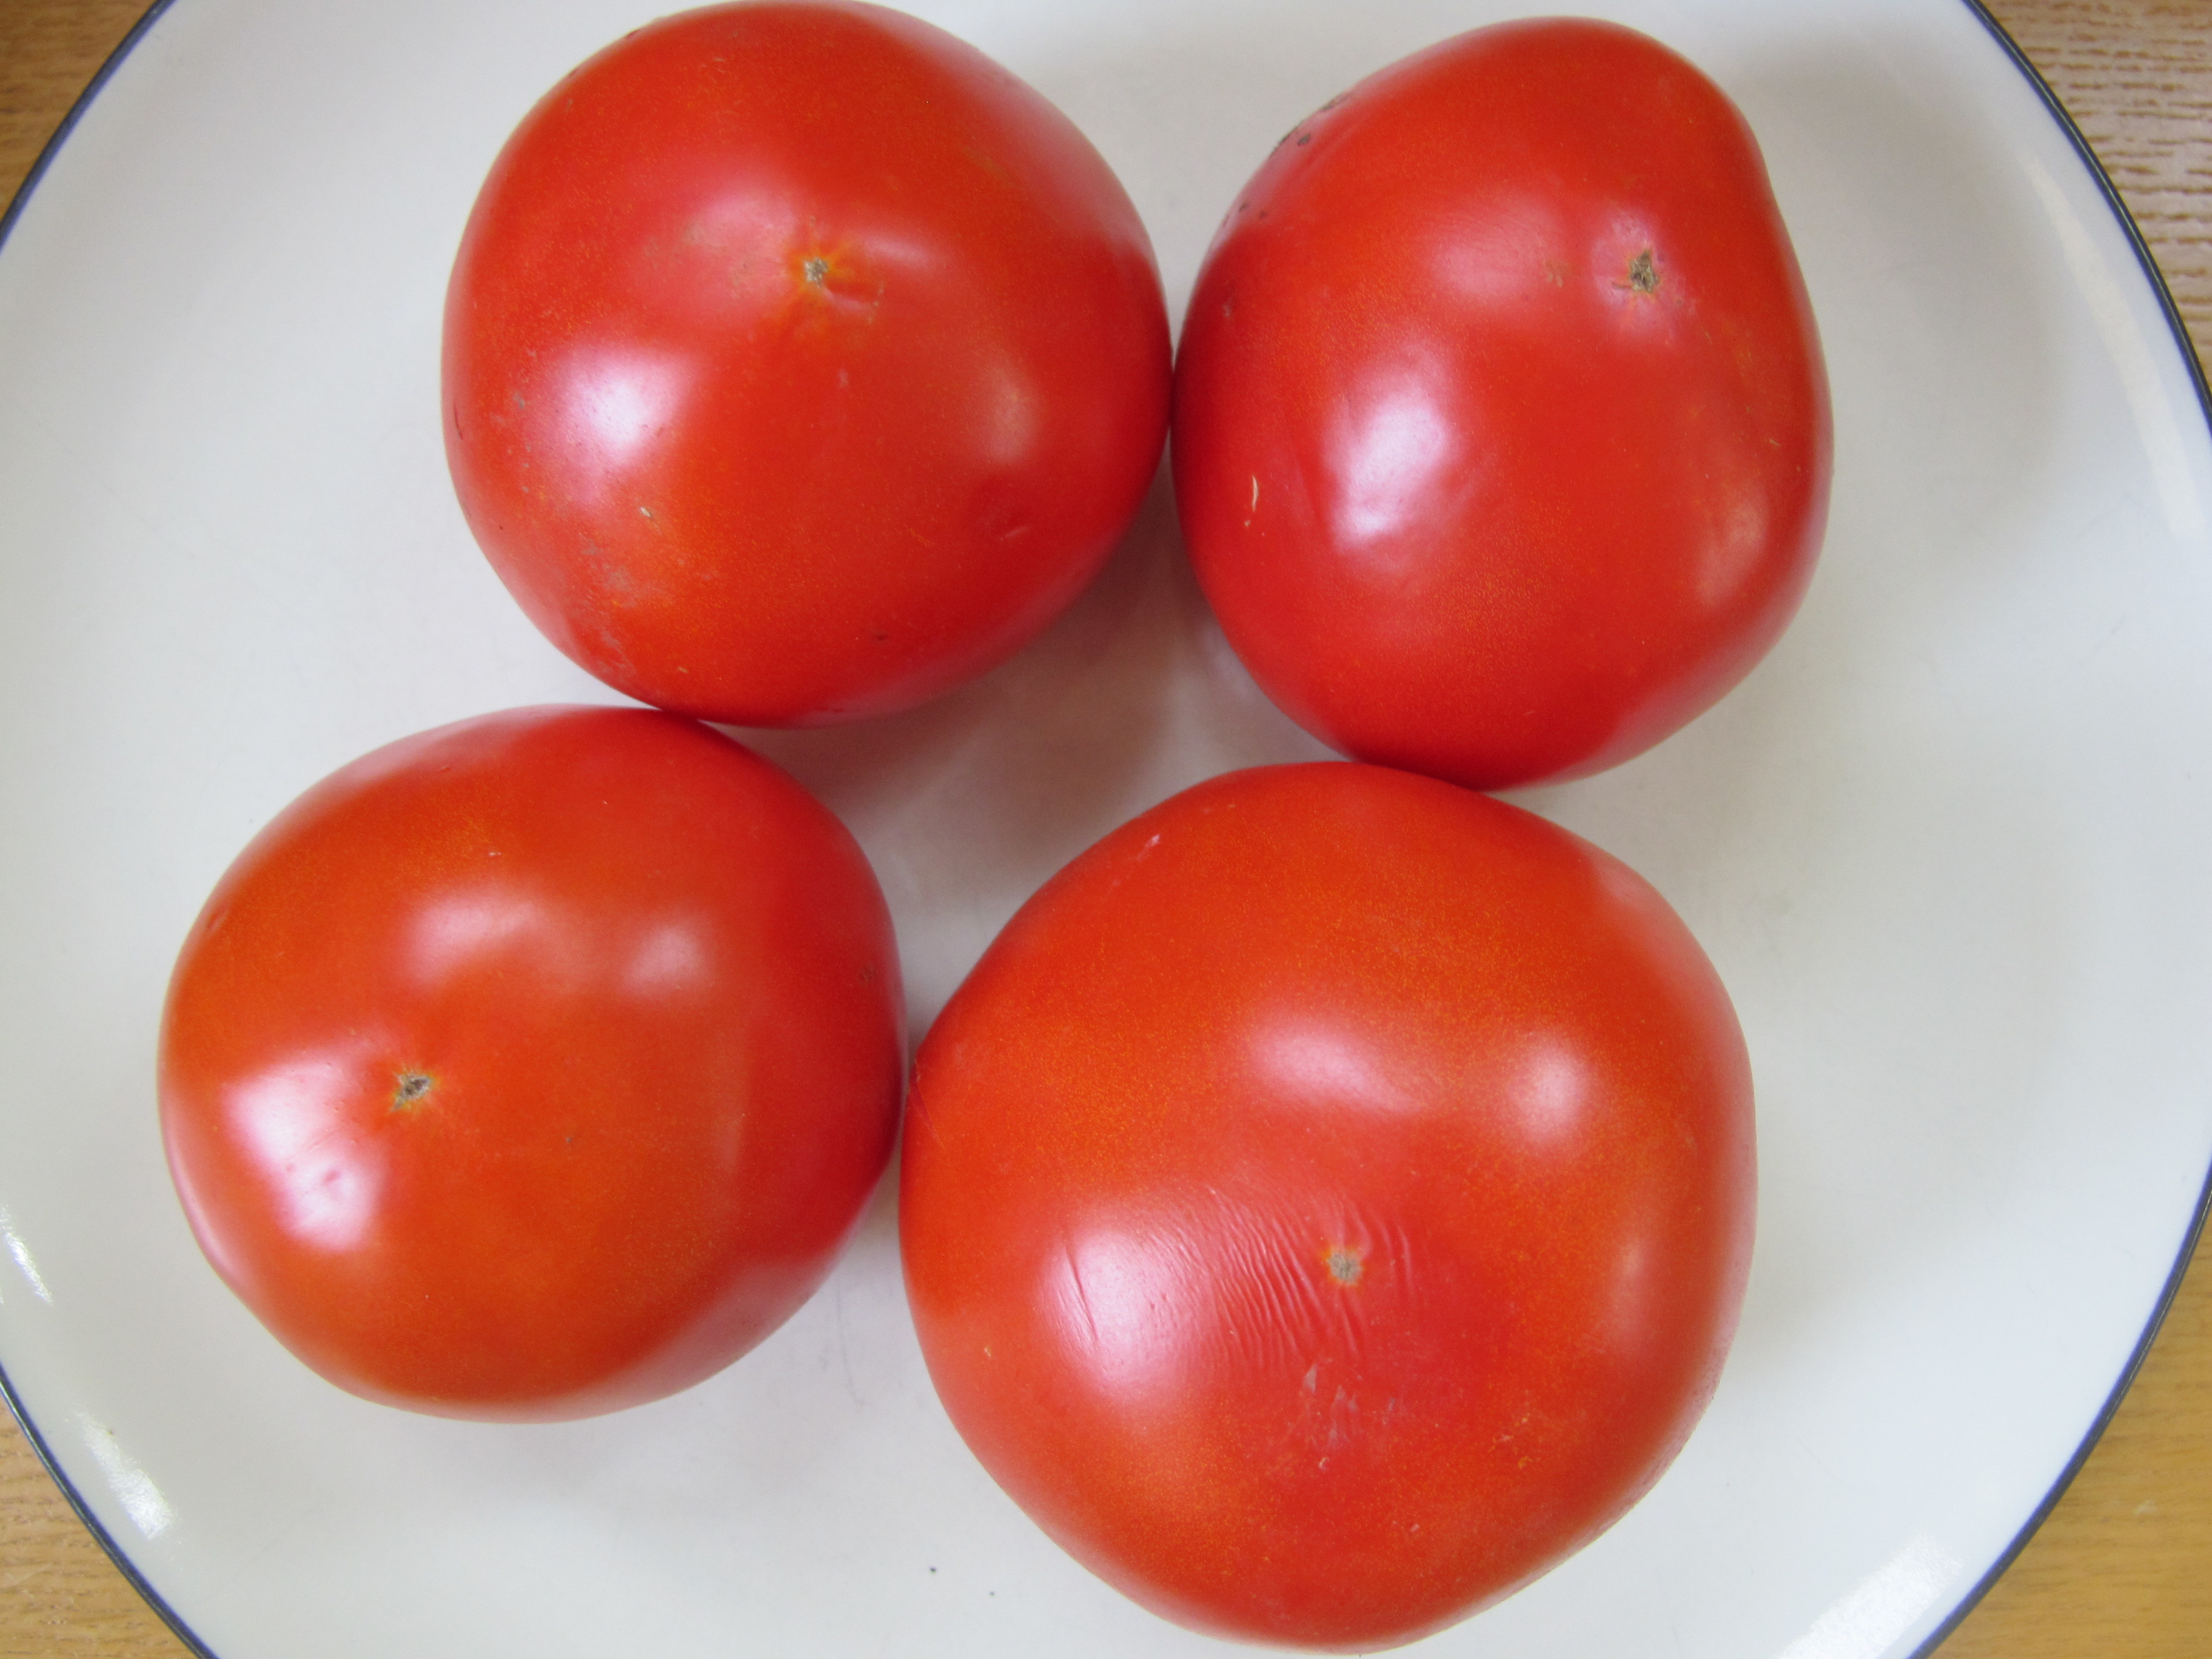
2 apples cored, peeled and diced into 1/2″ chunks
1 Tablespoon butter, melted
1/4 Cup Brown Sugar
1/2 tsp cinnamon
1/2 tsp salt

Instructions

Prep apples and vanilla:

Preheat grill/smoker to 250-275 degrees

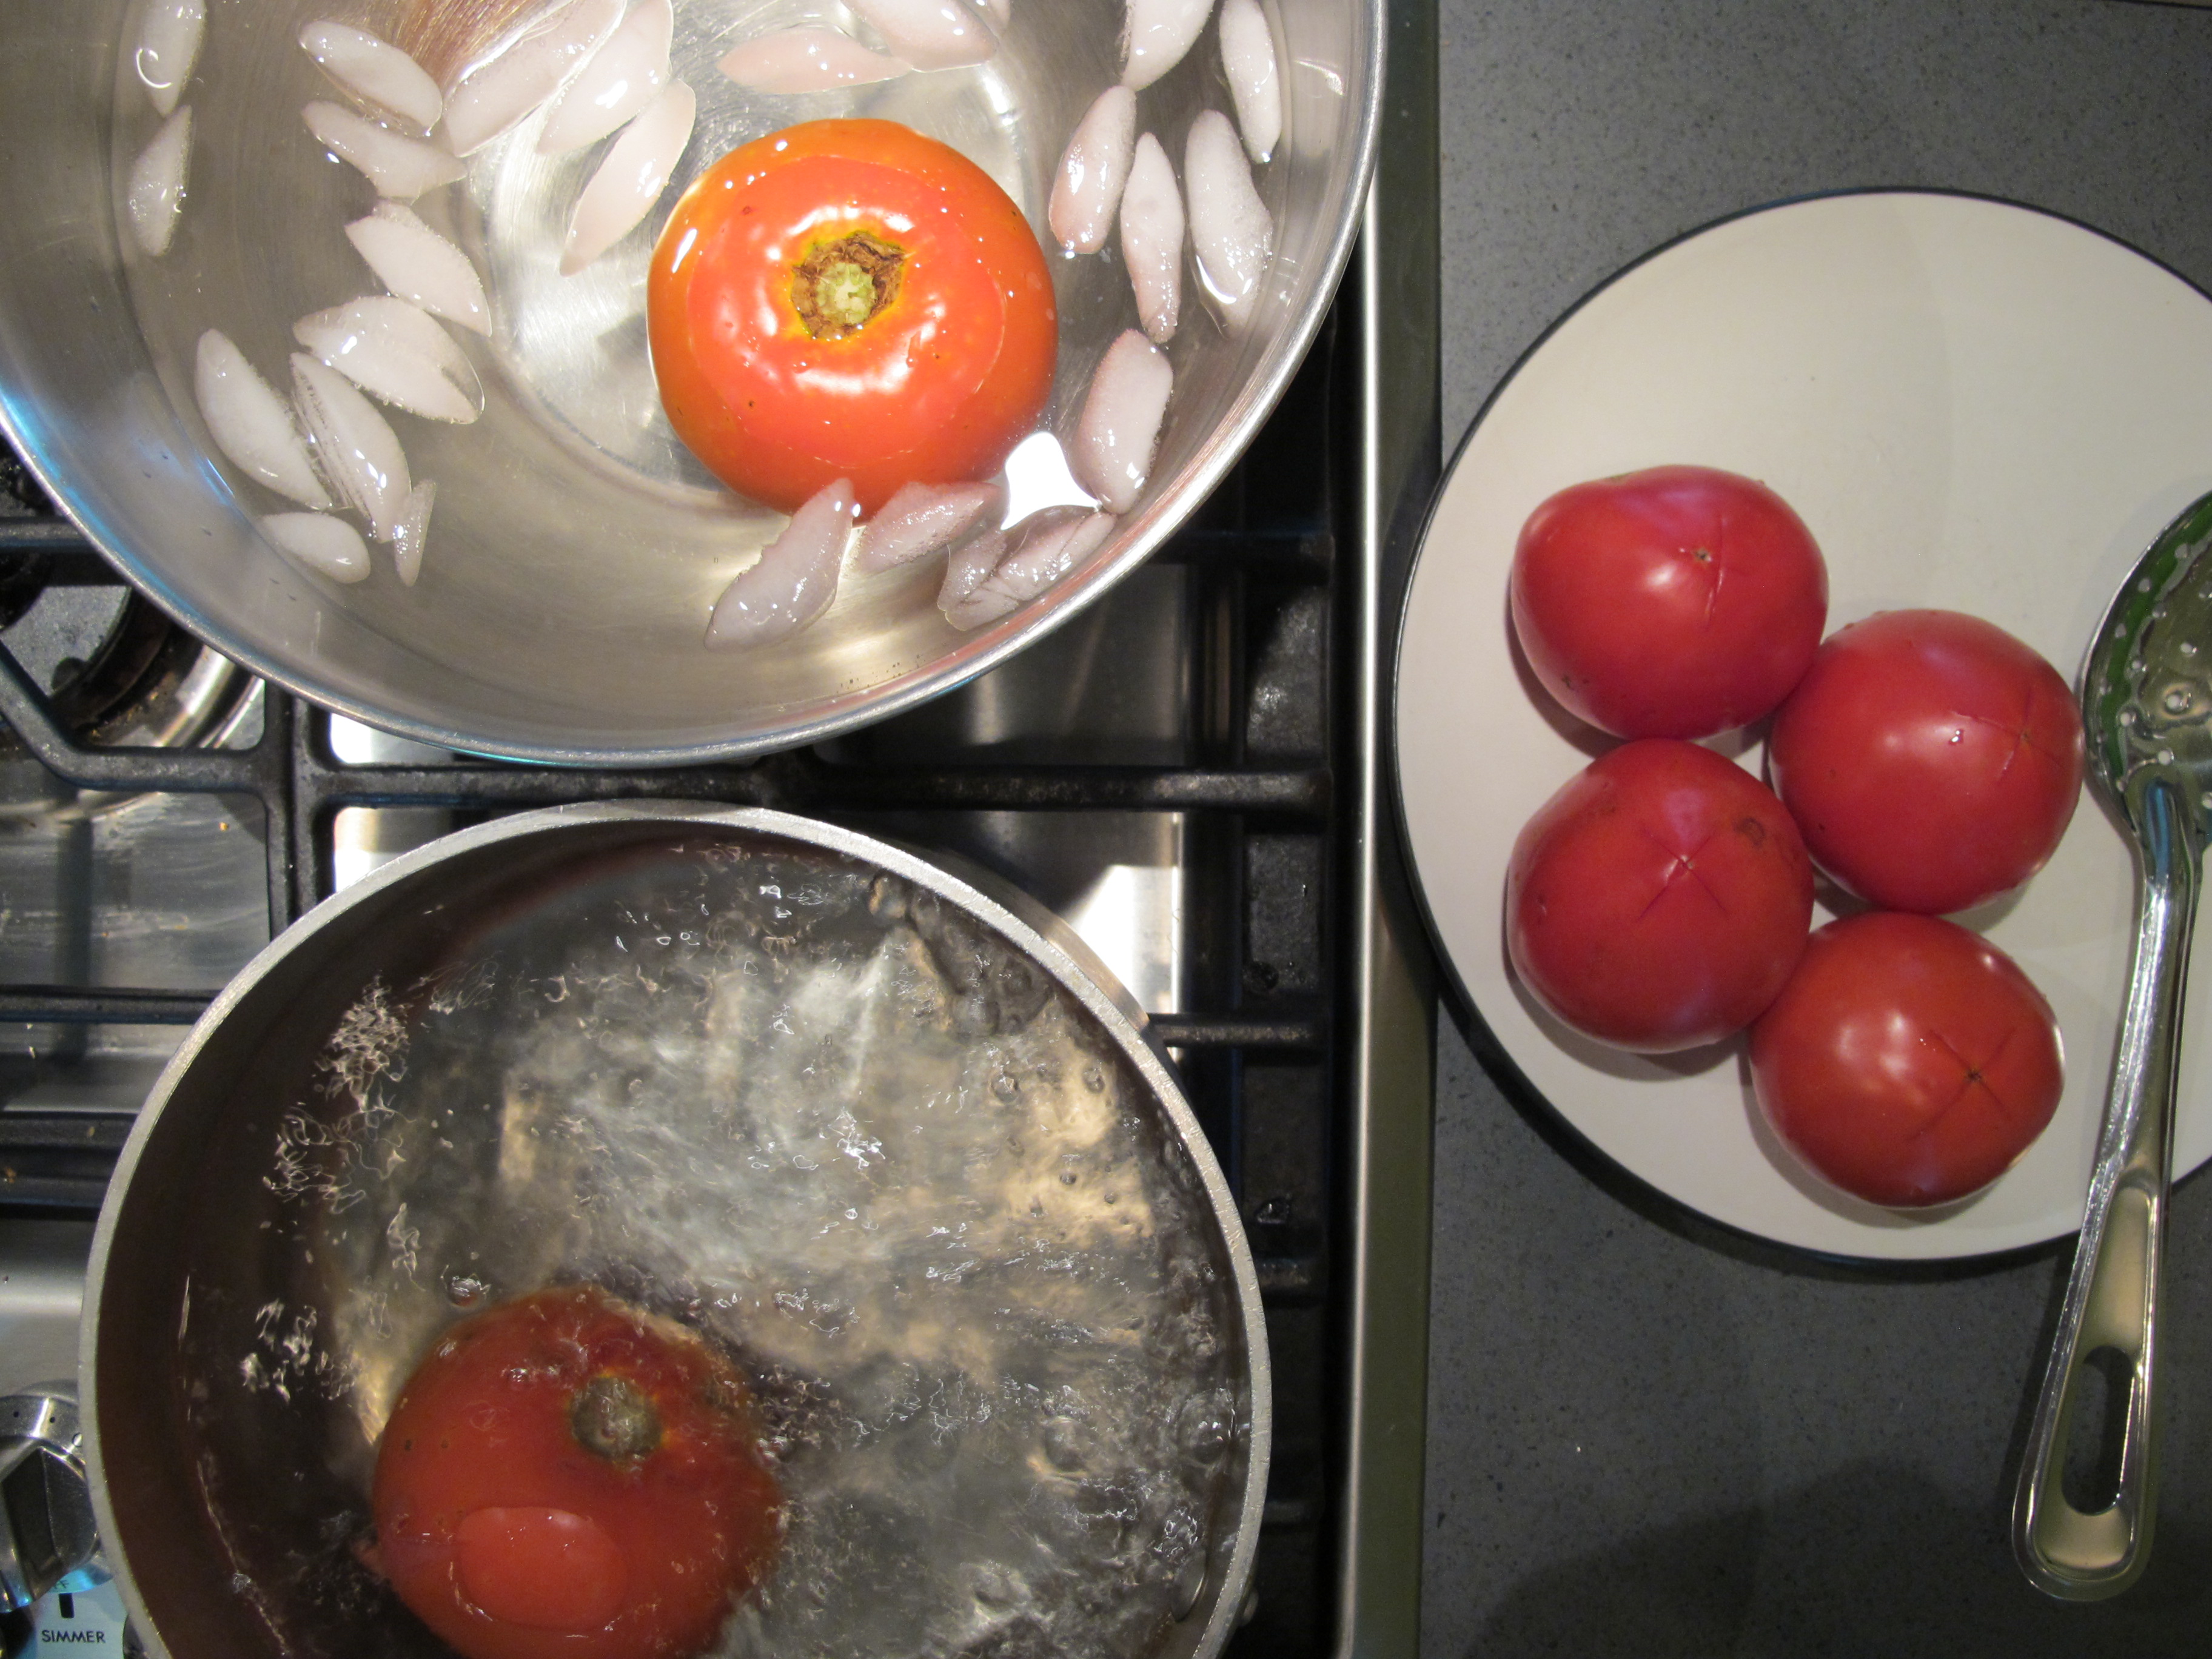
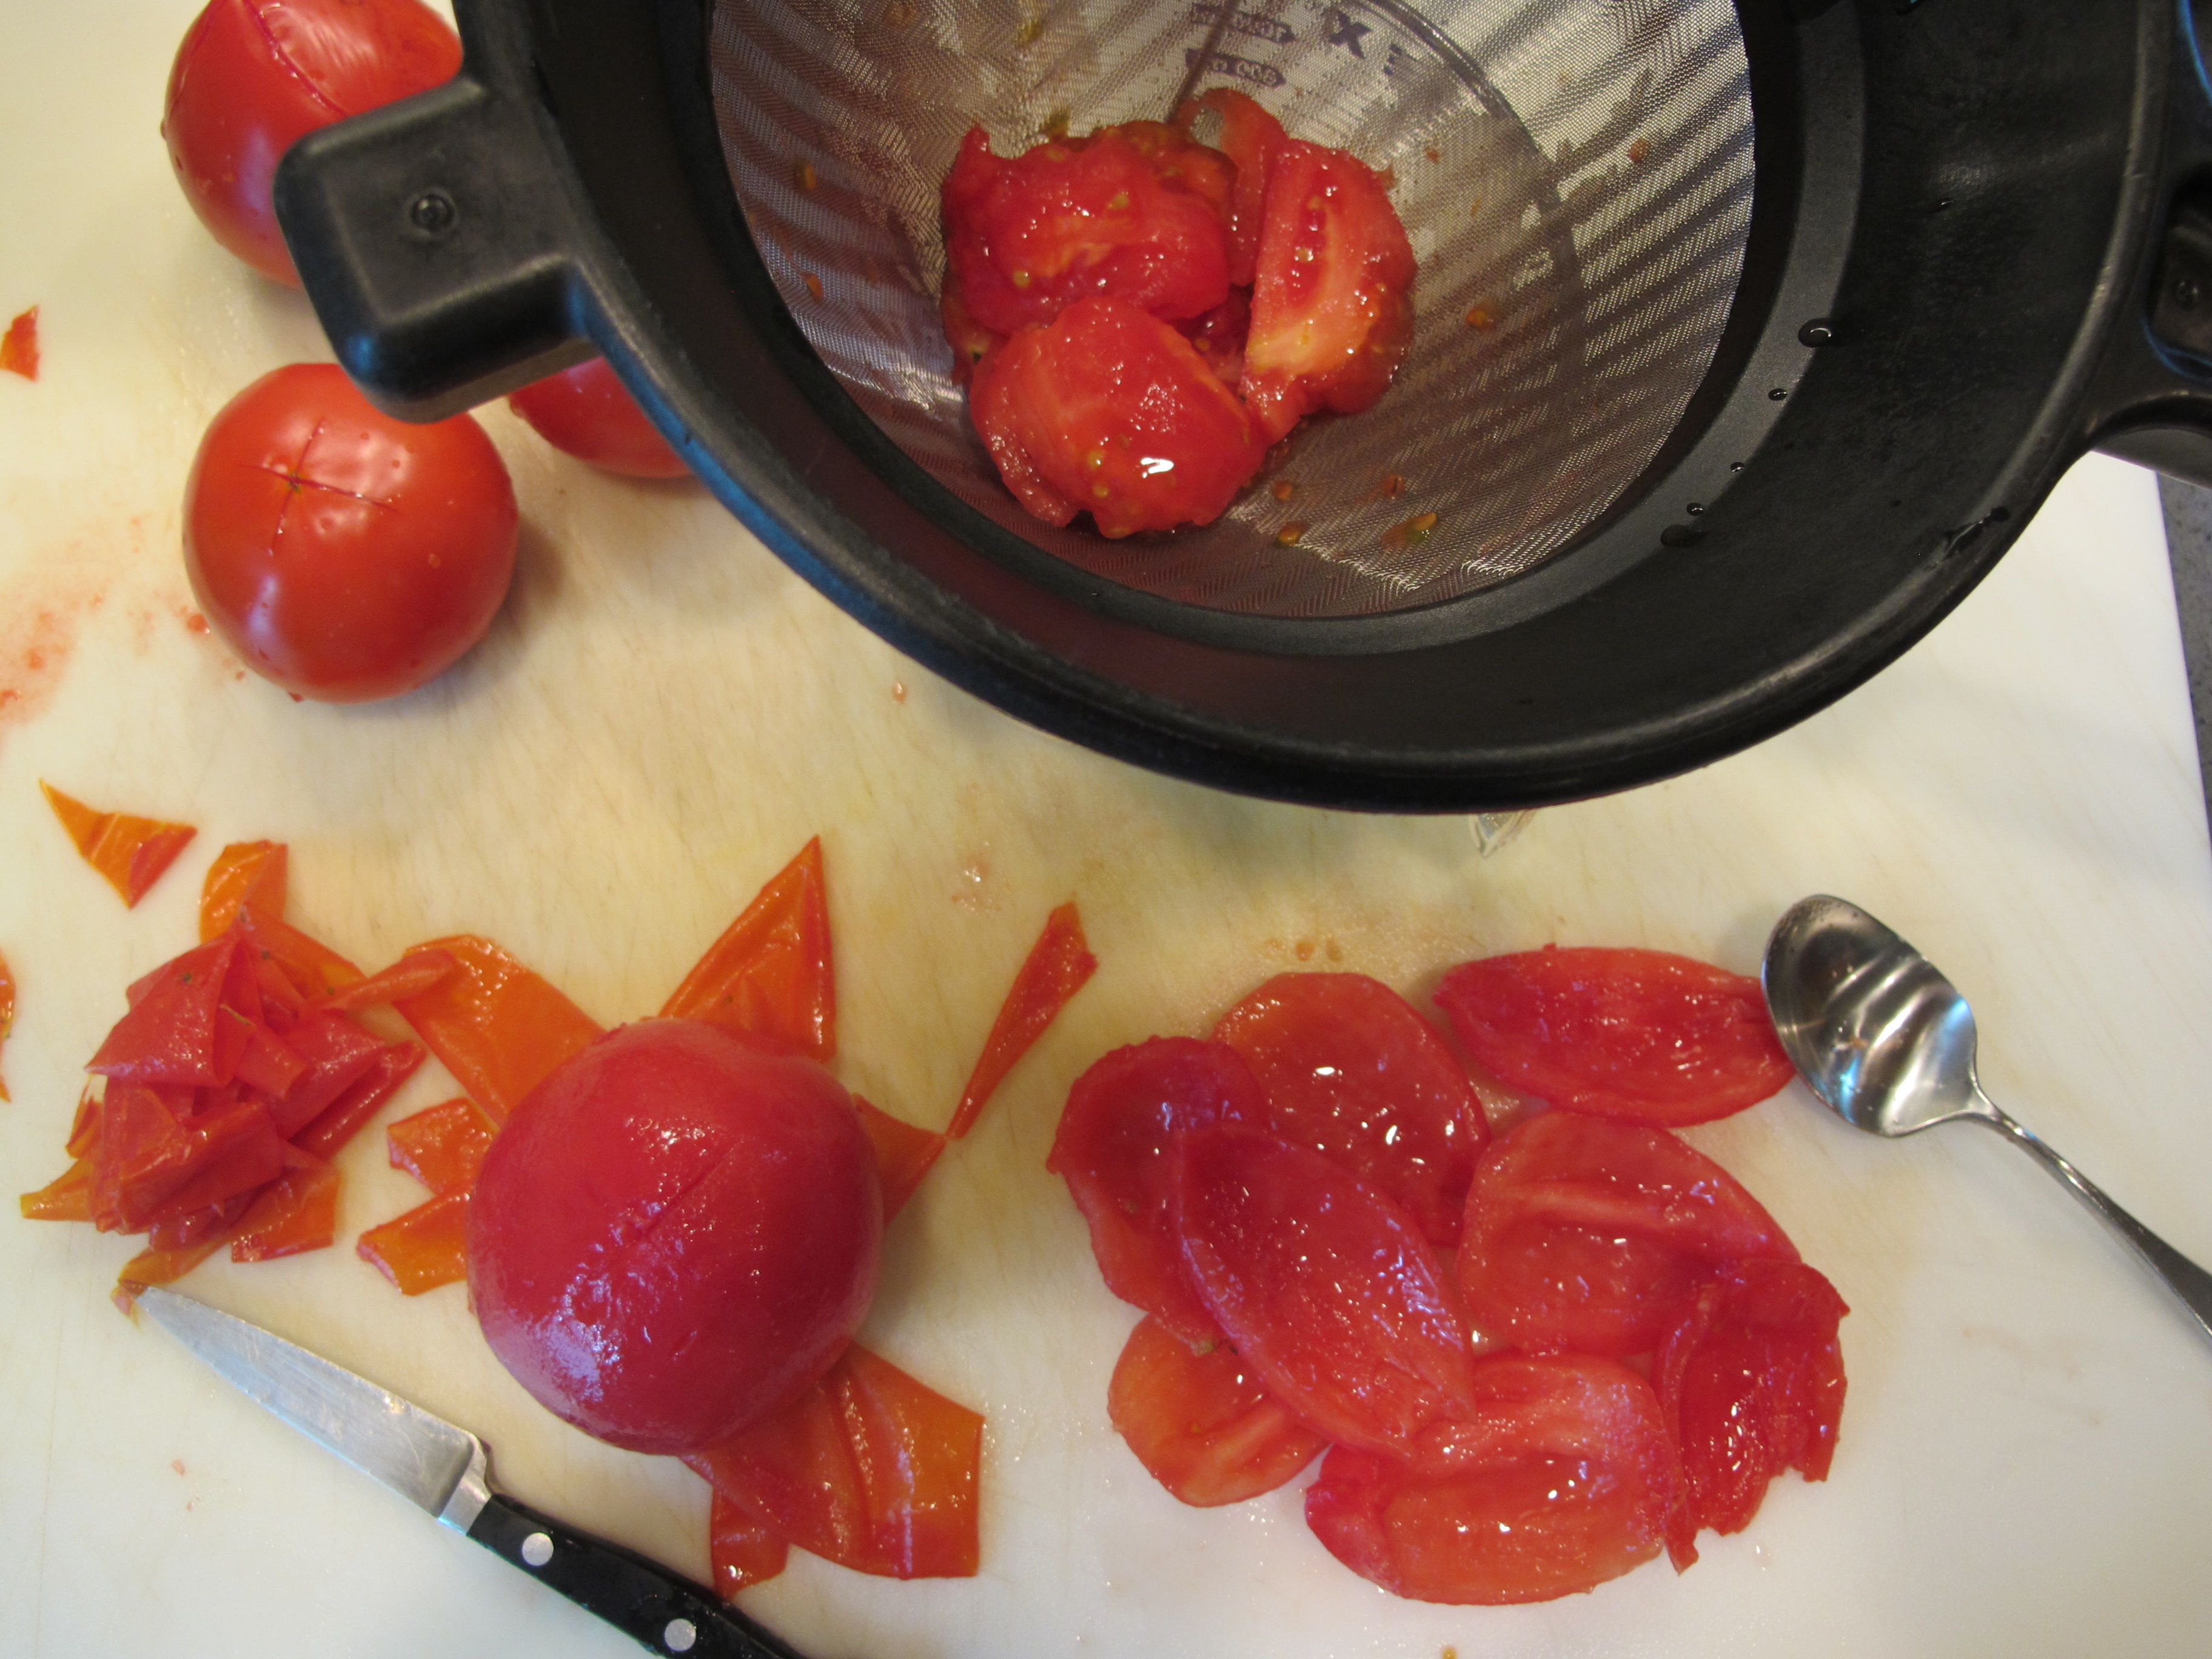
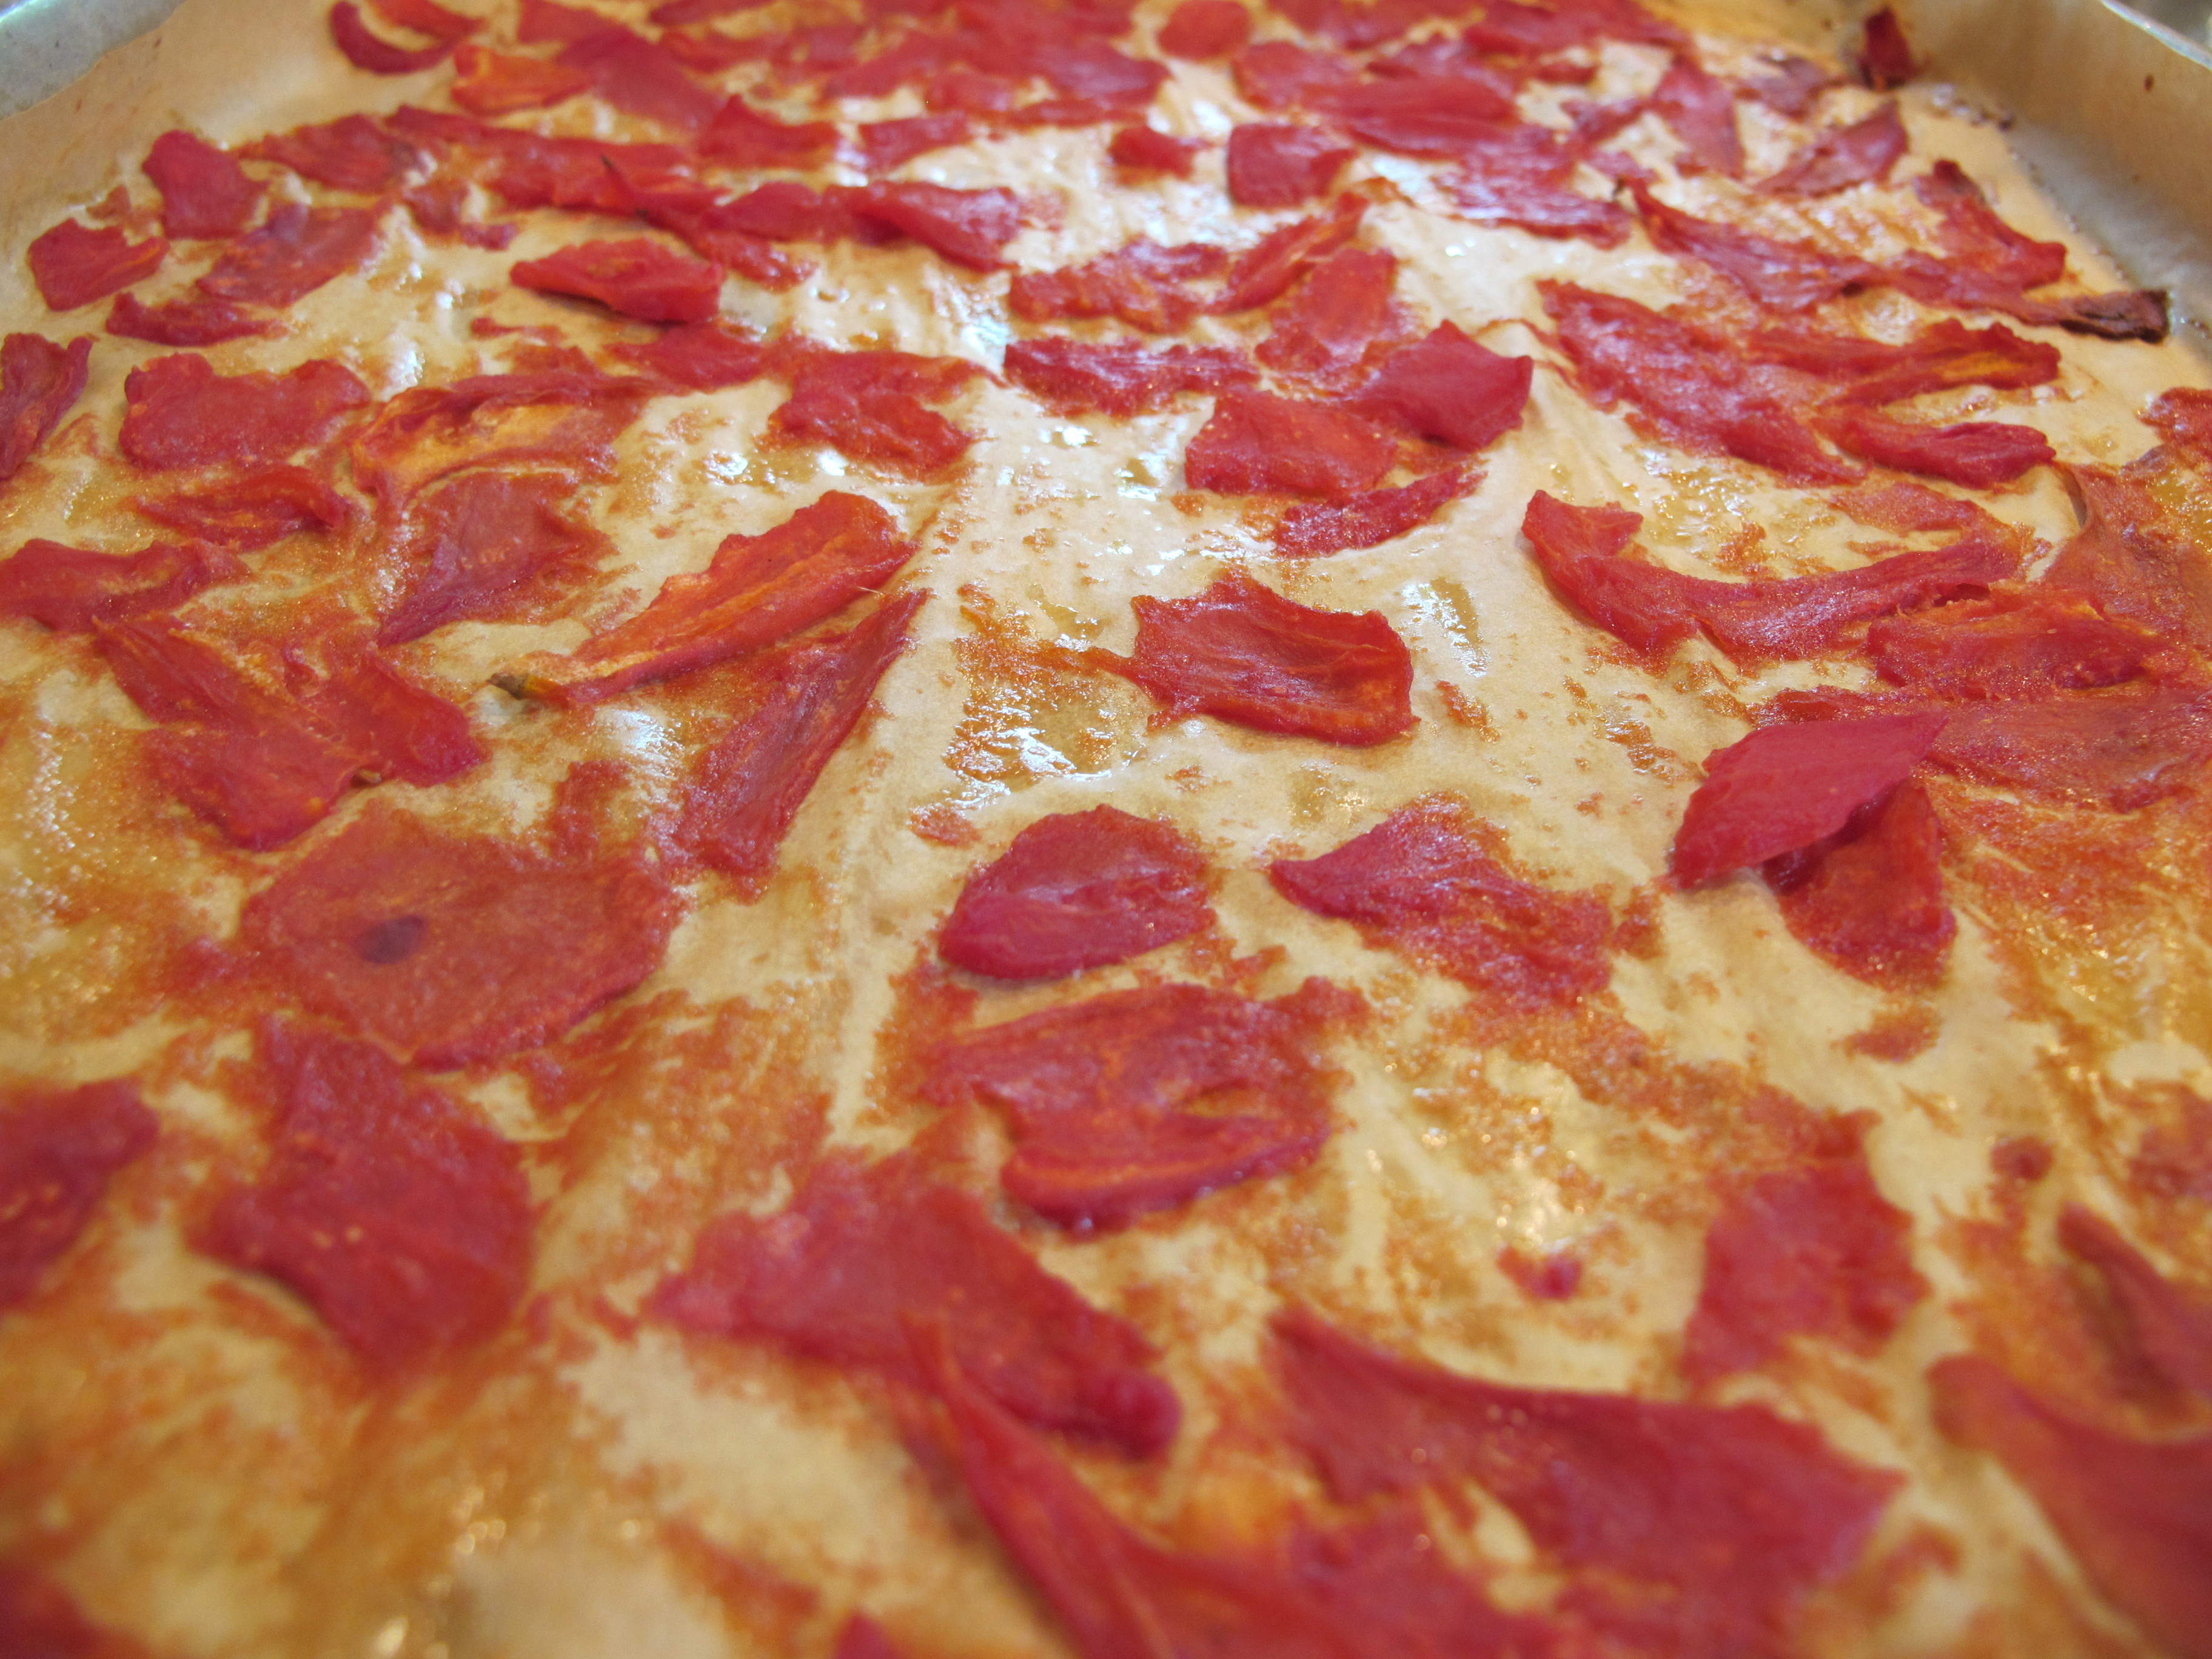
Mix together the brown sugar, cinnamon and butter in a bowl and toss apples in mixture until well coated.  Spread the apples out on sheet pan in one layer and place over indirect heat in smoker/grill.  Place vanilla beans also over the indirect heat.  Smoke apples and vanilla for approximately one hour until apples have shrunk but not completely dried up.  Vanilla beans will dry out and become hard and brittle.  Let apples cool, then set aside and chill until ready to add into ice cream.  Set vanilla beans aside until you are ready to make ice cream base.

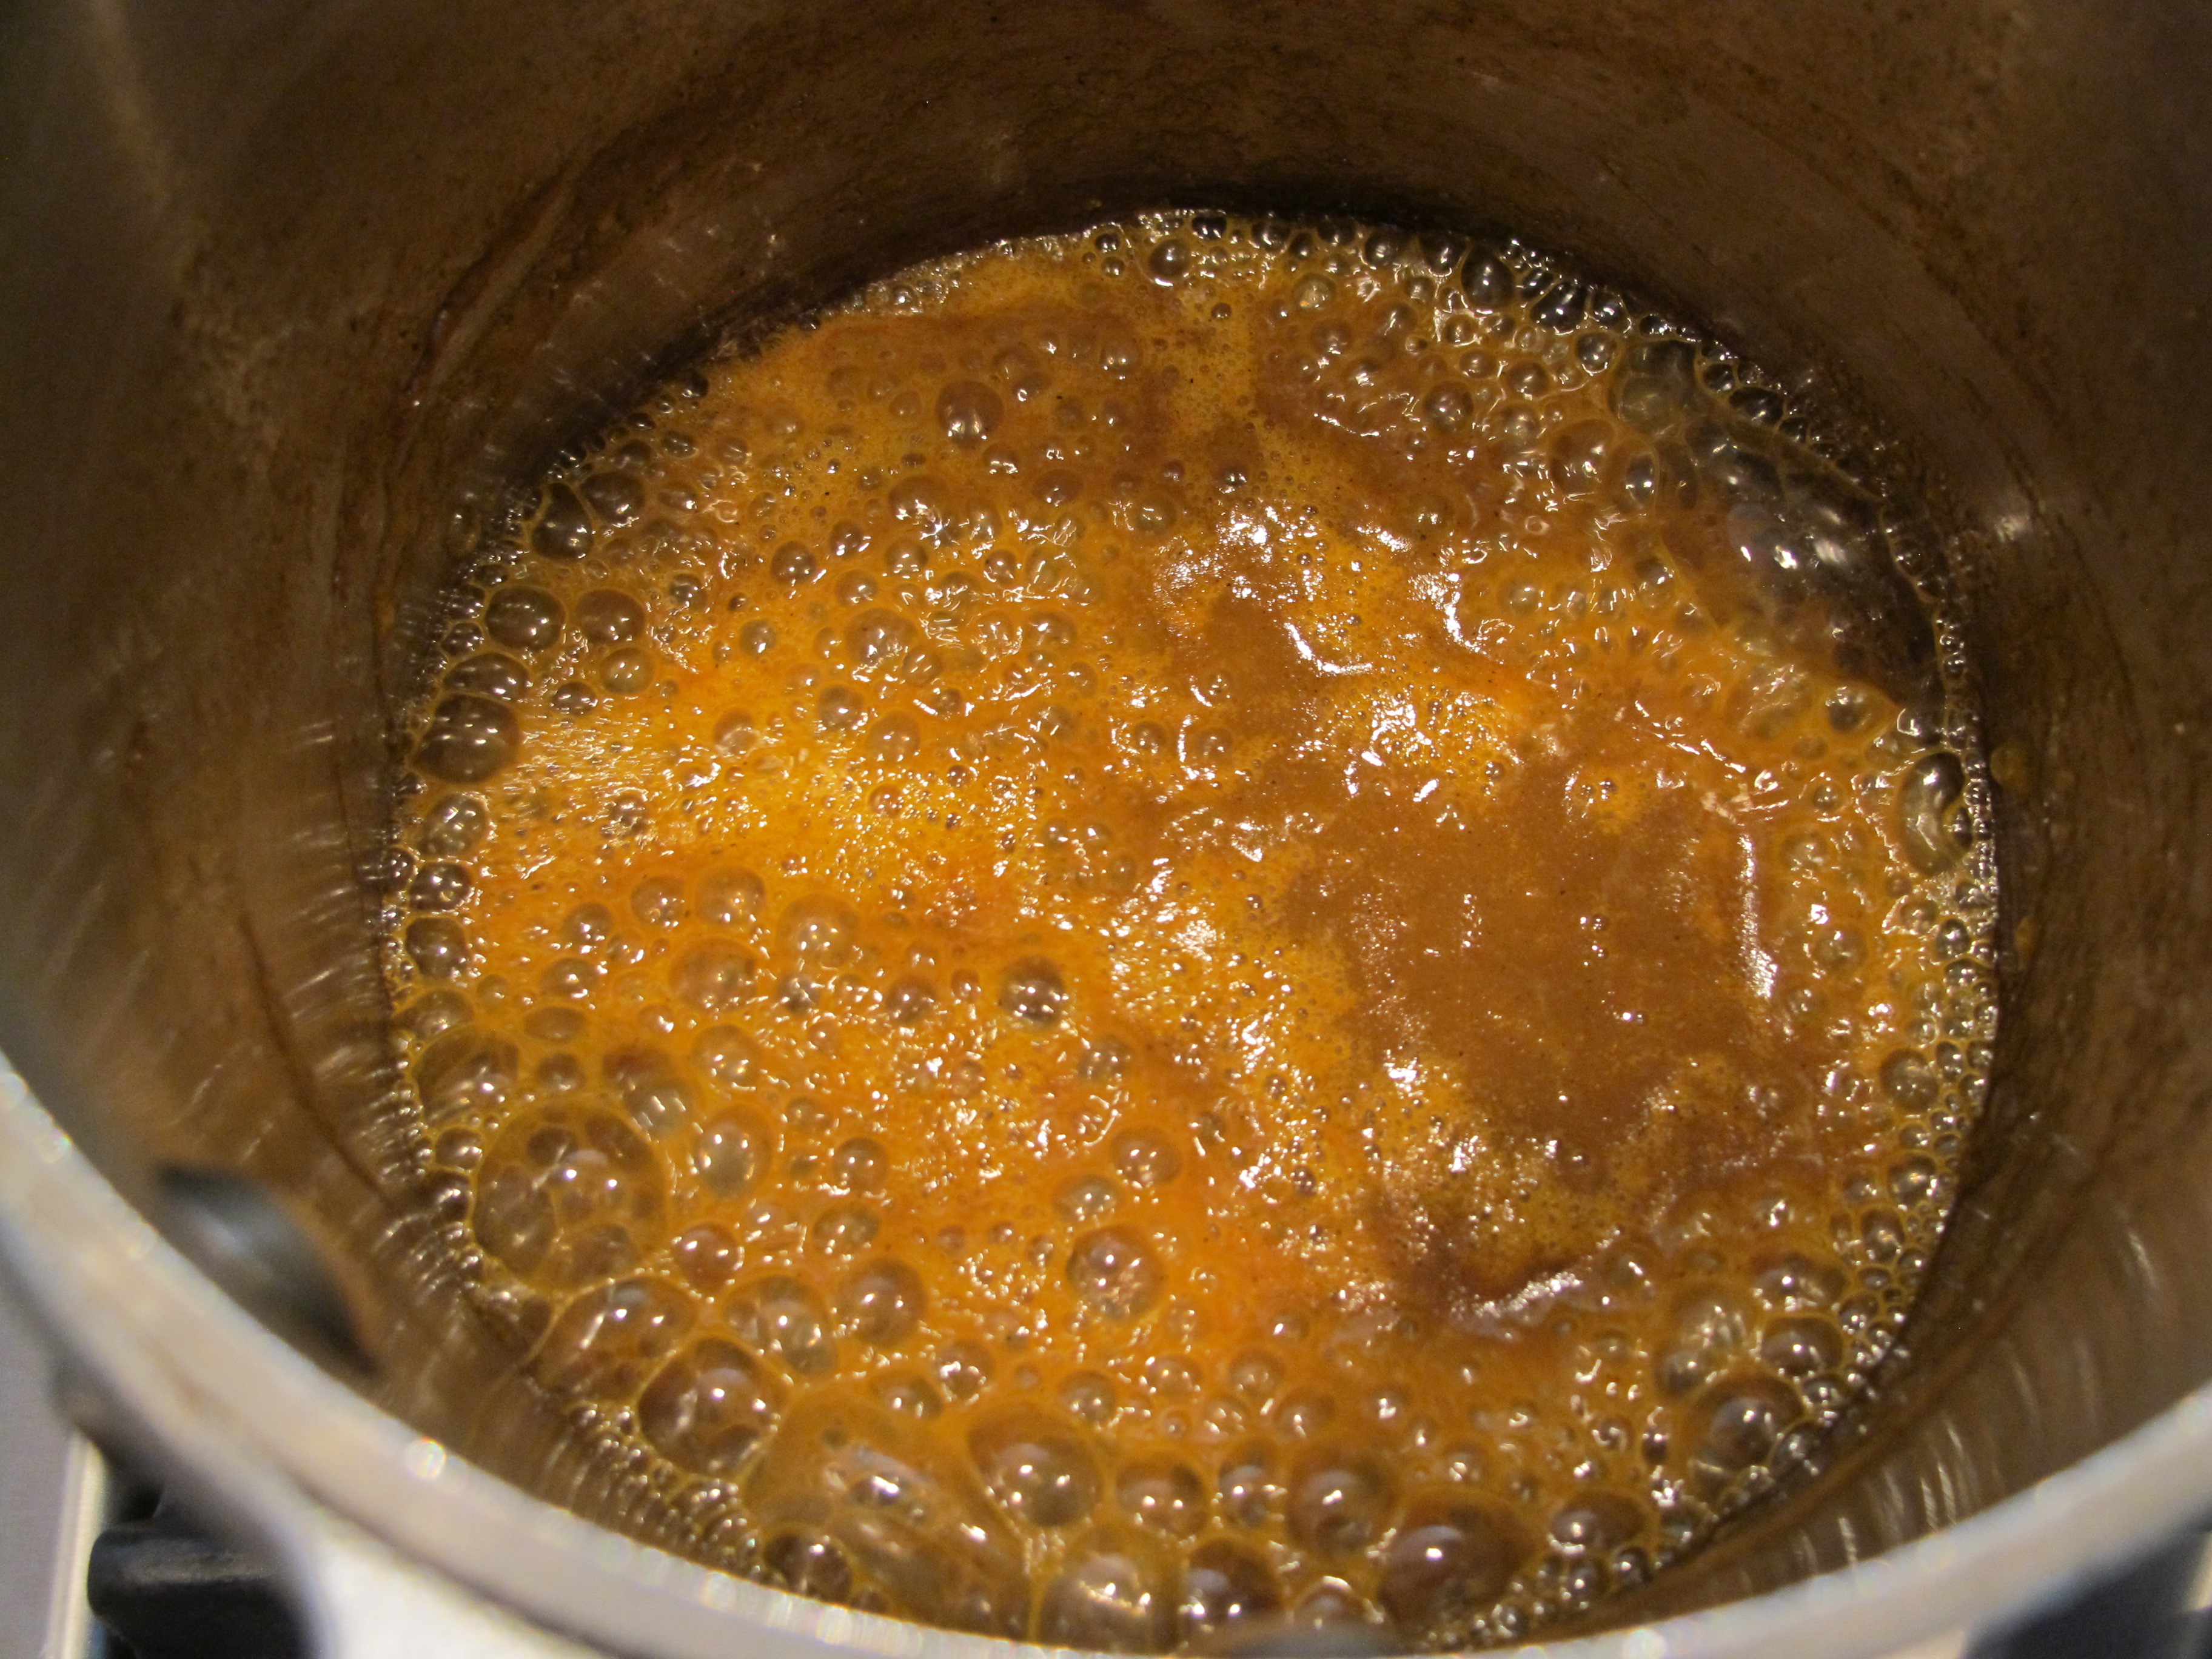
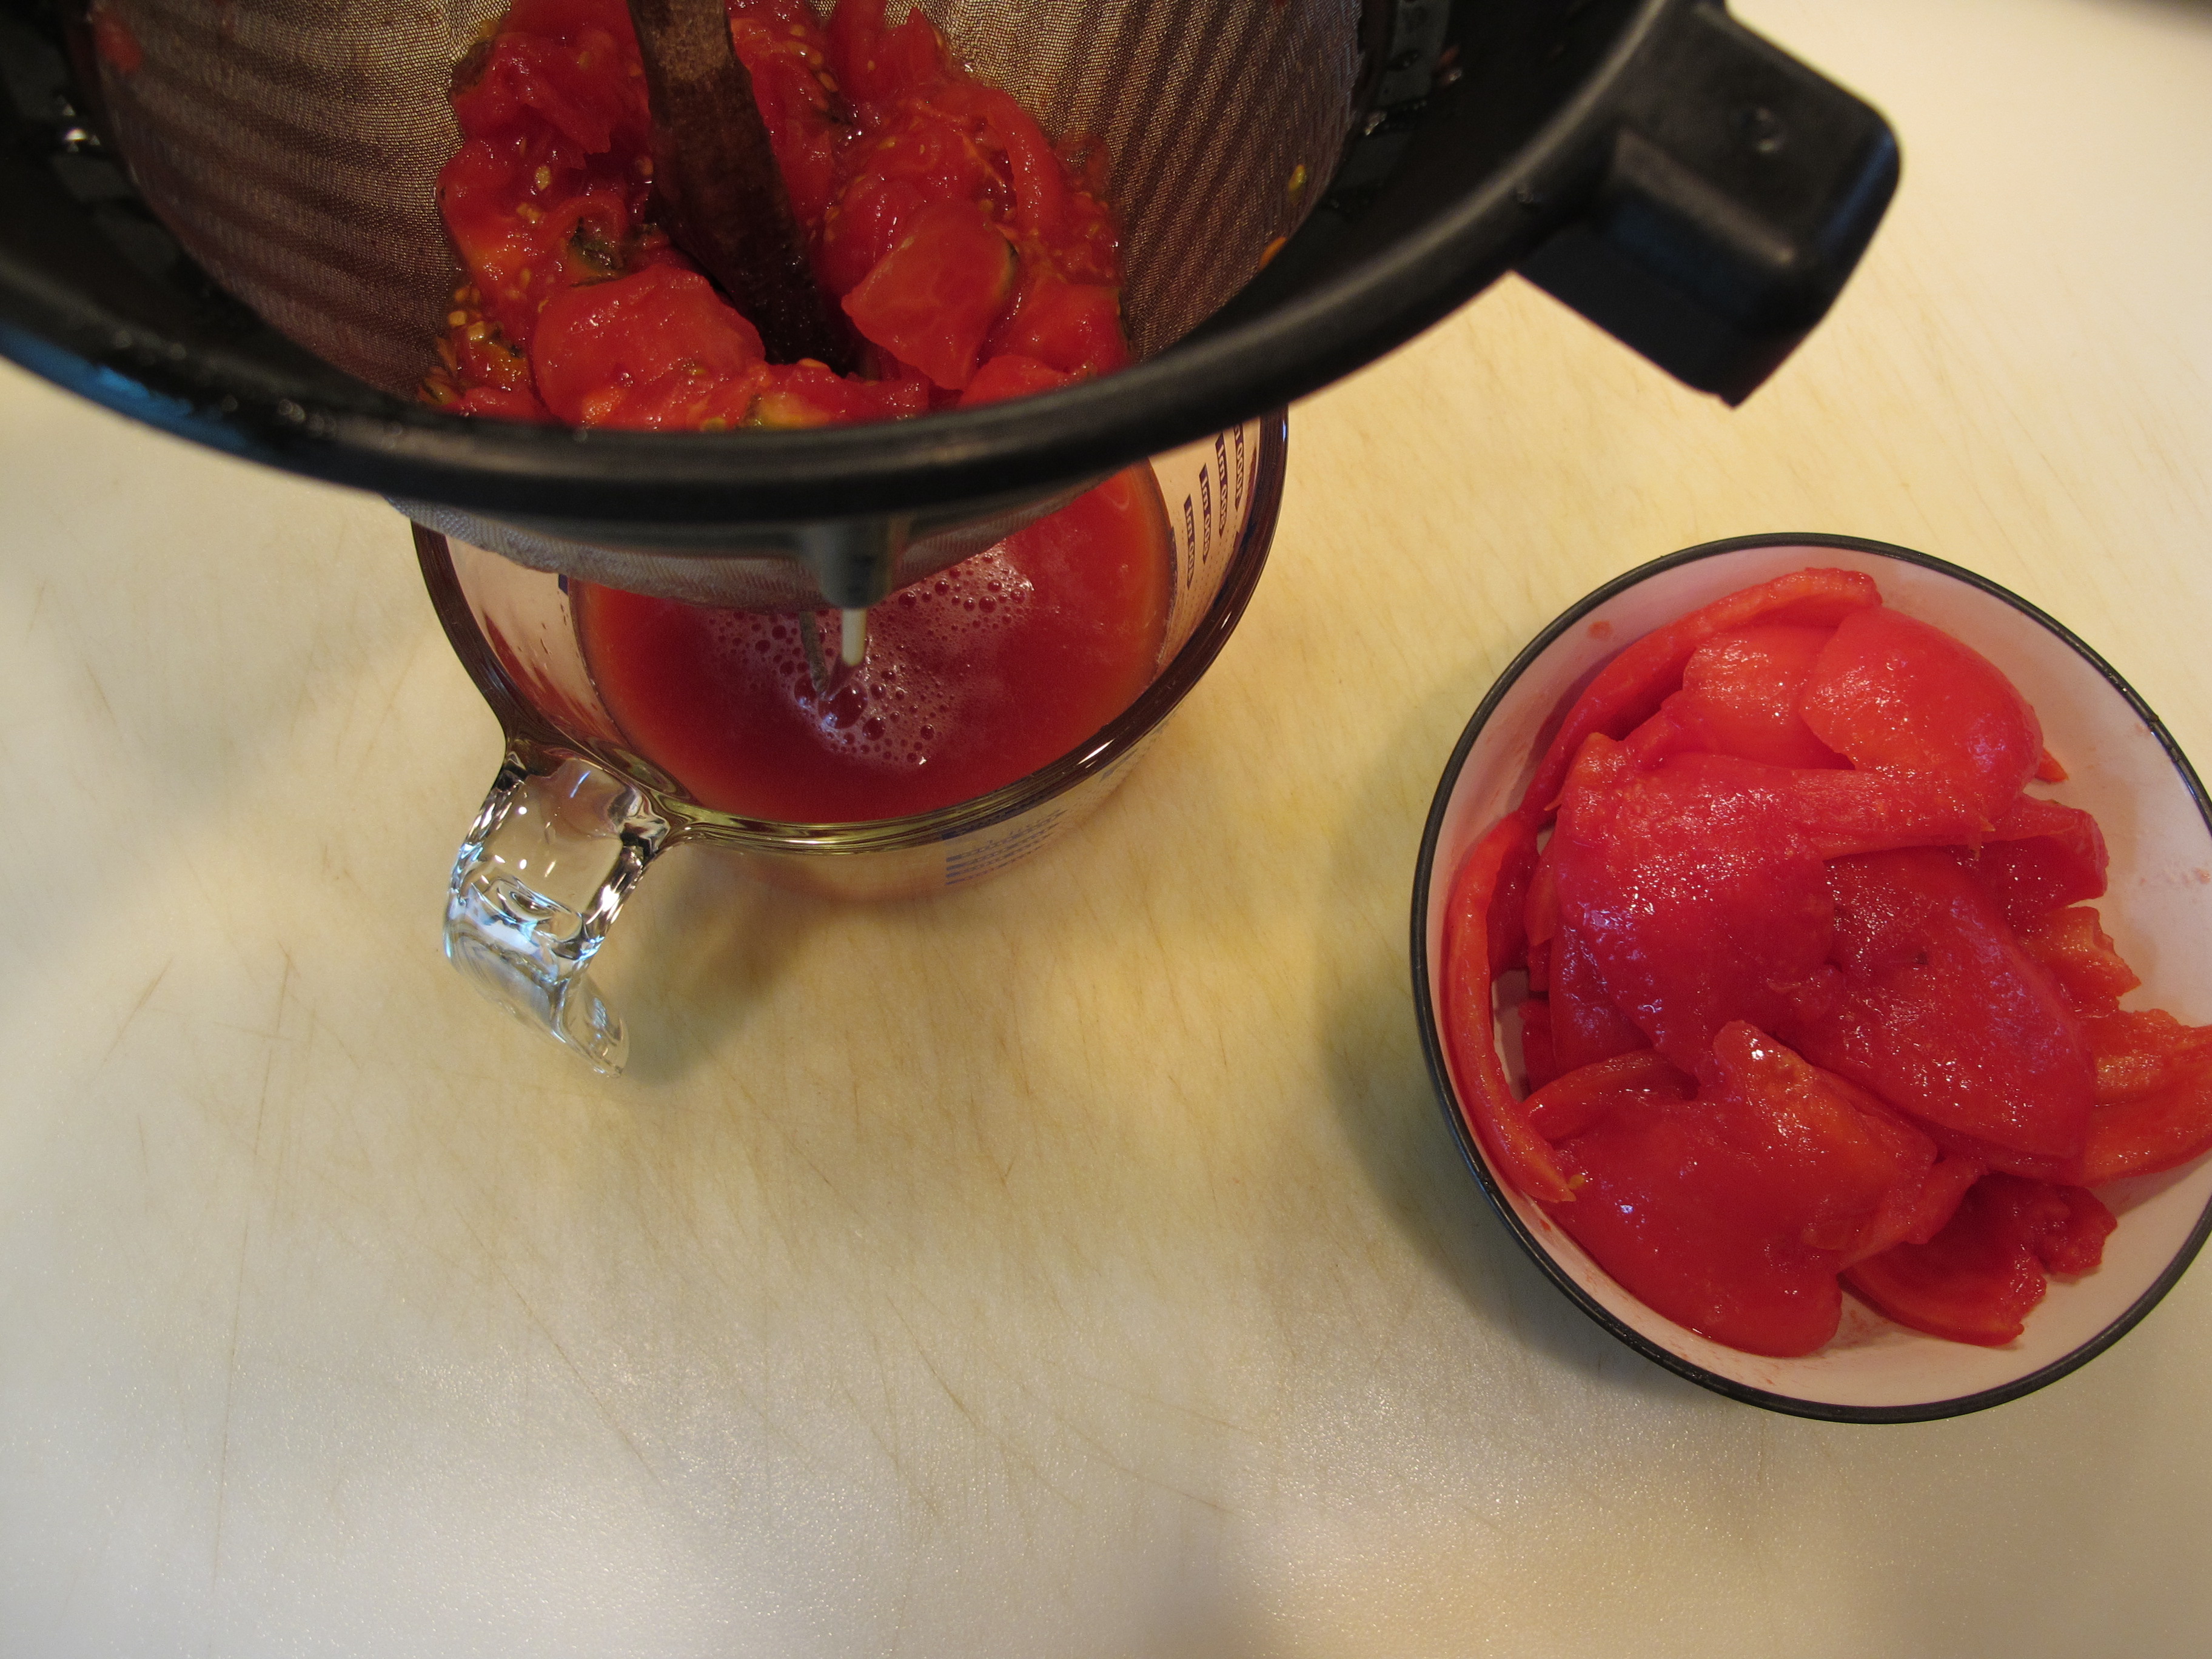
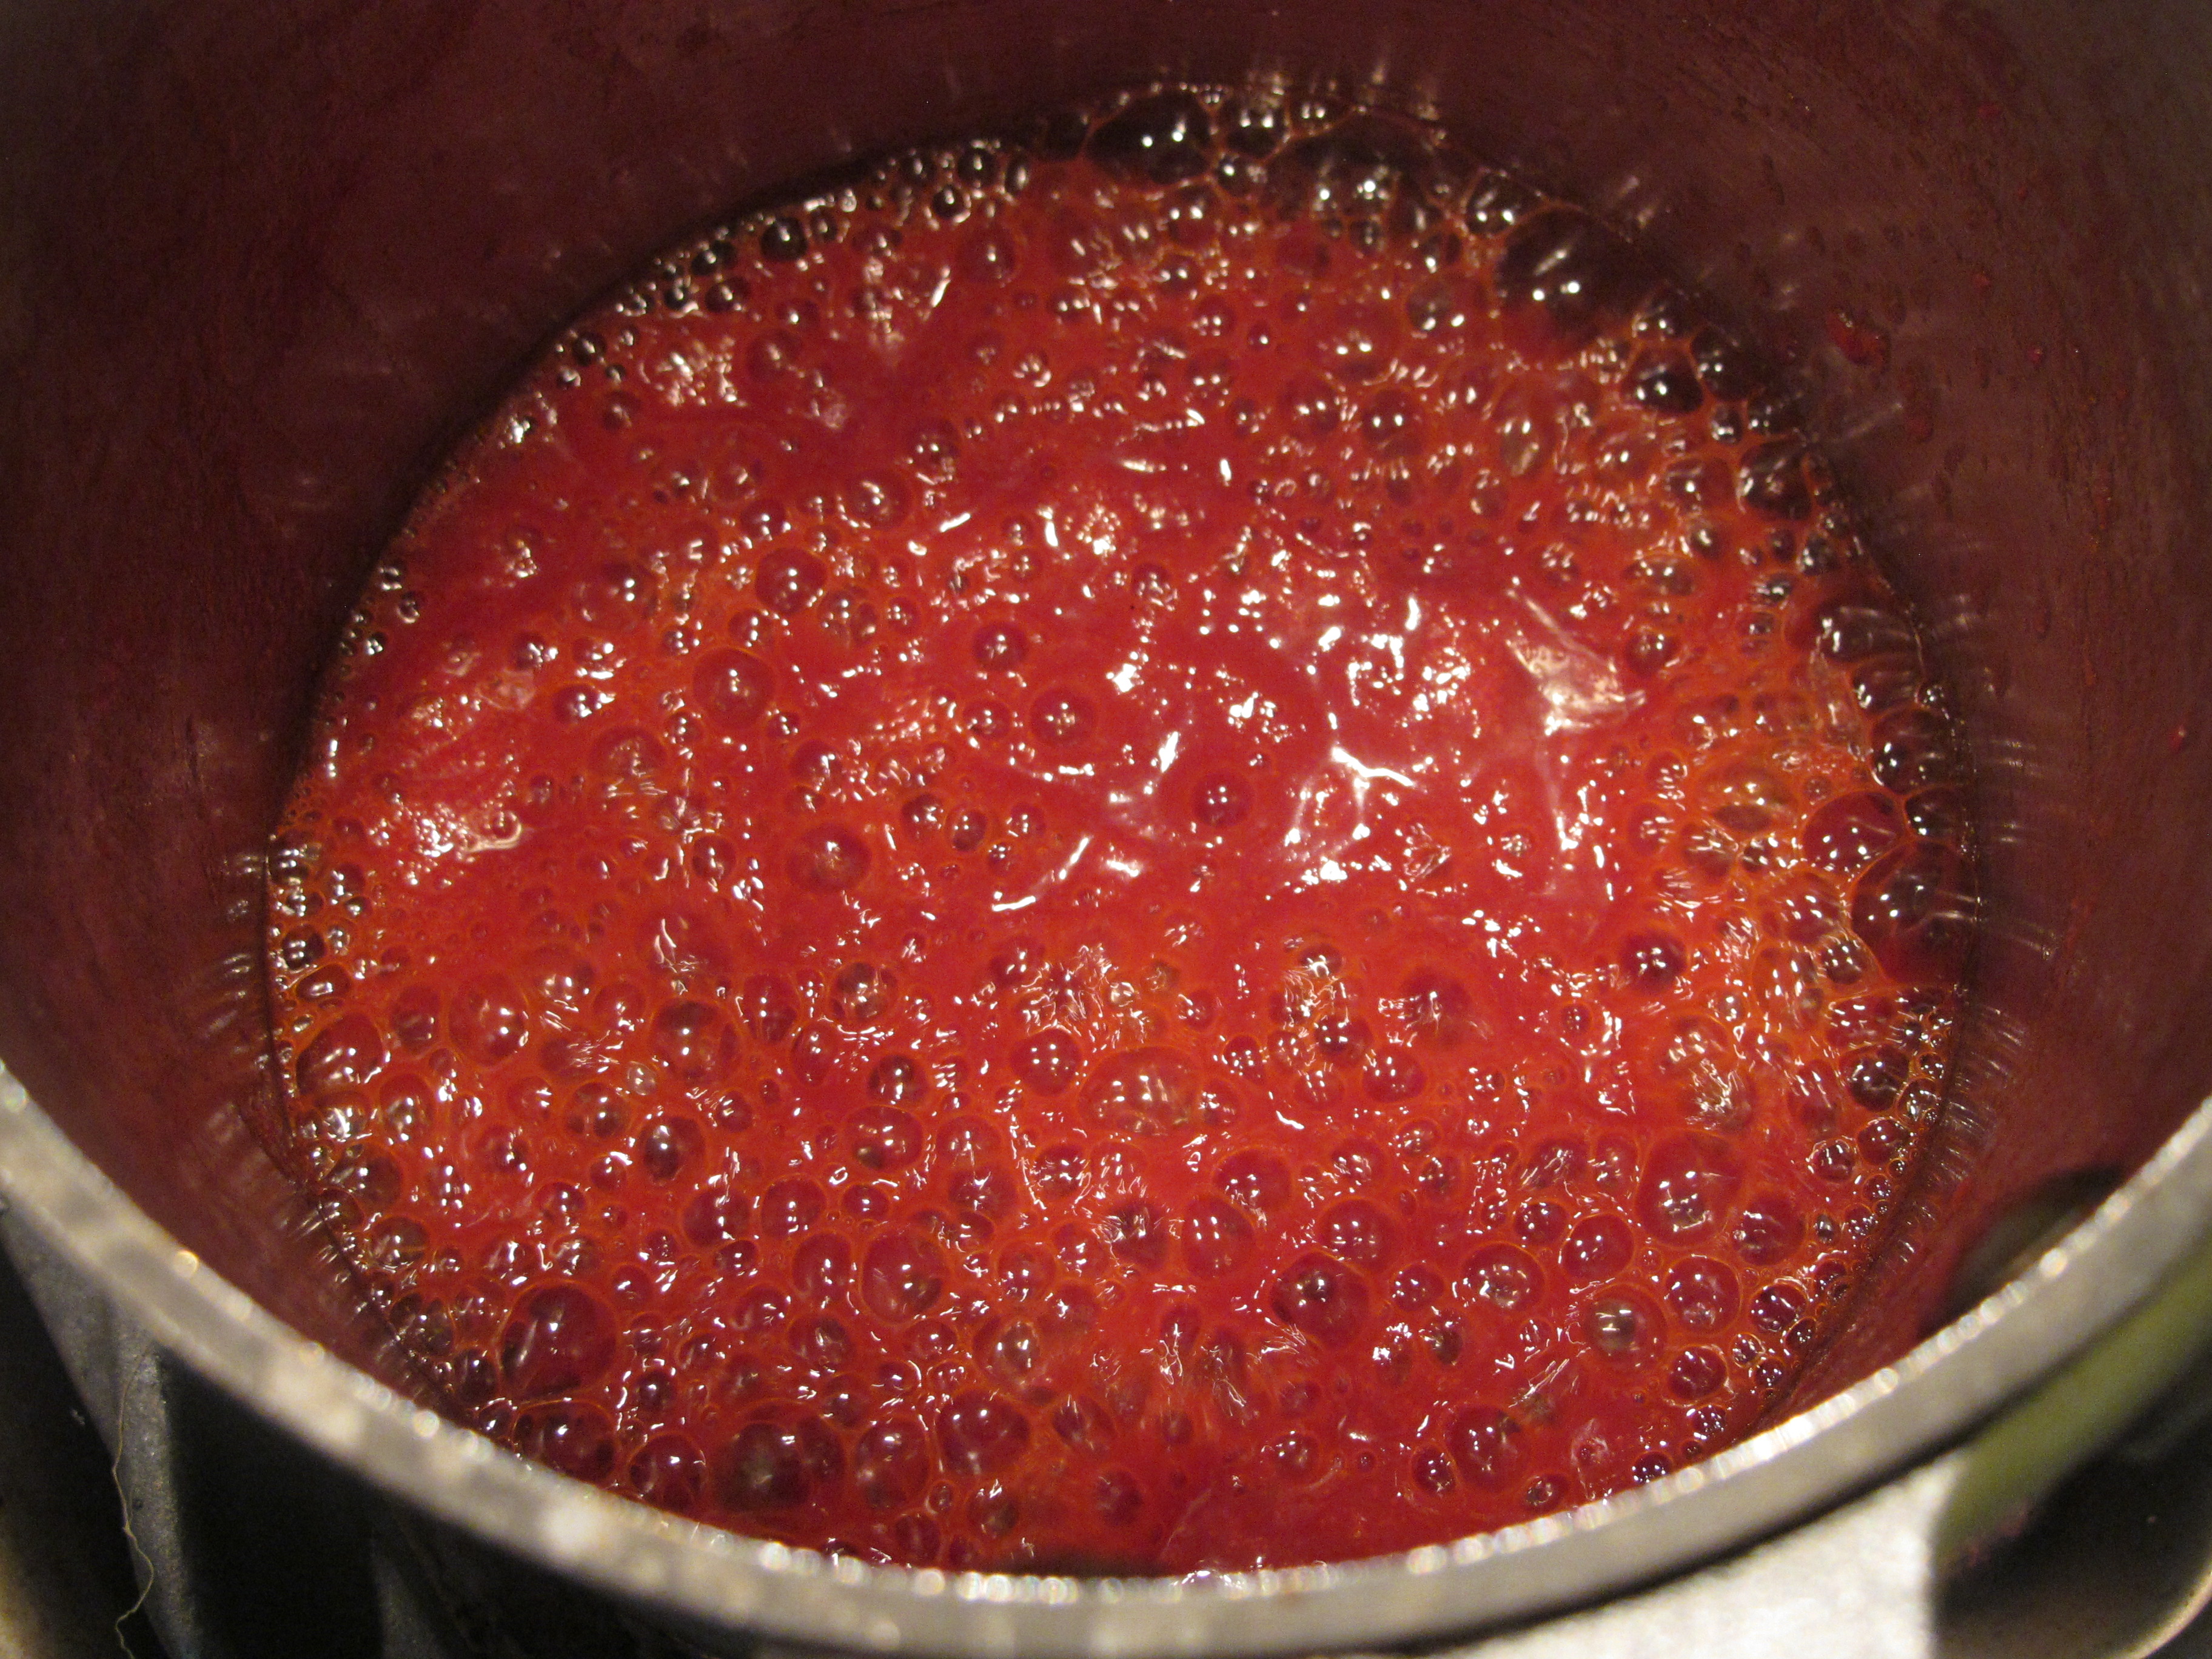
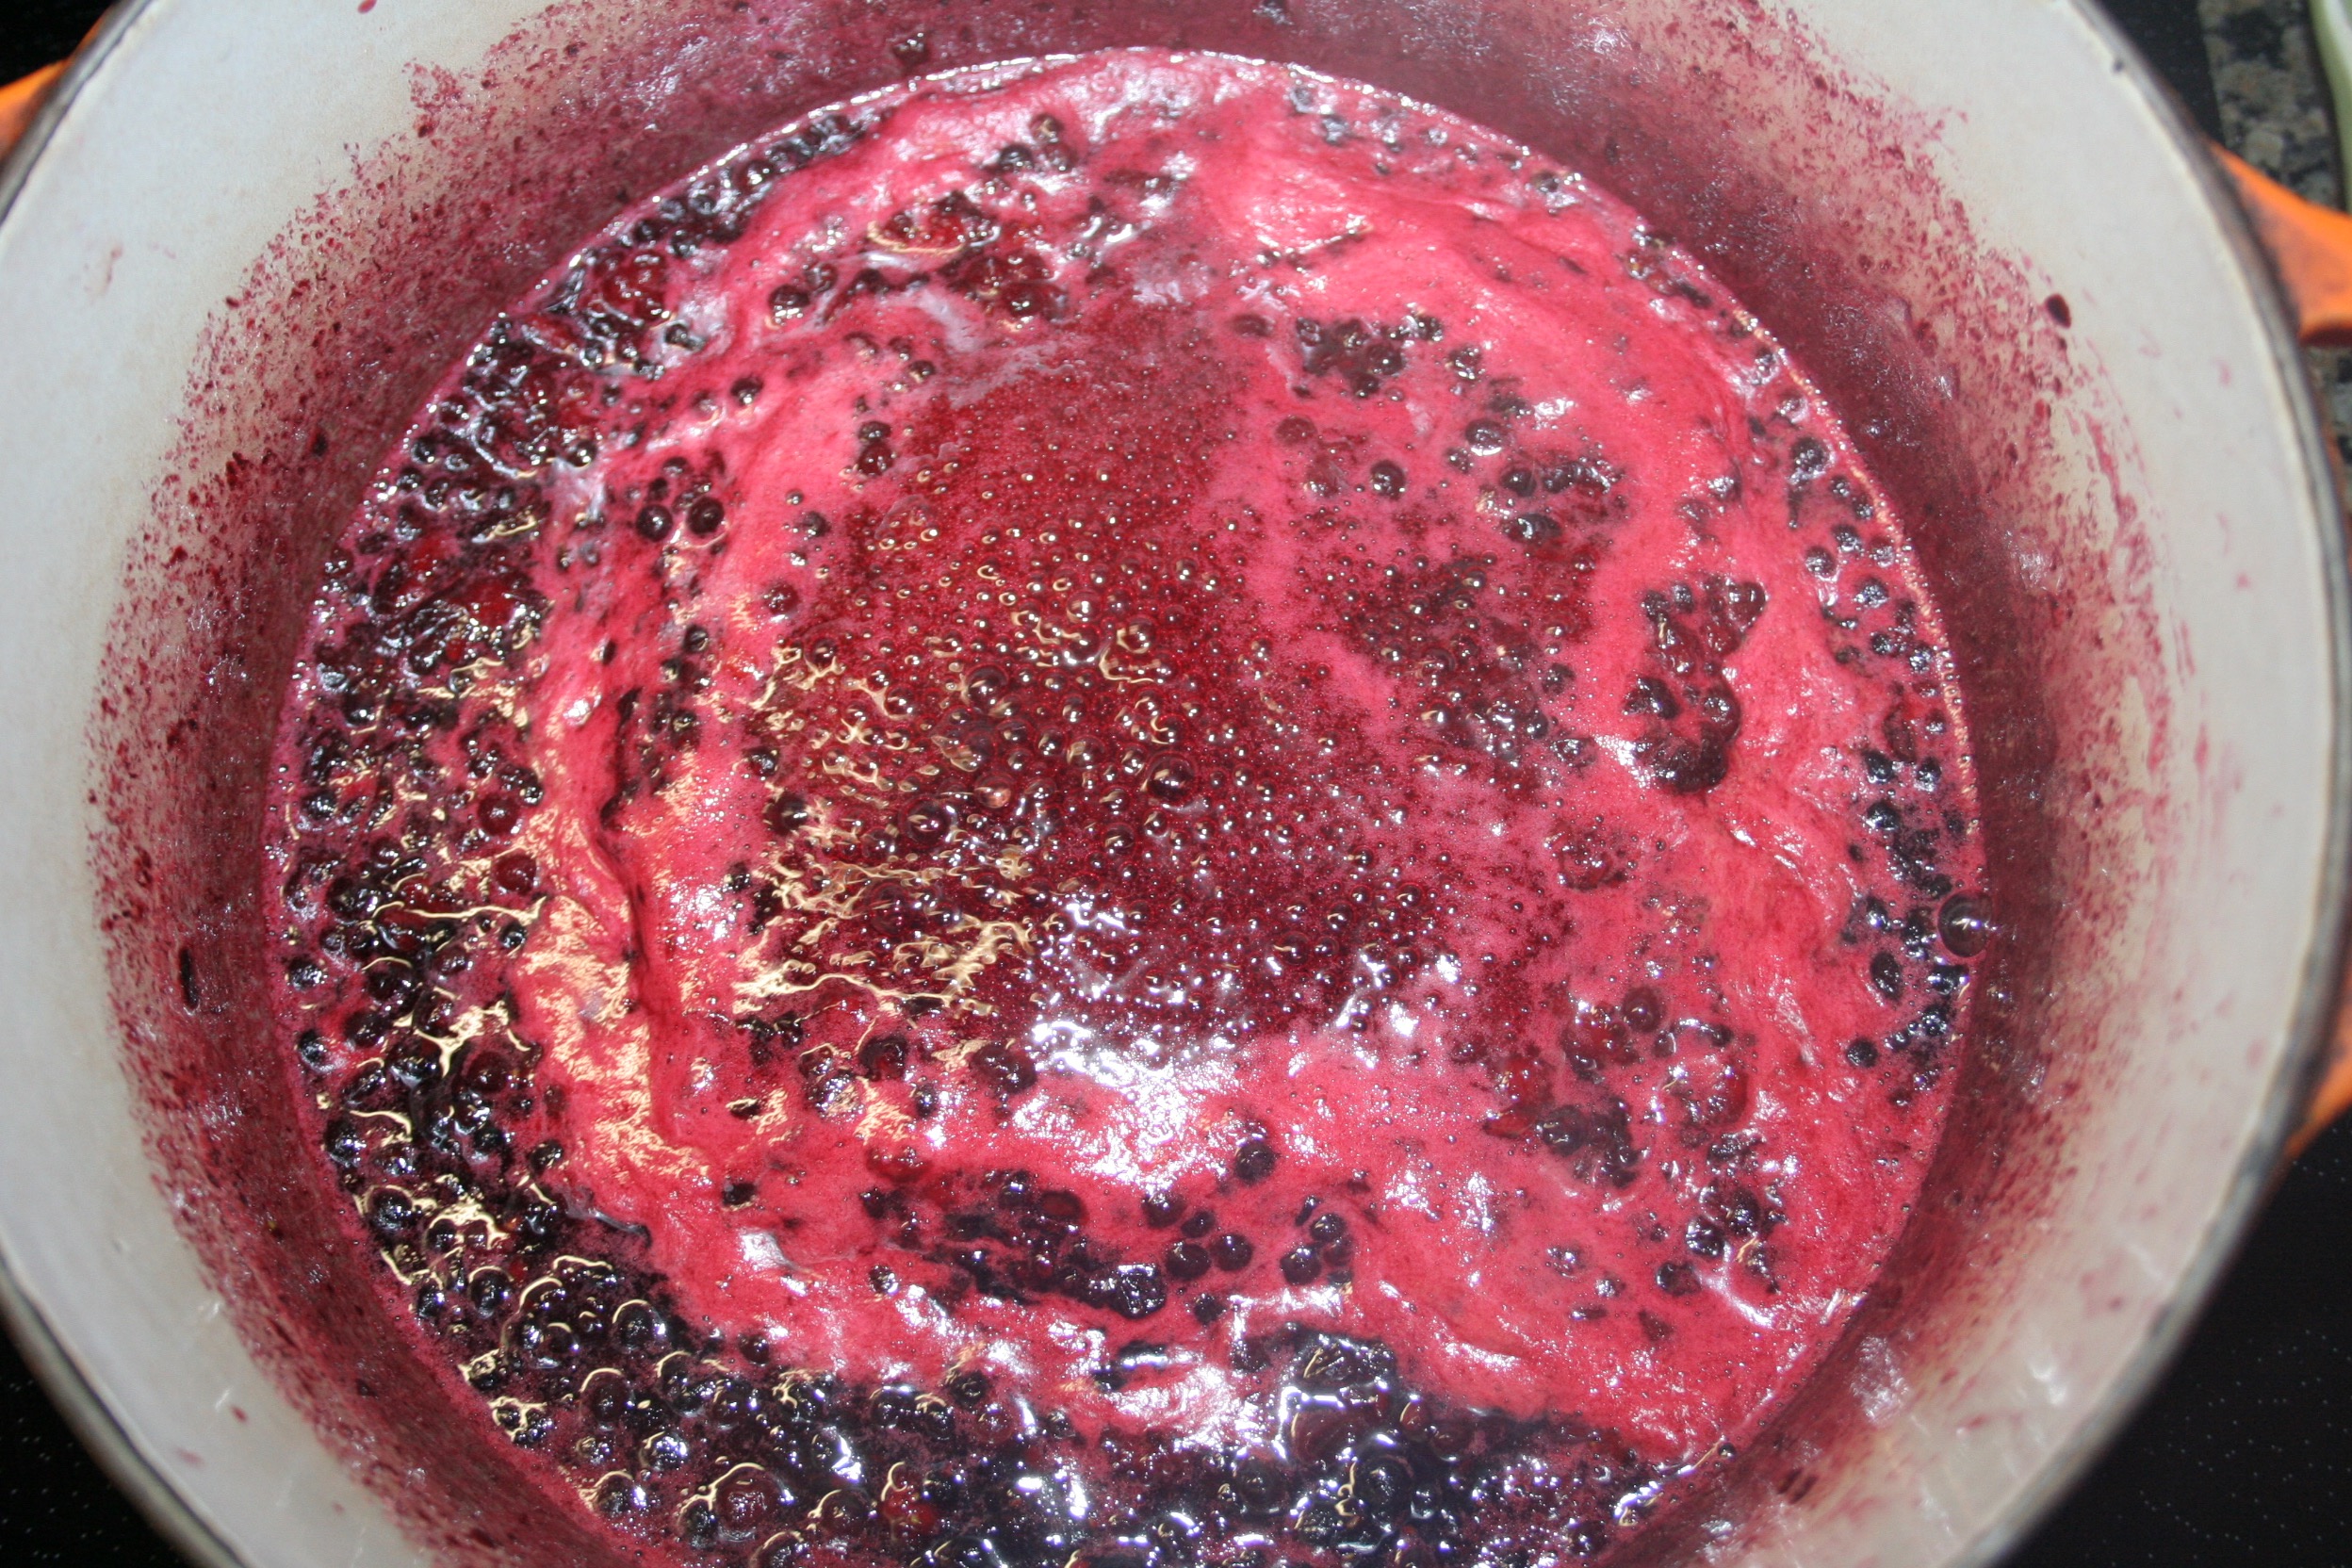
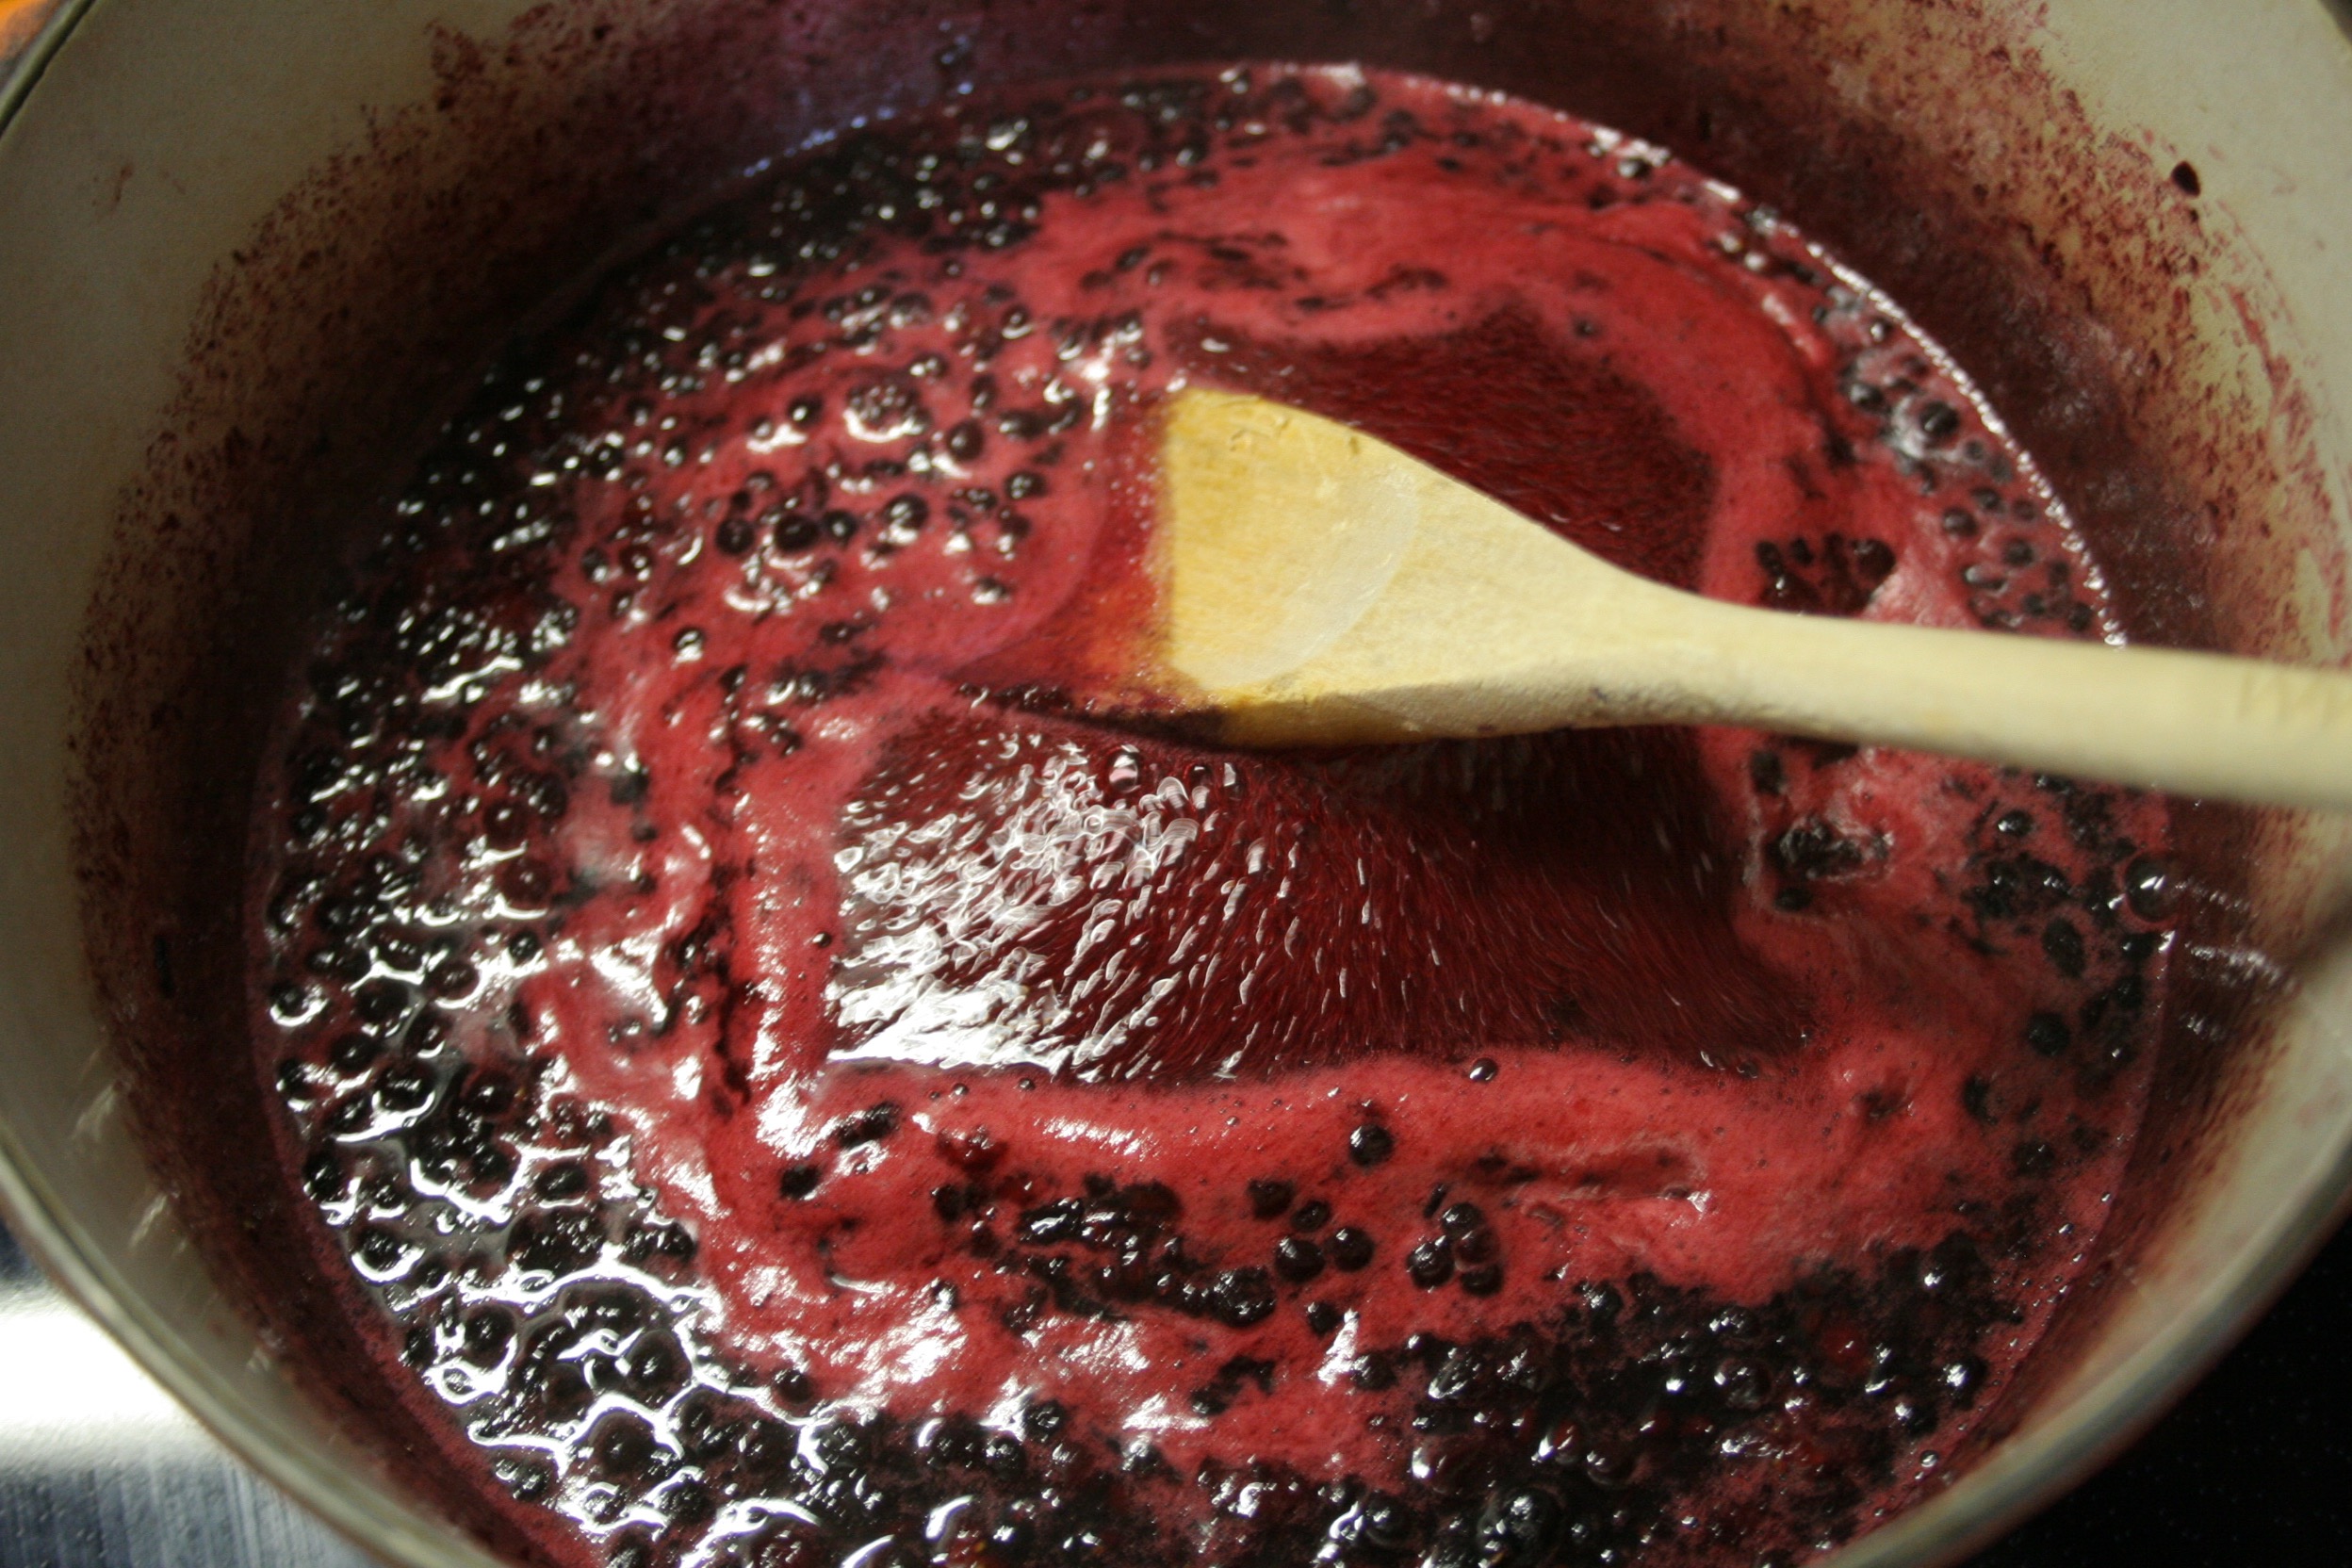
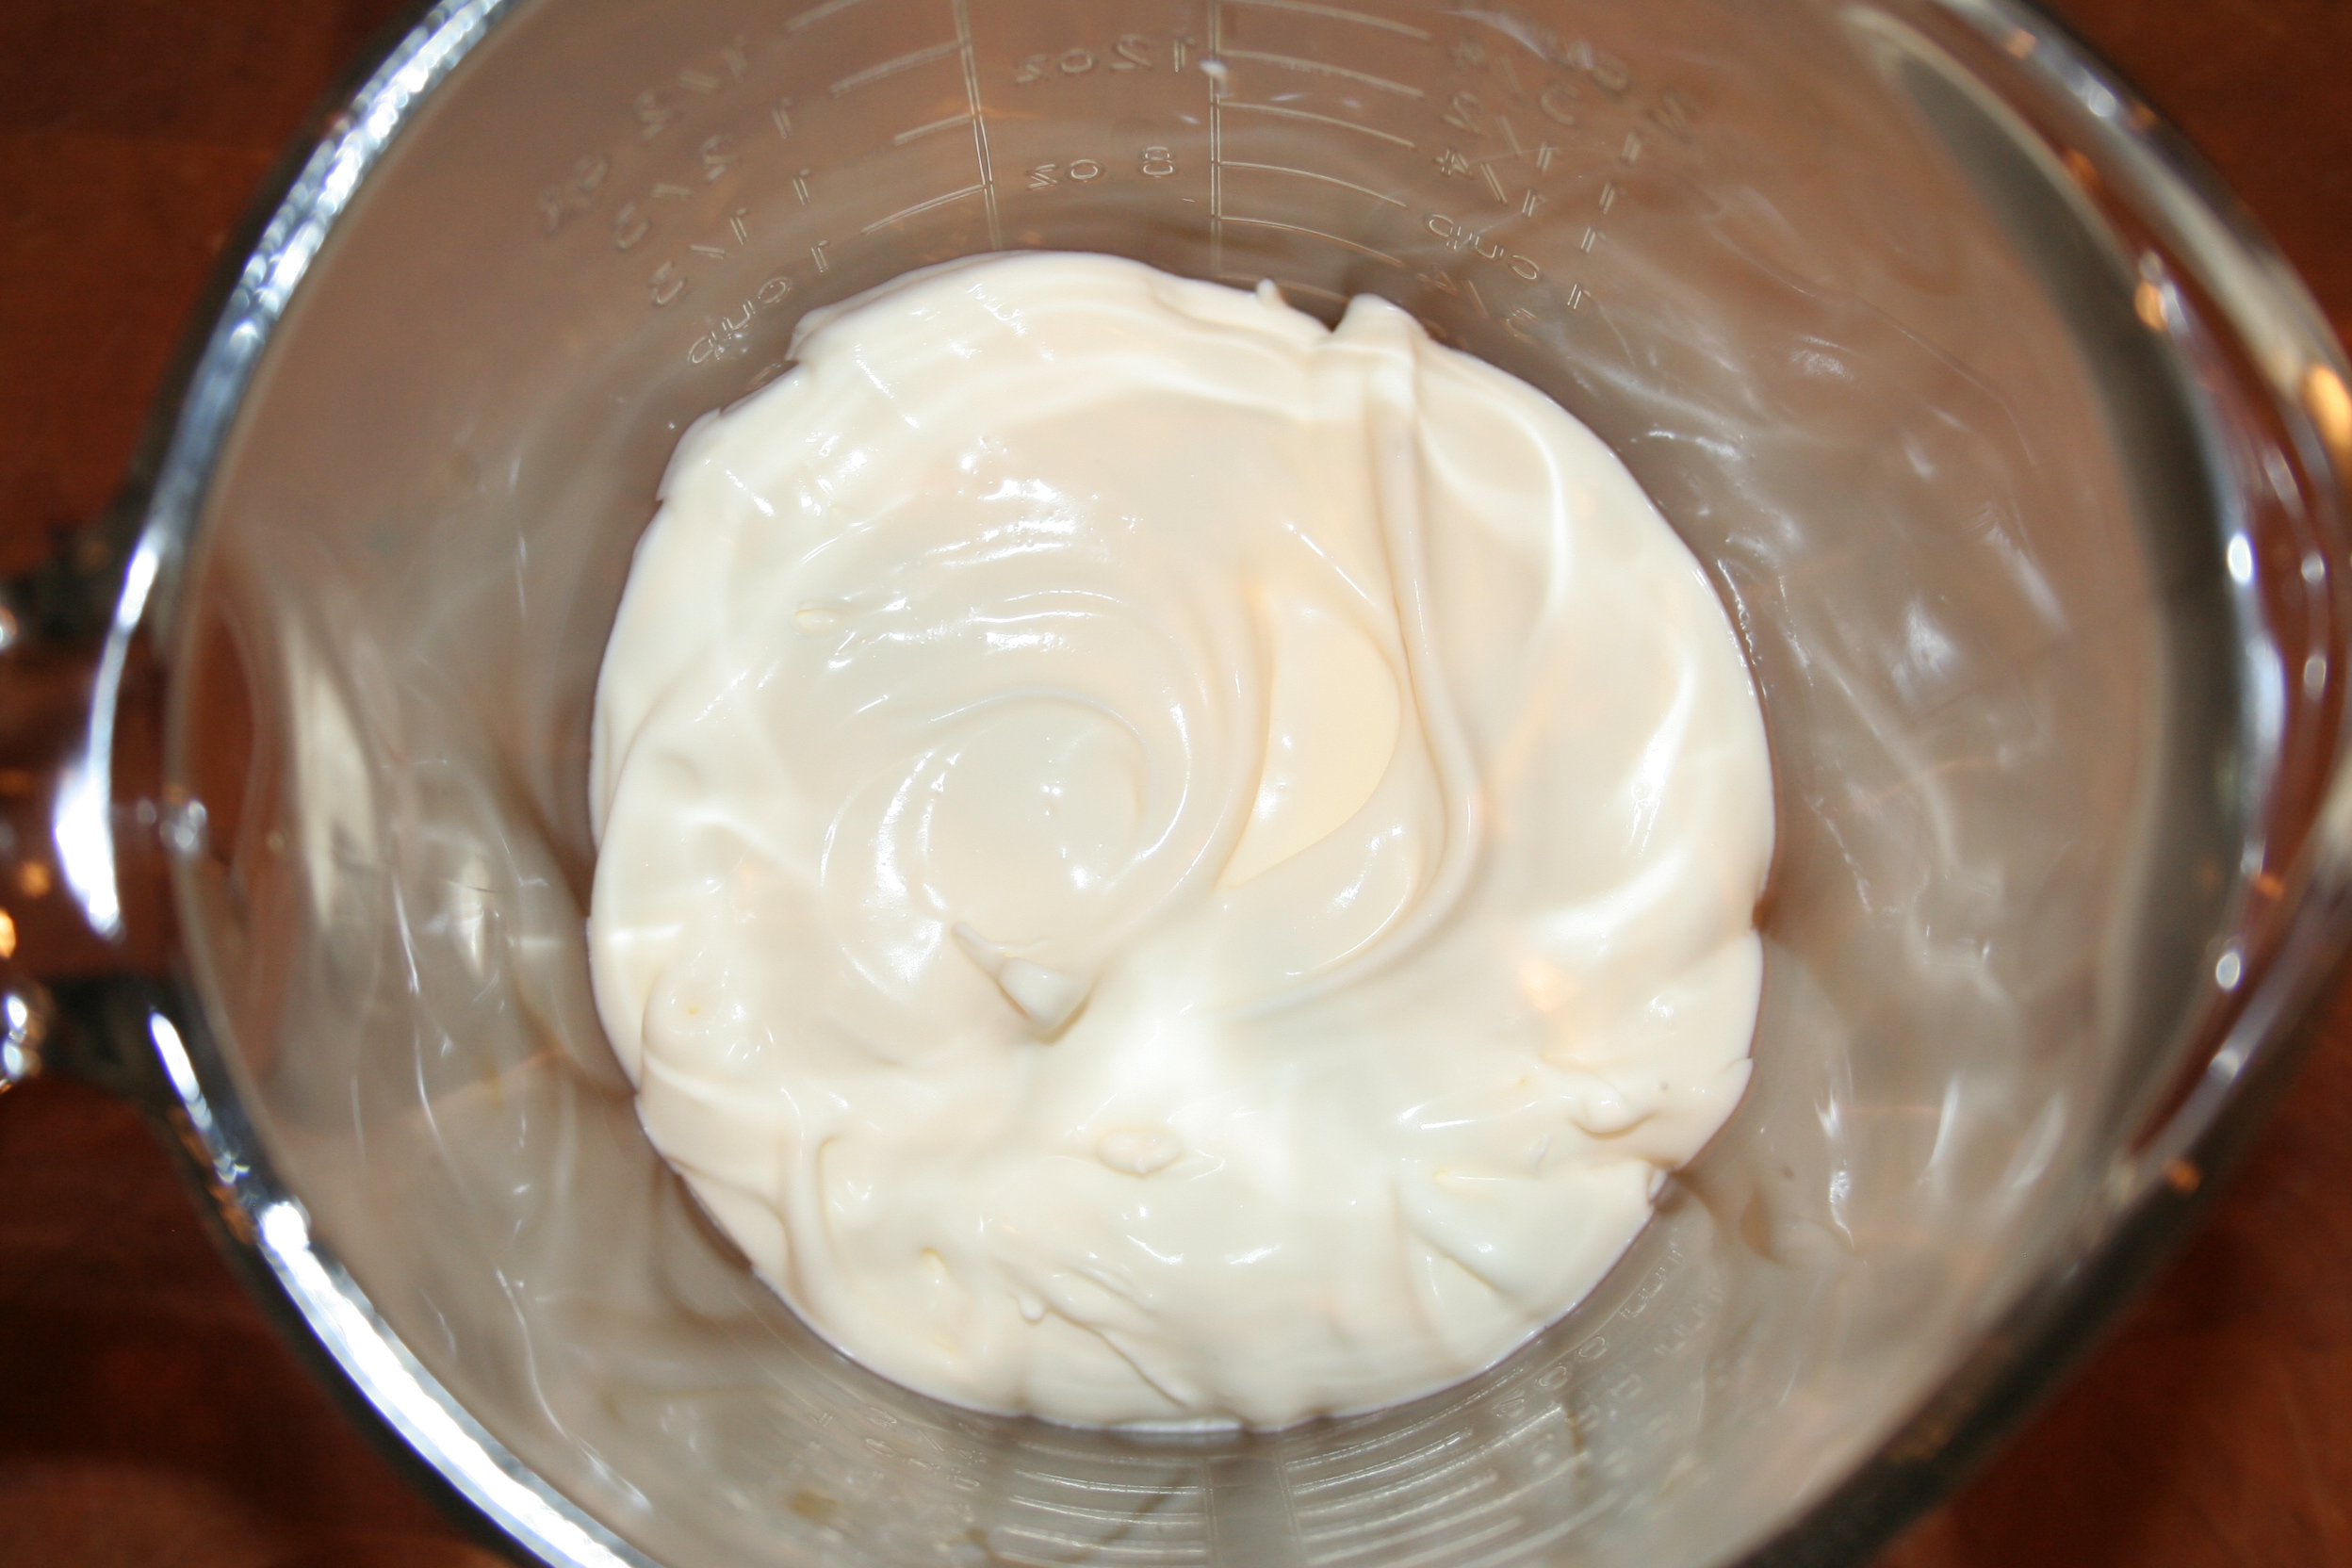
When you’re ready to make the ice cream base, grind the beans in a coffee or spice grinder until they are a fine powder.  Crack eggs into a mixing bowl and whisk fully. Add charred vanilla powder and sugar to eggs and whisk until all are combined well. Add cream, milk,  salt and whisk again until all are fully incorporated.  Place the ice cream mix in heavy pot and cook over medium heat, stirring continuously.  Heat ice cream mixture until temperature reaches 165 degrees. Remove from heat.  Cool the ice cream base to room temperature (an ice bath will do this in about 15-20 minutes).   Once cool, place ice cream mix in a container, cover, and chill in refrigerator overnight.

Churn ice cream base in ice cream machine according to manufacturer’s instructions. Add smoked apples in during the last 5 minutes of churning the ice cream. Freeze in a tightly covered container for at least 4 hours, preferably overnight if you can wait.  Then, enjoy!

*Yields approximately 2.5 pints of ice cream.

If you’d rather not make it, you can be one of two lucky winners of this fabulous, scratch made craft ice cream in our weekly pint giveaway. Enter your name in the comments section here, or on our facebook page under the posted contest. Two winners will be drawn randomly on Friday 10/2/15 at 4pm. Winners must be able to pick up locally in Minneapolis. Prizes must be claimed by email within one week or we will redistribute. 🙂 Good luck!


Facebook

Twitter

More...

Roasted Yellow Pepper Saffron and Honey

Staying inspired by the harvest that continues to roll in, for this week’s flavor, I’m using components from a sauce I used to make. A sauce consisting of roasted yellow pepper, saffron, honey, garlic, dijon mustard, and rice vinegar. It is an excellent accompaniment to grilled salmon and always best when red and yellow peppers are in season.  I clearly needed to revise my ingredient list if I was going to convert this thing into an ice cream, so for the ice cream, roasted pepper, saffron and honey made the most sense to me. And hey, it worked! Let’s get it started…this week’s flavor – Roasted Yellow Pepper Saffron and Honey.


Bell PeppersRoasted PeppersRoasted Peppers


First, roasting the peppers, which starts with these gorgeous ones from the Midtown Farmers Market in Minneapolis. I like to roast my peppers over an open flame, if possible. It’s quick, and gives the peppers a nice char. Once the peppers are charred all the way around, I wrap them tight in plastic wrap and allow them to sweat for a few minutes. The sweating process loosens all that charred skin, and makes it simple to scrap off. Now that we have our roasted peppers, it’s time to make them usable in our ice cream.


Roasted Yellow Pepper PureeRoasted Yellow PepperRoasted Yellow PepperRoasted Yellow Pepper ReductionRoasted Yellow Pepper PasteRoasted Yellow Pepper Paste


As with all of our flavors, we strive for an ice cream that never turns out icy, which can be challenging when working with fresh fruits and vegetables. Naturally, they all have a lot of moisture, so to reduce the moisture content, our first step is to clean our roasted peppers and puree in a blender. The puree is strained through a fine mesh strainer. We try to push out as much moisture as possible. We are left with two things – one, a roasted yellow pepper paste, and two, pepper liquid from pressing through the strainer. We reserve our paste and make another paste using the liquid, with a small amount of sugar added to it. In a sauce pan the liquid mixture is reduced down over high heat. We stir constantly so not to burn, and what we are left with is a dark roasted yellow pepper paste that is packed with flavor. This paste is added to the stained version and is put on reserve for the ice cream base.


SaffronSaffron Infusion


Saffron! I’m sure you’ve all heard of it, right? Worth its weight in gold, and used in Spanish and Middle Eastern cooking. Yes, yes, all of these things, but it’s also wonderful in ice cream and desserts. A small amount goes a long way, so for the ice cream base, we add a pinch to our standard cane sugar base before pasteurization. Our roasted yellow pepper pastes are also added at this time. After pasteurization, and a brief steep, our base is cooled and is ready to churn.


Roasted Yellow Pepper Saffron and Honey


After churning, we layer in a generous portion of Ames Farm Honey, and the results are this wonderful flavor that is created by the combination of the saffron, roasted yellow pepper, and honey. It’s rich, creamy, without a hint of iciness. Another harvest vegetable successfully incorporated into our ice cream!


Roasted Yellow Pepper Saffron and Honey

Roasted Pepper Pastes:
1 Yellow Pepper, Large
2 teaspoons sugar

Ice Cream Base:
2 cups Heavy Cream
1 cup Milk
3/4 cup Cane Sugar
2 Eggs
1 teaspoon Sea salt
Pinch Saffron
Reserved Roasted Yellow Pepper Pastes

2-3 Tablespoons Honey, for layering into finished ice cream


Instructions:

1. Roast Pepper: Place pepper over an open flame, such as gas stove top burner. Char all sides of the pepper until the pepper’s skin is entirely black. Wrap the charred pepper tightly in plastic wrap or other type of sealable bag. Allow pepper to sweat for 5 minutes. Remove pepper and using fingers or knife, scrape all of the black skin off of the pepper (there may be a few flecks of char that don’t come off, and this is ok). Clean the pepper as you normally would, removing the seeds and any white ribs on the inside. You should be left with only the roasted pepper flesh.

2. Prepare Roasted Pepper Pastes: Using a blender or food processor, puree roasted pepper. Place a fine mesh strainer over a bowl, and pour pepper puree into strainer. Using a spatula, press all of the liquid through the strainer, until all that is remaining is paste. Reserve this paste for the ice cream base. Pour the roasted pepper liquid from the bowl into a medium sauce pan with 2 teaspoons of sugar. Over medium high reduce the liquid, stirring constantly so it doesn’t burn to the bottom of pan. Continue reduction, until an almost brown paste forms. Add the reduced paste to the paste from strainer and reserve for ice cream base.

3. Make ice cream base: Crack eggs into a mixing bowl and whisk fully.  Add cane sugar and whisk.  Add heavy cream, milk, salt, saffron, and roasted yellow pepper pastes.  Whisk until ingredients are combined.

4. Cook/pasteurize ice cream base: Over medium heat, whisk or stir base continuously until temperature reaches 165-170 degrees.  Remove from heat. Cool ice cream base to room temperature (an ice bath will do this in about 15-20 minutes). Cover base, and chill in refrigerator overnight.

5. Churn ice cream base in ice cream machine according to manufacturer’s instructions. Swirl in honey after ice cream is in storage container. Store ice cream in air tight container in freezer until chow time.

*Yields approximately 2.5 pints


If you’d rather not make it, you can be one of two lucky winners of this fabulous, scratch made craft ice cream in our weekly pint giveaway. Enter your name in the comments section here, or on our facebook page under the posted contest. Two winners will be drawn randomly on Friday 9/25/15 at 4pm. Winners must be able to pick up locally in Minneapolis. Prizes must be claimed by email within one week or we will redistribute. 🙂 Good luck!


Facebook

Twitter

More...

Coconut Carrot Pistachio

Every year at the end of summer we’re using up as much of the harvest as we can handle.  Carrots are a great late harvest prize and when they are fresh out of the ground their sweetness is incredible, especially when they are roasted and caramelized.  This week’s flavor is a bit of an amalgamation of flavors drawn from carrot cake and the Indian dessert Carrot Halwa.


Carrot


First the carrots. We like em’ roasty for our ice cream.  The sugars amplify and the water is baked out and what is left is nothing short of magic.


roasted carrot


Once the carrots are roasted and caramelized, they get pureed with a bit of milk and will be blended into the brown sugar ice cream base.


carrot puree


Then comes the coconut. We’ve found that coconut has a bigger impact on the flavor if it is toasted first and steeped in the ice cream base hot out of the oven.


coconuttoasted coconut


Pistachios.  We have a lot of love for many foods, but I could make flavors for months just with pistachios.  Man are they good.  Here we keep it simple, and crush the pistachios to go into the ice cream at the end of the churn.


pistachio


The scoop is a silky smooth carrot coconut ice cream decorated with crunchy pistachios. Harvest time goodness.


coconut carrot pistachio


Coconut Carrot Pistachio Ice Cream Recipe


Toasted Coconut:
1 cup of shaved coconut

Roasted Carrot Puree:
2-3 Carrots, medium, 1/4″ slices
1 Tablespoon Butter, melted
1/4 C milk

Ice Cream Base:
2 cups Heavy Cream
1/2 cup Milk
1/2 cup Brown Sugar
2 Eggs
3/4 teaspoon Sea salt
1C Carrot puree
1C Toasted Coconut
1/2 Cup Crushed pistachios


Instructions:

1. Make Roasted Carrot Puree: Preheat oven to 350 degrees. Toss carrots with melted butter and roast for 15 minutes. Stir carrots and roast for 15 minutes more or until caramelized but not burnt. Remove from oven and puree with 1/4 C milk until smooth; reserve.

2. Make Toasted Coconut (Do this right before you make the ice cream base for best results): Preheat oven to 350 degrees. Spread shaved coconut out on a sheet pan in one flat layer. Place in oven for approximately 10 minutes or until golden brown.

3. Make ice cream base: Crack eggs into a mixing bowl and whisk fully.  Add brown sugar and whisk.  Add heavy cream, milk, carrot puree and salt.  Whisk until ingredients are combined. Add toasted coconut.

4. Cook/pasteurize ice cream base: Over medium heat, whisk or stir base continuously until temperature reaches 165-170 degrees.  Remove from heat. Strain out toasted coconut. Cool ice cream base to room temperature (an ice bath will do this in about 15-20 minutes). Cover base, and chill in refrigerator overnight.

5. Churn ice cream base in ice cream machine according to manufacturer’s instructions. Add pistachios in last 5 minutes of churn. Package ice cream in air tight storage container, then store in freezer until you’re ready to eat, preferably overnight if you can possibly wait.

*Yields approximately 2.5 pints


If you’d rather not make it, you can be one of two lucky winners of this fabulous, scratch made craft ice cream in our weekly pint giveaway. Enter your name in the comments section here, or on our facebook page under the posted contest. Two winners will be drawn randomly on Friday 9/18/15 at 4pm. Winners must be able to pick up locally in Minneapolis. Prizes must be claimed by email within one week or we will redistribute. 🙂 Good luck!


Facebook

Twitter

More...

Bacon Tomato and Mayo on Toast

We’re deep into tomato season, which brings us to this crazy idea we’ve had. Not just us, but a few of our most loyal fans have suggested such a flavor as well. A BLT of sorts, sans the lettuce, cause who needs the lettuce anyway? Personally, it’s always been about the bacon, tomato, and mayonnaise for me. In ice cream though? Hell yes!! We knew this would be a laborious flavor, but it’s like any other ice cream flavor we’ve ever made…we just have to know what it would taste like. So here it is, this week’s flavor – Bacon Tomato and Mayo on Toast.


IMG_6449
IMG_6453IMG_6455IMG_6457


We’ve tackled tomato ice cream before, but in a different way, using a fresh uncooked tomato paste. For this flavor, I wanted to use every bit of the tomato, juice included, only discarding the seeds. After digging around a little on the interwebs, I decided to emulate a technique used by Kathy Miles. To start with, I made a tomato concasse. For those unfamiliar with the process, tomatoes are boiled for a short time, shocked in ice water, peeled, quartered, and then seeds and innards removed, leaving only the meat of the tomato. Here, I placed all seeds and innards into a fine mesh strainer and jammed all of the liquid through with a wooden spoon.


IMG_6458IMG_6486


The tomato concasse (meat) is torn into pieces and placed on a sheet pan lined with parchment paper. The tomatoes are sprinkled with sugar and slow roasted in a low temperature oven for a few hours. The tomatoes are sweet and dehydrated, but not leathery. They are reserved to get mixed into the ice cream before packaging.


IMG_6463IMG_6470

IMG_6474


Next, I’m using the reserved tomato liquid that I jammed through the fine mesh strainer to make a tomato paste/syrup. The paste will be used to flavor our ice cream base. A small amount of sugar is added to the liquid, and it is reduced to a syrupy paste. Now to make our tomato bacon ice cream base. After lightly rendering chopped bacon, the bacon and its renderings are added into our standard cane sugar ice cream base with a few extra egg yolks for steeping. The egg yolks are giving homage to mayonnaise. The base is pasteurized, and the chopped bacon is strained out with a fine mesh sieve. The tomato paste is whisked in.


IMG_6482IMG_6484


While the base is cooling, it’s time to get our toast into the ice cream. White bread is toasted with a heavy hand, and then crumbs are scraped with a butter knife into our bacon and tomato base. Once the base is cooled, it is ready to churn.


BaconIMG_6478IMG_6480


Over the years, we’ve made a number of flavors with bacon, and it has always been a challenge to keep bacon crunchy in the ice cream when desired. This is our best technique yet for crunchy bacon staying crunchy in ice cream. First, thick sliced bacon is baked on a sheet pan in the oven until lightly browned and partially rendered. The bacon is drained on paper towels and cooled. The cooled cooked slices are then diced fine and rendered again over medium high heat until very crispy and brown. This is the crucial step…remove bacon from pan with a slotted spoon and place on plate/pan to cool WITHOUT paper towels. Leaving some residual fat on the bacon will ensure that it stays crispy and crunchy. Once cooled, the fat will form a protective layer around each tiny piece of bacon so that the ice cream will not penetrate and soften the pieces. The bacon is added into the ice cream at the end of the churn along with the sweet roasted tomatoes.


IMG_6490


Deep into tomato season and another crazy idea becomes true ice cream. Bacon Tomato and Mayo on Toast – it’s an irresistible ice cream BLT.


Bacon Tomato and Mayo on Toast

Sweet Roasted Tomatoes and Tomato Paste:
3 Tomatoes, large
3 Tablespoons Cane sugar

Crunchy Bacon:
2 pieces bacon, thick cut

Ice Cream Base:
2 cups Heavy Cream
1 cup Milk
1/2 cup Cane Sugar
2 Eggs
2 Egg Yolks
1 teaspoon Sea salt
2 pieces Bacon, thick cut
2 pieces Bread, White
Tomato paste, from reserve


Instructions:

1. Make Tomato Concasse: Bring a large pot of water to a boil. Fill a large bowl with ice water and set aside. Place a fine mesh strainer over a bowl and set aside. Cut an “x” in the bottom of each tomato with a knife. Place tomatoes in pot of boiling water for about 20-30 seconds. Transfer tomatoes to bowl of ice water and allow to cool for a few minutes. Peel skin from tomatoes. Cut each tomato into quarters, remove seeds and place them into fine mesh strainer to drain. Reserve tomato concasse (the meat of the tomato) for roasting and reserve the strainer material for tomato paste.

2. Make Sweet Roasted Tomatoes: Preheat oven to 250 degrees. Tear reserved tomato concasse quarters into pieces and place on parchment lined baking sheet. Sprinkle with 2 Tablespoons of sugar. Roast in oven for 2-3 hours until tomatoes have lost most of their moisture. They shouldn’t look dried out like sun dried tomatoes, but should be fairly dehydrated. Cool and remove sweet roasted tomatoes from parchment and reserve for ice cream.

3. Make Tomato Paste: Using the tomato seeds and insides that are reserved in fine mesh strainer, use a wooden spoon to crush all of the tomato liquid through strainer into bowl. The remaining seed material in the strainer should be dry and amount to very little after all has been pushed through. Discard solids. In a sauce pan add 1 Tablespoon of sugar to tomato liquid. Over medium high heat, reduce liquid to a syrupy paste consistency, stirring frequently so not to burn the paste. Remove from the heat and reserve for ice cream base.

4. Make Crunchy Bacon: Preheat oven to 400 degrees. Place bacon on sheet pan and bake for 20-25 minutes or until bacon is cooked, but not rendered completely, and is not crispy. Remove bacon, drain on paper towels, and cool. Chop bacon into a fine dice. Over medium high heat, place diced bacon in saute pan and render a second time until dark brown and crispy. Remove bacon from pan with slotted and place on plate to cool. Do not place on paper towels or pat dry with paper towels. Place cooled crispy bacon in air tight container, freeze, and reserve until ice cream is at the end of churning.

5. Make ice cream base: Crack eggs and yolks into a mixing bowl and whisk fully.  Add cane sugar and whisk.  Add heavy cream, milk, and salt.  Whisk until ingredients are combined.

6. Cook/pasteurize ice cream base: Roughly chop bacon. In a sauce pan over medium heat, render bacon until it starts to brown. Add ice cream base. Continuing over medium heat, whisk or stir base continuously until temperature reaches 165-170 degrees.  Remove from heat. Allow bacon to steep for 10 minutes. Meanwhile, toast white bread in toaster until well done. After bacon steep, strain base into a clean bowl with a fine mesh strainer. Add reserved tomato paste. With the back of a butter knife, scrape toast crumbs into ice cream base, and eat or discard toast after scraping. Whisk paste and toast crumbs into base. Cool ice cream base to room temperature (an ice bath will do this in about 15-20 minutes). Cover base, and chill in refrigerator overnight.

7. Churn ice cream base in ice cream machine according to manufacturer’s instructions. During the last minutes of churning, add in sweet roasted tomatoes and crunchy bacon. Store ice cream in air tight container in freezer until chow time.

*Yields approximately 2.5 pints


If you’d rather not make it, you can be one of two lucky winners of this fabulous, scratch made craft ice cream in our weekly pint giveaway. Enter your name in the comments section here, or on our facebook page under the posted contest. Two winners will be drawn randomly on Friday 9/11/15 at 4pm. Winners must be able to pick up locally in Minneapolis. Prizes must be claimed by email within one week or we will redistribute. 🙂 Good luck!


Facebook

Twitter

More...

Blackberry Creme Fraiche Dark Chocolate Chunk

Last week I hit a bit of a block in deciding on a new flavor. We always keep a list of ideas, and often times we move things around and re-arrange as personal desire and seasonal availability direct their influence on our choices.  But I could just not make up my mind.

Blackberry


I knew I was craving something more indulgent. And when I stumbled across these Partner’s farms blackberries at the co-op last week, I just about screamed. Blackberries can be illusive around here and in the wild can be hit or miss. Often come late July but can be even later in cooler, wet summers. Needless to say, once I found these puppies, the creme fraiche and a couple of bars of organic dark chocolate found their way into my basket and we were off.


As many of our flavors have begun this summer, the first step is making a jam with the berries.


BlackberryBlackberryBlackberry


The berries are mashed slightly and combined with lemon juice to extract all the berry flavor.  Then sugar is added and they are boiled until they’ve reached the perfect ratio of sugar to fruit – mostly meaning the water that could make them icy is gone.


Creme Fraiche


The base of the ice cream is made with cream, and creme fraiche – which adds a slightly sour flavor to the cream – and gives it just a bit more flavor and depth.  I personally love the combination of creme fraiche with fruit – and chocolate, which is why it became the main flavor component of the ice cream base.


IMG_1856


This organic dark chocolate done got busted up into chunks.  The goal with using ragged, chunks like this was to provide uneven bursts of chocolate in the cream – so sometimes you get a spoonful that has a hint of chocolate, and other times it overwhelms.  Because there is nothing bad about that.


The chocolate chunks are tossed in during the last few minutes of the churn and the blackberry jam is swirled in to the cream as it’s packed in it’s container.


Blackberry


The scoop: a delicate creme fraiche ice cream swirled with dark ribbons of scratch made blackberry jam and chock full of chunks of dark chocolate.

 
Blackberry Creme Fraiche Dark Chocolate Ice Cream Recipe

Blackberry jam ingredients:
1 pint fresh blackberries (about 1/2 pound)
1 Cup  sugar
2 1/2 teaspoons lemon juice

Ice Cream ingredients:
1 Cup of creme fraiche (sour cream works in a pinch)
2 Cups of Heavy Cream
3/4 Cup of sugar
1 Cup of pre-made Blackberry Jam
1/2 Cup Dark chocolate, broken into chunks
1 teaspoon of salt


Instructions for the Jam: Place a plate in the freezer (this will come in handy in a bit). In a medium saucepan add the blackberries and lightly mash, and then add lemon juice. Let stand for 15 minutes, stirring occasionally. Stir in sugar. Bring mixture to a boil over high heat, stirring frequently. Cook and stir the mix until the bubbles subside and the jam appears slightly thickened, somewhere around 15 minutes. To test for doneness, spoon a small amount onto the chilled plate. If jam is gooey and wrinkles when you push your finger into it, it is done.  This means it will not be icy in the cream (which you do not want).  If not, cook and stir a little longer before testing again.   Cover and chill completely until you are ready to make the ice cream.

Instructions for ice cream: Crack eggs into a mixing bowl and whisk fully.  Add sugar and whisk until fully combined.  Add heavy cream, creme fraiche, and salt.  Whisk again until all ingredients are fully blended.

Over medium heat, whisk or stir base continuously. Keep stirring continuously until temperature reaches 165-170 degrees.  Remove from heat. Cool ice cream base to room temperature (an ice bath will do this in about 15-20 minutes).  Put base in a clean container, cover, and chill in refrigerator overnight.

Churn ice cream base in ice cream machine according to manufacturer’s instructions. Add chocolate chunks in last 5 minutes of churning.    Place ice cream is in freezer proof storage container swirling in the blackberry jam in layers as you do so.  Place container in freezer and freeze ice cream for at least 3 hours, preferably overnight if you can wait.

*Yields approximately 2.5 pints
If you’d rather not make it, you can be one of two lucky winners of this fabulous, scratch made craft ice cream in our weekly pint giveaway. Enter your name in the comments section here, or on our facebook page under the posted contest. Two winners will be drawn randomly on Friday 9/4/15 at 4pm. Winners must be able to pick up locally in Minneapolis. Prizes must be claimed by email within one week or we will redistribute. 🙂 Good luck!


Facebook

Twitter

More...