Avocado Pistachio Chocolate Chip

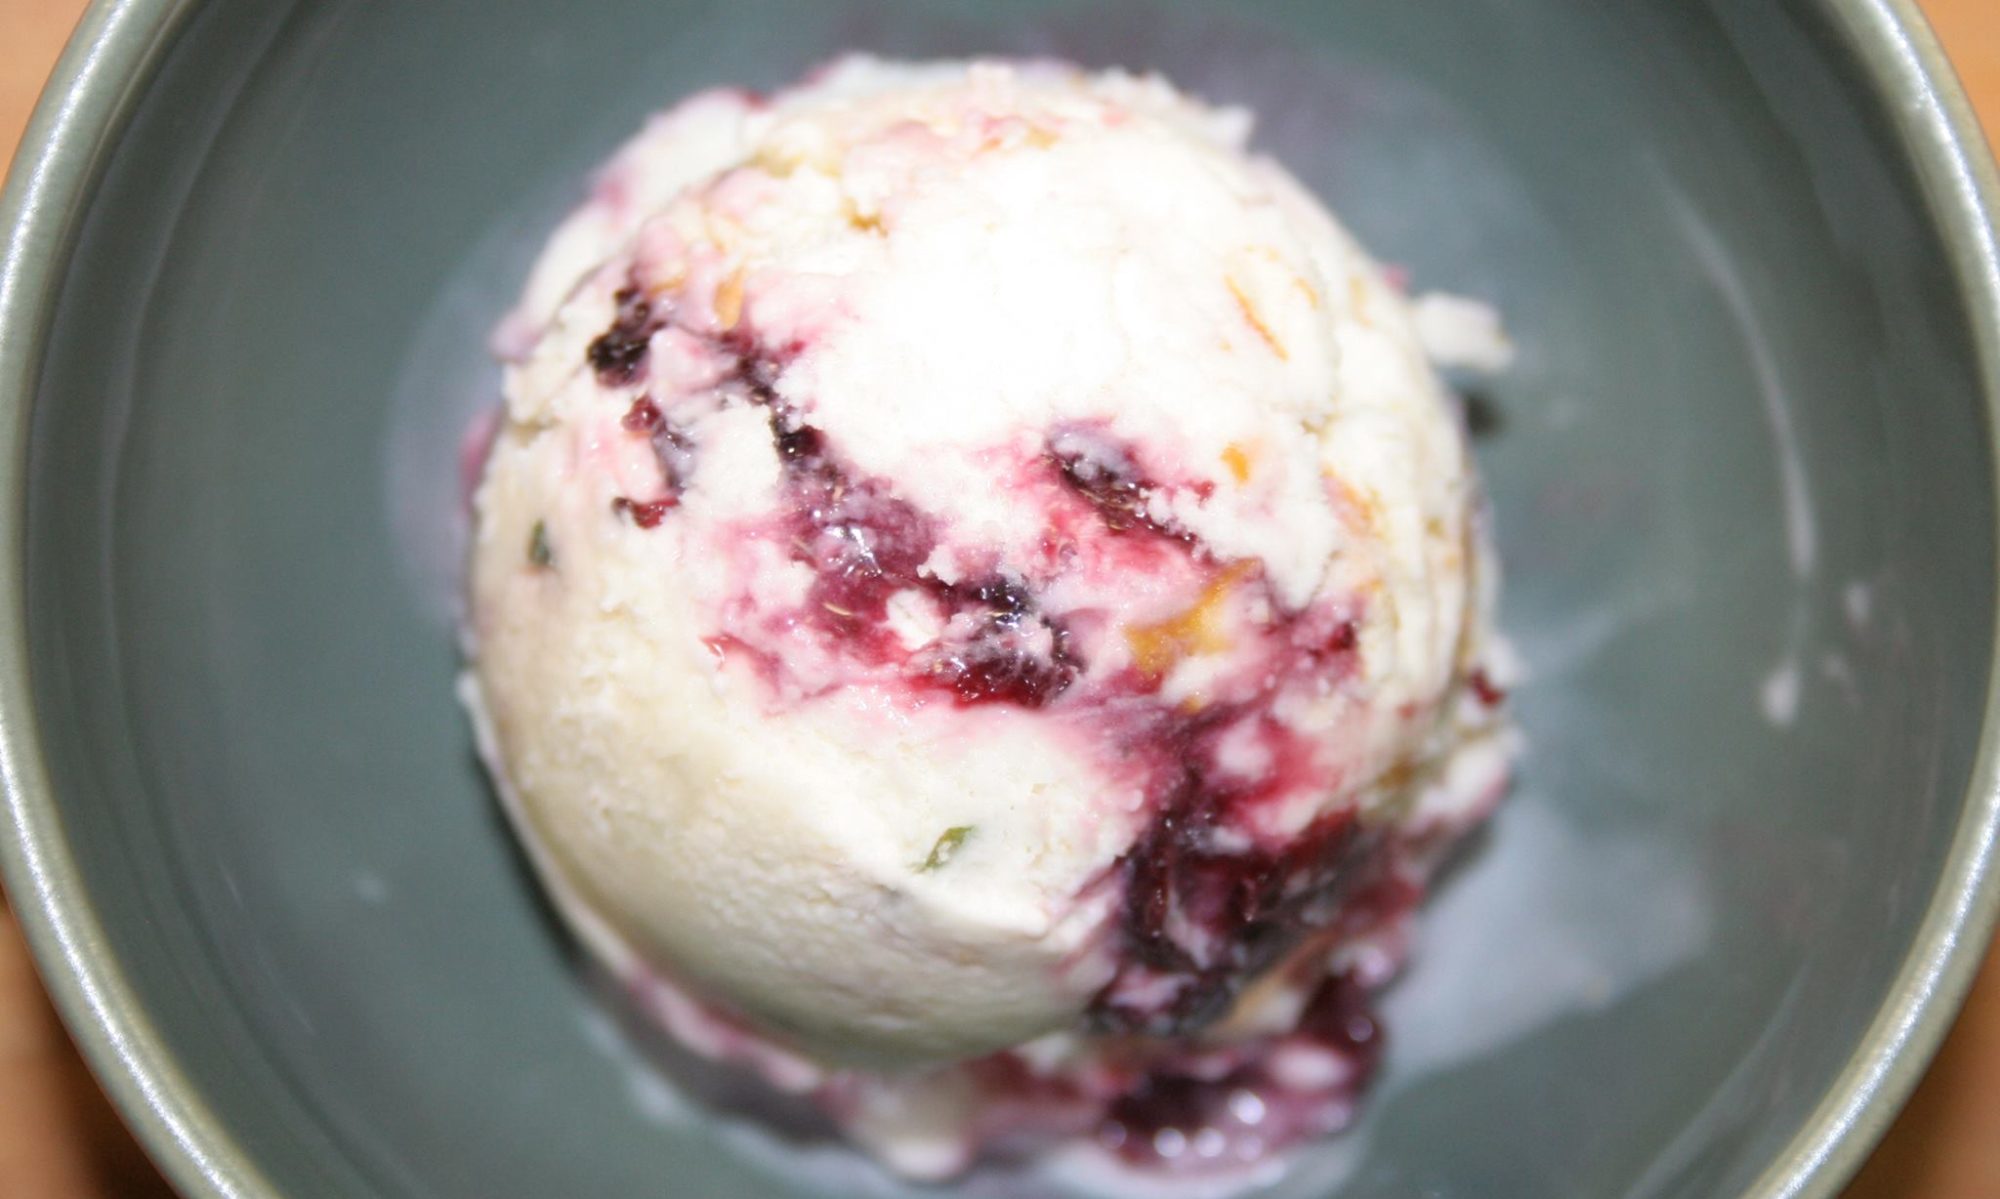
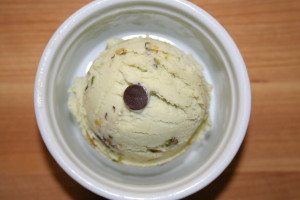
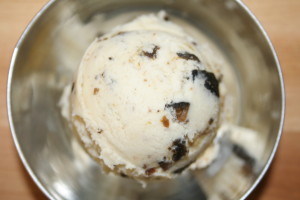
Avocados and Pistachios are two of my all-time favorite things.  The original intention for this flavor was going to focus solely on pistachios, but the more I pondered on how that would happen, the more all of these ingredients crept into the picture.  I love that the green color give to the ice cream by the avocado plays some visual tricks. I loved that it looked like a pistachio ice cream.  It could also be mint chocolate chip at a glance.  Except it’s not.


avocado pistachio chocolate chip


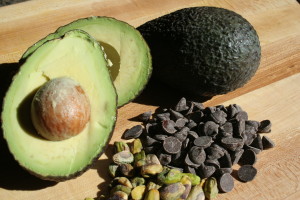
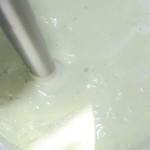
The avocado is the first step of the ice cream and is the base of the flavor.  Avocados lend a great subtle flavor to ice cream, and ironically, actually remind me of pistachio flavorwhen in ice cream.  Maybe it’s just that green color.  The avocados are pureed with cream and then mixed into our standard ice cream base.  Also, if you don’t have a good stick blender, do yourself a favor and get one. You’ll use it a ton.  It’s one of my favorite kitchen tools.


avocado avocado avocado puree


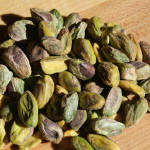
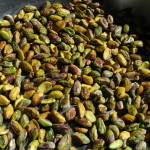
The pistachios are roasted and salted.  I highly recommend buying the pistachio meats if you can – shelling enough pistachios for a batch of ice cream is not a task I would wish on most people.  It helps to roast the pistachio meats quickly at a high temp to keep them from softening too much.


pistachiospistachios


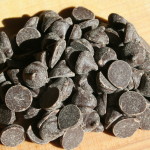
Finally the chocolate chips – are added in after the churn.


Chocolate chips


The combination of flavors is really unique – but works fantastically well.  A rich
avocado ice cream, filled with roasted pistachios and chocolate chips.


avocado pistachio chocolate chip


Avocado Pistachio Chocolate Chip Ice Cream

(makes approx 1-1/2 quarts)

Ingredients:

1 Large avocado or 2 small
1/2C Pistachio nutmeants, roasted
1/2Tbsp of Butter
1/2C Chocolate Chips
2 Cups Heavy Cream
1 Cup Whole Milk (use any fat percentage you prefer – higher lends to a creamier base)
3/4C Sugar
2 Eggs
2 teaspoons salt


Instructions:

1. Prepare the pistachios: Preheat oven to 350 degrees.  Melt butter and Toss pistachios melted butter and spread on sheet pan.  Generously sprinkle 1teaspoon of salt over the pistachios and place in oven for 5-8 minutes.  Remove, set aside and let cool completely.  Once cool, place pistachios in freezer bag or container and place in freezer until ready to go in ice cream.

2. Prepare the avocado ice cream: Puree avocado with the one cup of whole milk you will be using for the ice cream base and set aside.

Crack eggs into a mixing bowl and whisk fully. Add sugar and whisk until sugar and eggs are combined. Add cream, avocado puree, vanilla and salt and whisk again until all are fully incorporated.

Place ice cream base in a pot over medium heat, stirring continuously. Continue to heat mixture until temperature reaches 165 degrees. Remove from heat.  Cool the ice cream base to room temperature (an ice bath will do this in about 15-20 minutes) and then place in a container, cover, and chill in refrigerator overnight.

3.  Churn ice cream base in ice cream machine according to manufacturer’s instructions. Add pistachios and chocolate chips in last 5 minutes of the churning process.  Freeze in a tightly covered container for at least 4 hours, preferably overnight if you can wait.  Then, enjoy!

*Yields approximately 2.5 pints

If you’d rather not make it, you can be one of two lucky winners of this fabulous, scratch made craft ice cream in our weekly pint giveaway. Enter your name in the comments section here, or on our facebook page under the posted contest. Two winners will be drawn randomly on Friday 4/3/15 at 4pm. Winners must be able to pick up locally in Minneapolis. Prizes must be claimed by email within one week or we will redistribute. 🙂 Good luck!
Facebook

Twitter

More...


Sour Cream with Fresh Walnut Preserves

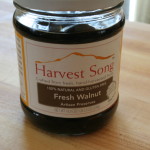
This week’s flavor was built around this fresh walnut preserve I found a few weeks ago made by Harvest Song.  I stumbled across it hidden among a bunch of other specialty jams, sauces, etc. – and plucked it without hesitation.  I’ve toyed with the idea of nut preserves before, but never actually found it in true form, and never made with fresh (green) whole nuts.


IMG_1542IMG_1543


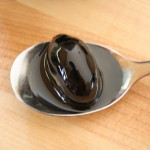
The walnuts are preserved while they are green and fresh, in a simple syrup made of sugar and lemon juice.  Left with their shell on, the walnuts look a lot like olives in this state.  They still taste like walnuts, but very sweet – with a flavor that tastes a lot like molasses.  The texture is semi soft – most of the walnut crunch has faded but there is still enough there that they are not mushy or soggy.  Hard to explain exactly, but reminded me of a nut candy.  I had to make ice cream with them, and decided to pair them with a tangy sour cream ice cream base.


IMG_1544


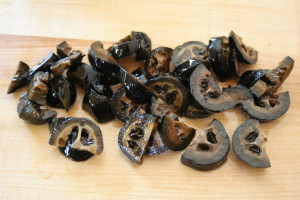
The walnuts were chopped into smaller pieces and then added back into their syrup in preparation for being added into the ice cream.  They still look kind of like olives.


Sour Cream


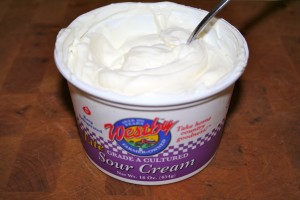
For the ice cream base I chose to use our sour cream base, which provides a foundational flavor very much resembling a traditional cheesecake. We’re a big fan of Westby sour cream – and for this recipe I typically use a light version to keep the ice cream from getting too rich.  It’s hard to go wrong with these flavors.


IMG_1549


The result is a rich and tangy sour cream ice cream laced with chunks of molasses tinged, freshly preserved walnuts.


Sour Cream with Fresh Preserved Walnut


Ingredients:

2 Cups Heavy Cream
1 Cup Light Sour Cream (I prefer light sour cream for this recipe)
3/4 Cup Sugar
2 Eggs
2 teaspoons salt
1/2 C Fresh Walnut Preserve, walnuts chopped and added back to syrup


Instructions for ice cream:

Crack eggs into a mixing bowl and whisk fully. Add sugar and whisk until sugar and eggs are combined. Add cream, sour cream and salt and whisk again until all are fully incorporated.

Place ice cream base in a pot over medium heat, stirring continuously. Continue to heat mixture until temperature reaches 165 degrees. Remove from heat.  Cool the ice cream base to room temperature (an ice bath will do this in about 15-20 minutes) and then place in a container, cover, and chill in refrigerator overnight.

3.  Churn ice cream base in ice cream machine according to manufacturer’s instructions. Add walnut preserve to ice cream in last 5 minutes of the churning process.   Freeze in a tightly covered container for at least 4 hours, preferably overnight if you can wait.  Then, enjoy!

*Yields approximately 2.5 pints

If you’d rather not make it, you can be one of two lucky winners of this fabulous, scratch made craft ice cream in our weekly pint giveaway. Enter your name in the comments section here, or on our facebook page under the posted contest. Two winners will be drawn randomly on Friday 3/20/15 at 4pm. Winners must be able to pick up locally in Minneapolis. Prizes must be claimed by email within one week or we will redistribute. 🙂 Good luck!

Facebook

Twitter

More...

Roasted Banana with Honey and Salted Walnuts

We don’t make enough banana ice cream.  That’s the truth.  It’s just so dang good.  This week’s flavor is a deconstructed version of my favorite banana bread recipe and it really is banana bread incarnate in ice cream form.  Maybe you don’t like banana flavored things, and for that I pray for you.   Or maybe you just don’t like walnuts with your bananas, and while I believe you are completely wrong, I forgive you.  Or you have nut allergies, and I am very sorry for you.  For everyone else, enjoy.


Roasted Banana Honey Salted WalnutIMG_1527Ames Farm Honey


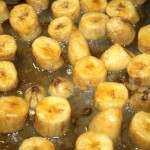
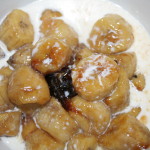
The process begins with the bananas.  Similar to making banana bread, bananas are best for this recipe when they are very ripe to overripe.  However, for roasting purposes you’re better off with bananas that are not so ripe they are mush.  The bananas are chopped, tossed in a bit of melted butter, dusted with brown sugar and roasted to caramelization heaven.


Roasted Banana Honey Salted WalnutIMG_1528


Once caramelized, the bananas are pureed with bit of milk.  The puree is added to a brown sugar ice cream base with a hint of vanilla.


IMG_1532IMG_1534


The walnuts are roasted briefly on a sheet pan with a bit of butter, salted well and added in the last few minutes of the churn.  The honey is layered at the end.  Make sure to use quality honey – it makes all the difference in the world.  We have a lot of great honey in the midwest, and for this flavor we used Ames Farm.


IMG_1536


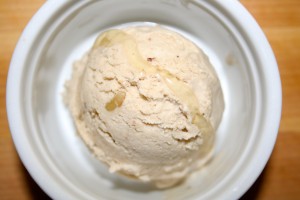
The result is seriously one of my favorite flavors we’ve made in awhile.  It’s full of rich roasted banana flavor, accented by a buttery, salty crunch from the walnuts and a bright sweet kick here and there from the honey swirl.  Pick up a pint at our kitchen this weekend!


Roasted Banana with Honey and Salted Walnut Ice Cream

Ingredients:

2 Ripe Bananas
2 Tablespoons Butter, melted
1 Cup Walnuts
1/2 teaspoon vanilla extract
1/2Cup Honey
2 Cups Heavy Cream
1 Cup Whole Milk
3/4 Cup Brown Sugar plus more for dusting bananas
2 Eggs
2 teaspoons salt

Instructions:


1. Prepare the walnuts: Preheat oven to 300 degrees.  Toss 1 cup of walnuts with 1 tablespoon of melted butter and spread on sheet pan.  Generously sprinkle 1teaspoon of salt over the walnuts and place in oven for 5 minutes.  Remove, set aside and let cool.  Once cool, place walnuts in freezer bag or container and freeze until ready to go in ice cream.

2. Prepare the banana ice cream: Preheat the oven to 400 degrees. Chop bananas into 1/2 inch chunks and toss with a the melted butter until coated.  Place on sheet pan and dust with brown sugar.  Place in oven and roast for approx 10-15 minutes or until bananas are starting to carmelize.  Puree with the one cup of whole milk you will be using for the ice cream base and set aside.

Crack eggs into a mixing bowl and whisk fully. Add brown sugar and whisk until sugar and eggs are combined. Add cream, banana puree, vanilla and salt and whisk again until all are fully incorporated.

Place ice cream base in a pot over medium heat, stirring continuously. Continue to heat mixture until temperature reaches 165 degrees. Remove from heat.  Cool the ice cream base to room temperature (an ice bath will do this in about 15-20 minutes) and then place in a container, cover, and chill in refrigerator overnight.

3.  Churn ice cream base in ice cream machine according to manufacturer’s instructions. Add walnuts in last 5 minutes of the churning process.  Place the ice cream into container and swirl in the honey. Freeze in a tightly covered container for at least 4 hours, preferably overnight if you can wait.  Then, enjoy!

*Yields approximately 2.5 pints

If you’d rather not make it, you can be one of two lucky winners of this fabulous, scratch made craft ice cream in our weekly pint giveaway. Enter your name in the comments section here, or on our facebook page under the posted contest. Two winners will be drawn randomly on Friday 3/6/15 at 4pm. Winners must be able to pick up locally in Minneapolis. Prizes must be claimed by email within one week or we will redistribute. 🙂 Good luck!
Facebook

Twitter

More...

Chocolate Fudge with Hazelnut Creme

This week’s flavor is more about exercising and experimenting with techniques, and also a way to make more chocolate ice cream.  As we continually strive to create new combinations, we’re always looking for new ways to incorporate ingredients, change up old techniques and perfect others.  I used this week’s flavor as a means to do several of these things.  The first  was to create a better chocolate syrup/sauce/fudge that would stay somewhat fluid and gooey while frozen (it can be a real challenge). The second was to experiment with making a flavor infused, cream based syrup/sauce that would achieve the same properties. Both made this week to go into a classic chocolate ice cream.


IMG_1500


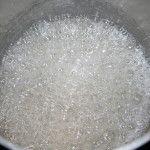
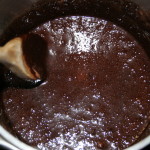
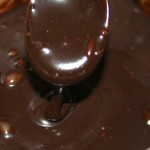
First, the chocolate syrup.  The ultimate goal is to achieve a thick chocolate syrup that does not freeze hard.  It can be tricky and frustrating.  The key is having a sugar concentrate, mixed with the right amount of fat.  We begin by boiling sugar and a bit of water, similar to how you would start a simple syrup.  Cocoa powder is added once the water has boiled off, as well as some cream.  The chocolate sauce is finished with salt.  It’s perfect for a topping or as an add-in.  Or to eat with a spoon 🙂


IMG_1482

IMG_1488

IMG_1496


The Hazelnut cream syrup originated from the idea of trying to make a syrup or caramel like sauce that we could flavor with any ingredient we wanted to – from fruits, to herbs, to nuts.  Cream is easy to infuse with all sorts of flavors, so it provides a nice palate.  The first step is infusing the cream.


IMG_1474IMG_1475IMG_1480


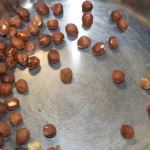
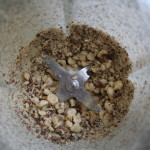
The hazelnuts are toasted and ground into a meal while still hot, and then cooled and strained.  What is left is hazelnut flavored heavy cream.  That is reserved for making the hazelnut cream syrup.


IMG_1482

IMG_1483

hazelnut creme syrup


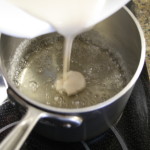
The rest of this process is very similar to the chocolate sauce.  Sugar and water brought to a boil, and then combined with cream just before caramelization happens.  What is left is a caramel-like hazelnut infused cream.  Also a great topping or add-in.


IMG_1513


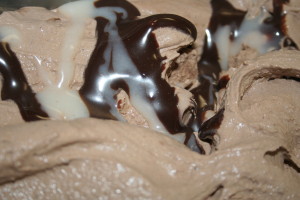
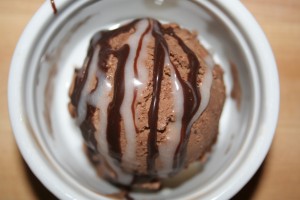
For this week’s flavor combination, the ice cream is a straightforward chocolate ice cream with both syrups swirled in.  It’s a fantastic deep chocolate ice cream teetering with swirls of more chocolate and finishing with hazelnut goodness.


Chocolate Sauce (that won’t freeze hard):

Ingredients:

1C sugar
1/2C water
1/2C Cocoa powder
1C Heavy Cream
1/2tsp salt

Instructions:

Combine the sugar and water in a heavy saucepan and bring to a boil over medium high heat, watching carefully. DO NOT STIR here or it will become grainy. Once boiling, the sugar/water mixture will begin to let off steam. Continue to cook for 2-3 minutes until the steam begins to disappear, then remove from heat and carefully whisk in 1/2C of cocoa powder until fully incorporated. Then, add gradually add cream and stir until fully incorporated into chocolate sauce. Add salt at finish. Refrigerate until ready to use.


Hazelnut Creme Syrup:

Ingredients:

1C sugar
1/2C water
1/2C Hazelnuts
1C Heavy Cream

Instructions:

Infuse the cream (Prepare 1-2 hours ahead of time):

Heat the cream in saucepan over medium-low heat to bring to approximately 115 degrees or so.  While cream is heating, toast hazelnuts hazelnuts for 3-4 minutes until skins become loose and come off easily.  Remove from heat and grind in a blender until they are a course meal.  Immediately add warm hazelnut meal to warmed cream and remove from heat.  Bring mixture to cool in refrigerator for an hour or so, then strain all hazelnut meal out of cream with fine mesh strainer.  Set hazelnut cream aside/refrigerate until ready to make syrup.

For the Syrup:

Combine the sugar and water in a heavy saucepan and bring to a boil over medium high heat, watching carefully. DO NOT STIR or it will become grainy. Once boiling, the sugar/water mixture will begin to let off steam. Continue to cook for 2-3 minutes until the steam begins to disappear, then gradually add the hazelnut cream and stir until fully incorporated.  Refrigerate until ready to use.


Chocolate Fudge Hazelnut Creme Ice Cream:


Ingredients:

2 Cups of Heavy Cream
1 Cup of Milk (choose your percentage based on how fatty/creamy you’d like your ice cream to be – the higher percentage the creamier the ice cream)
2 large eggs
3/4 Cup sugar
1 Cup of Chocolate Syrup (Recipe above)
1 Cup of Hazelnut Creme Syrup (Recipe above)


Instructions:

1. Crack eggs into a mixing bowl and whisk fully.  Add sugar and whisk more until cream, sugar and eggs are combined.  Add cream, milk, and whisk again until all are fully incorporated.

2. Place ice cream base in a pot and heat over medium heat, whisking or stirring continuously. Once mixture reaches approximately 115 degrees, gradually whisk in cocoa.  Continue to heat mixture until temperature reaches 165 degrees. Remove from heat and cool to room temperature (an ice bath will do this in about 15-20 minutes) and then place in a container, cover and chill in refrigerator overnight.

3.  Churn ice cream base in ice cream machine according to manufacturer’s instructions.  Place chocolate ice cream into container and swirl alternately with chocolate and hazelnut syrups. Freeze in a tightly covered container for at least 4 hours, preferably overnight if you can wait.  Then, enjoy!

*Yields approximately 2.5 pints

If you’d rather not make it, you can be one of two lucky winners of this fabulous, scratch made craft ice cream in our weekly pint giveaway. Enter your name in the comments section here, or on our facebook page under the posted contest. Two winners will be drawn randomly on Friday 2/20/15 at 4pm. Winners must be able to pick up locally in Minneapolis. Prizes must be claimed by email within one week or we will redistribute. 🙂 Good luck!


Facebook

Twitter

More...

Swiss Almond

This isn’t the vanilla ice cream filled with chocolate covered almonds you might be familiar with.   There are almonds in it, sure, but that’s where the resemblance ends.  I’ve had cheese on the brain (when don’t I?) and have been kicking around a swiss cheese flavored ice cream for quite awhile.  As a kid, swiss cheese may as well have been poison ( to my wife it still is).  It’s one of those foods that is divisive – most either love it or hate it.  Well, my tastes have shifted in adulthood and I’ve found myself on the “love it” side of the fence.  Funny how many flavors hearken back to childhood memories good and bad.  To round out the swiss cheese ice cream, I chose to add some sliced raw almonds to the mix for a little crunch.


Swiss Almond


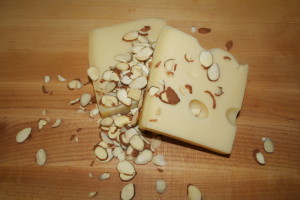
For the swiss cheese selection, we chose Emmentaler.  I wanted a cheese that was on the dry side, to keep the moisture content down and to keep it from getting stringy in the melting process.  I would have loved to have used something local but local aged swiss is harder to find than I thought.


grated swiss cheese


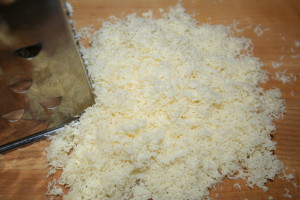
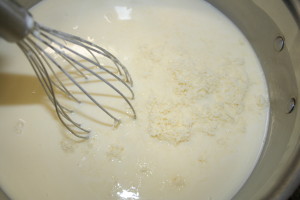
The process of making the ice cream base is relatively simple.  The cheese is grated as fine as possible to make the melting and incorporating process go smoothly.


Swiss Ice Cream


The simple sweet cream base is mixed up and the grated swiss cheese is added gradually as the base cooks on the stove top and whisked until it is completely smooth.  The base is chilled, and the sliced almonds are added in at the end of the churn.


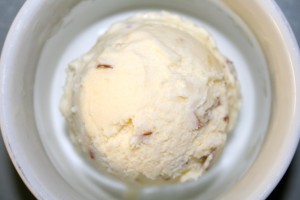
Swiss Almond Ice Cream


The end result was a very nice swiss cheese ice cream, speckled with a crunch from the sliced raw almond.  The pungent swiss cheese is  mellowed out by the cream and sugar but it’s bitter edge remains ever so slightly.  Fantastico!


Swiss Almond Ice Cream:


Ingredients:

2 Cups of Heavy Cream
1 Cup of Milk (choose your percentage based on how fatty/creamy you’d like your ice cream to be – the higher percentage the creamier the ice cream)
2 large eggs
3/4 Cup sugar
1 Cup finely grated dry swiss cheese (Emmentaler or any aged swiss)
1 tsp salt
1/2 Cup Sliced Raw Almonds


Instructions:

1. Crack eggs into a mixing bowl and whisk fully.  Add sugar and whisk more until cream, sugar and eggs are combined.  Add cream, milk, and whisk again until all are fully incorporated.

2. Place ice cream base in a pot and heat over medium heat, whisking or stirring continuously, gradually adding the grated swiss cheese and whisking more until cheese is completely melted into base.  Heat until temperature reaches 165 degrees. Remove from heat and cool to room temperature (an ice bath will do this in about 15-20 minutes) and then place in a container, cover and chill in refrigerator overnight.

3.  Churn ice cream base in ice cream machine according to manufacturer’s instructions.  Add sliced almonds in last 5 muntes of the churn.  You can eat immediately as soft serve, but we would recommend freezing in a tightly covered container for at least 4 hours, preferably overnight if you can wait.  The flavors will continue to develop and change over the next few days.  Enjoy!

*Yields approximately 2.5 pints


If you’d rather not make it, you can be one of two lucky winners of this fabulous, scratch made craft ice cream in our weekly pint giveaway. Enter your name in the comments section here, or on our facebook page under the posted contest. Two winners will be drawn randomly on Friday 2/6/15 at 4pm. Winners must be able to pick up locally in Minneapolis. Prizes must be claimed by email within one week or we will redistribute. 🙂 Good luck!


Facebook

Twitter

More...