Butternut Caramel with Toasted Pepitas

Every year I hear people remark how we’re obsessed with the weather here in the Midwest – myself included.  And it’s entirely true.  With 4 radically different seasons, it’s hard not to be a little wrapped up in it. They robotically tune us in to change every 3-4 months and we rarely notice how are eating habits are affected as well.  A lot of the reason for that is related to what was/is available and what is hardy enough to store through winter.  Which is why, when the nights turn cold, squash suddenly becomes a little vegetable elf, seemingly popping up everywhere you are.  And as usual, it also pops up in our ice cream.

This week’s flavor deserves a direct nod to our kindred flavor spirit Heidi Skoog from Serious Jam, since a few weeks ago I said “Butternut” and she filled in the blanks before I could go any farther.


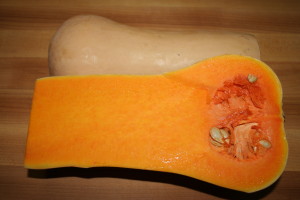
2015-10-08 18.10.37


The caramel is the most complicated part of this recipe.  Caramel can be tricky on it’s own, and now we’re trying to get squash into it.  The key is getting the squash flavor into the cream that we add to the sugar to keep the caramel viscous.


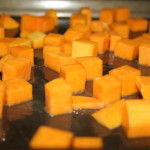
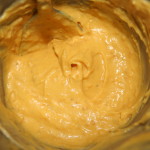
2015-10-08 18.25.252015-10-08 18.59.092015-10-08 19.04.15


It all begins by roasting the butternut squash with lots of butter.  As the squash roasts it caramelizes in the butter, bringing out its sweetness, and makes it nice and soft for smoothing into a puree.  When it’s finished roasting, the squash is blended with cream until it is smooth.


caramelcoconut caramelCaramelized Sugar


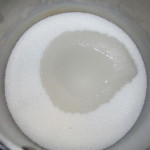
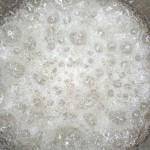
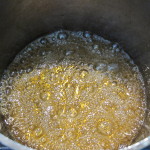
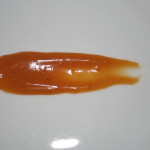
The key to making a caramel sauce is patience, trust and a watchful eye.  We wet the sugar first, and then bring it to a hard and fast boil without and I repeat WITHOUT ever stirring.  Stirring the boiling sugar will make it crystallize and turn grainy.  Once it reaches the right caramel color (in about 5-8 minutes) some cream is added to cool it down a bit, and then the squash and cream puree is added and whisked in.


butternut caramel


Cream is what keeps the caramel from getting hard – and you can flavor the cream with just about anything.  In this case the already caramel-like roasted butternut squash makes a perfect partner.


pepitaspepitas


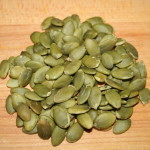
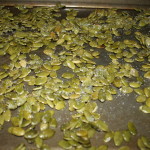
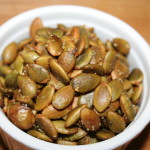
It’s only natural to have squash/pumpkin seeds provide the crunch here.  So raw pumpkin seeds/pepitas are tossed in butter and liberally salted, and roasted for about 15 minutes to crunch them up.


pepitas


The ice cream base itself is relatively straightforward and simple, but the key is using brown sugar as the sweetener.  It adds an extra dimension to the party.


2015-10-13 18.00.12


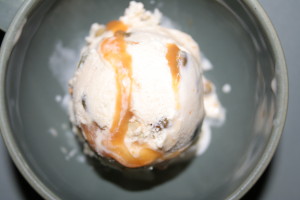
The scoop is a silky smooth brown sugar ice cream, swirled with ribbons of butternut squash caramel and studded with crunchy, salty pepitas.


Butternut Caramel with Toasted Pepitas Ice Cream Recipe


Toasted Pepitas:
1 Cup of raw pumpkin seeds (substitute already roasted and salted if you want to skip this step)
1 Tablespoon butter
2 Teaspoon Salt

Roasted Butternut Squash Caramel:
1 Cup Diced Butternut sqaush, medium, 1/2″ cubes
1 Tablespoon Butter, melted
1 Cup White Sugar
1 Tablespoon water
1 C Cream

Ice Cream:
2 cups Heavy Cream
1/2 cup Milk
1/2 cup Brown Sugar
2 Eggs
3/4 teaspoon Sea salt
Butternut Caramel
1/2 Cup Toasted Pepitas


Instructions:

1. Make Roasted Butternut Caramel (Make at least a day before freezing the ice cream): Preheat oven to 350 degrees. Toss butternut squash with melted butter and roast for approximately 15 minutes . Stir squash and roast for 15 minutes until the squash begins to caramelize and is soft. Remove from oven and puree with 1/2 cup cream until smooth; set aside.

Now for the caramel: put 1 Cup of sugar in heavy bottomed pot and mix with 1 Tablespoon of water until sugar is wet but not submersed in water. Bring sugar to a boil and DO NOT STIR (if you stir the boiling sugar it will become grainy and you’ll have to start over) watch carefully – within about 5 minutes the boiling sugar will begin to turn a caramel color. Once it turns light brown, remove the pot from heat and add remaining 1/2 cup of cream – be careful here as it will boil quickly and briefly – then add butternut squash puree and whisk until all is smooth. Let cool and refrigerate until you are ready to freeze the ice cream.

2. Make Toasted Pepitas (Do this right before you make the ice cream base for best results): Preheat oven to 350 degrees. Toss pumpkin seeds in 1 tablespoon of melted butter and spread onto a sheet pan – salt liberally. Place pumpkin seeds in oven and roast for 10 minutes, stir them up and roast for another 10 mintues until they become aromatic. Remove them from an oven and let cool, then set aside until you are ready to make the ice cream. Any leftover pepitas you don’t use for the ice cream make a great snack, and are fantastic on salads.

3. Make ice cream base: Crack eggs into a mixing bowl and whisk fully.  Add brown sugar and whisk.  Add heavy cream, milk, and salt.  Whisk until ingredients are combined.

4. Cook/pasteurize ice cream base: Over medium heat, whisk or stir base continuously until temperature reaches 165-170 degrees.  Remove from heat. Strain out toasted coconut. Cool ice cream base to room temperature (an ice bath will do this in about 15-20 minutes). Cover base, and chill in refrigerator overnight.

5. Churn ice cream base in ice cream machine according to manufacturer’s instructions. Have your caramel and pepitas nearby. Add the pepitas to the ice cream mix in last 5 minutes of churn and let them spin until they are well incorporated. As you package ice cream in air tight storage container, liberally layer in ribbons of the butternut caramel. Store the ice cream in your freezer until you’re ready to eat it, preferably overnight if you can possibly wait.

*Yields approximately 2.5 pints


If you’d rather not make it, you can be one of two lucky winners of this fabulous, scratch made craft ice cream in our weekly pint giveaway. Enter your name in the comments section here, or on our facebook page under the posted contest. Two winners will be drawn randomly on Friday 9/18/15 at 4pm. Winners must be able to pick up locally in Minneapolis. Prizes must be claimed by email within one week or we will redistribute. 🙂 Good luck!

 

Facebook

Twitter

More...

Candy Corn and Peanuts

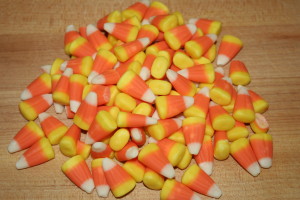
Halloween is upon us and always a fun time for us to brainstorm wild flavors.  We still haven’t used bugs, but I’m not ruling out a future chocolate cricket flavor.  However, this year I chose to use something almost as bad.  Candy corn. I’ve never really been a fan, but some former co-workers of mine would bring a candy corn and peanut mix to work that was downright addicting.  Since my boys were begging me to make something with candy – I decided to take the easy road this week and re-create that candy corn peanut mix in ice cream form.


Candy CornPeanuts


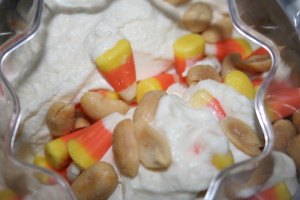
It’s an incredibly simple flavor – the ice cream is simply a sweet cream base, with candy corn and peanuts thrown in at the end of the churn.  I chose to use these Virginia peanuts because they’re big, extra crunchy and extra good.


Candy Corn


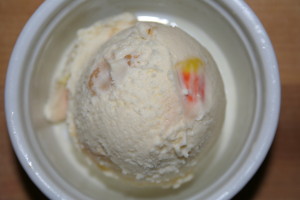
A simple sweet ice cream littered with candy corn and big Virginia peanuts.  Nothing crazy here, unless you hate candy corn.  In that case maybe you’ll be looking forward to a future bug flavor for Halloween.  🙂


Candy Corn


Candy Corn and Peanut Ice Cream Recipe

(makes approx 1-1/2 quarts)

Ingredients:

2C Heavy Cream
1C Milk (use any fat percentage you prefer – higher lends to a creamier base)
2 Eggs
3/4C Sugar
2/3 C Candy Corn
2/3C Roasted and Salted Peanuts
1/2 tsp salt

Instructions

Crack eggs into a mixing bowl and whisk fully. Add sugar to eggs and whisk until all are combined well. Add cream, milk,  salt and whisk again until all are fully incorporated.  Place the ice cream mix in heavy pot and cook over medium heat, stirring continuously.  Heat ice cream mixture until temperature reaches 165 degrees. Remove from heat.  Cool the ice cream base to room temperature (an ice bath will do this in about 15-20 minutes).   Once cool, place ice cream mix in a container, cover, and chill in refrigerator overnight.

Churn ice cream base in ice cream machine according to manufacturer’s instructions. Add candy corn and peanuts in during the last 5 minutes of churning the ice cream. Freeze in a tightly covered container for at least 4 hours, preferably overnight if you can wait.  Then, enjoy!

*Yields approximately 2.5 pints of ice cream.

If you’d rather not make it, you can be one of two lucky winners of this fabulous, scratch made craft ice cream in our weekly pint giveaway. Enter your name in the comments section here, or on our facebook page under the posted contest. Two winners will be drawn randomly on Friday 10/30/15 at 4pm. Winners must be able to pick up locally in Minneapolis. Prizes must be claimed by email within one week or we will redistribute. 🙂 Good luck!
 

Facebook

Twitter

More...

Smoked Apple

Long before our ice cream days began, us Broz spent much of our time scheming about BBQ and hanging around grills and smokers.  To this day we both remain grilling fanatics and our love for all things cooked over a fire often finds its way into our flavor development.  Every year when apple season rolls around we challenge ourselves to come up with new ways to incorporate apples into our ice cream.  This week’s flavor found us back at the smoker – stripping things down to our basic first apple flavor but adding one new dimension – applewood smoke.


appleappleIMG_1908


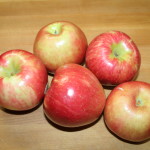
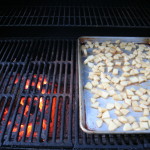
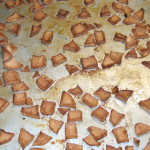
These gorgeous local honeycrisp apples (my personal favorite variety)  are diced, tossed in butter, brown sugar and cinnamon and then smoked over applewood for around an hour.  This process closely resembles our typical roasting of the apples for incorporating into ice cream, but we’ve added the smoke to the process which gives them a very distinct, smokey flavor.


Smoked Vanilla Bean Grindercharred vanilla


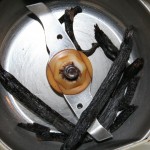
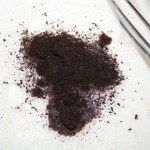
Since we’re already using smoked apples, it only seemed right to flavor the cream with our signature charred vanilla.  The vanilla beans are also smoked over applewood until crispy and then ground whole into a fine powder and infused into the cream. These work as a great substitute for vanilla in any recipe.


smoke apple


The scoop is nothing short of harmonious, especially if you’re a fan of apples, vanilla and things cooked over open fire.  An in-your- face charred vanilla ice cream decorated with chewy chunks of smoked honeycrisp apples.


Smoked Apple Ice Cream Recipe

(makes approx 1-1/2 quarts)

Ingredients:

2C Heavy Cream
1C Milk (use any fat percentage you prefer – higher lends to a creamier base)
2 Eggs
3/4C Sugar
1 Whole Charred Vanilla bean, ground
2 apples cored, peeled and diced into 1/2″ chunks
1 Tablespoon butter, melted
1/4 Cup Brown Sugar
1/2 tsp cinnamon
1/2 tsp salt

Instructions

Prep apples and vanilla:

Preheat grill/smoker to 250-275 degrees

Mix together the brown sugar, cinnamon and butter in a bowl and toss apples in mixture until well coated.  Spread the apples out on sheet pan in one layer and place over indirect heat in smoker/grill.  Place vanilla beans also over the indirect heat.  Smoke apples and vanilla for approximately one hour until apples have shrunk but not completely dried up.  Vanilla beans will dry out and become hard and brittle.  Let apples cool, then set aside and chill until ready to add into ice cream.  Set vanilla beans aside until you are ready to make ice cream base.

When you’re ready to make the ice cream base, grind the beans in a coffee or spice grinder until they are a fine powder.  Crack eggs into a mixing bowl and whisk fully. Add charred vanilla powder and sugar to eggs and whisk until all are combined well. Add cream, milk,  salt and whisk again until all are fully incorporated.  Place the ice cream mix in heavy pot and cook over medium heat, stirring continuously.  Heat ice cream mixture until temperature reaches 165 degrees. Remove from heat.  Cool the ice cream base to room temperature (an ice bath will do this in about 15-20 minutes).   Once cool, place ice cream mix in a container, cover, and chill in refrigerator overnight.

Churn ice cream base in ice cream machine according to manufacturer’s instructions. Add smoked apples in during the last 5 minutes of churning the ice cream. Freeze in a tightly covered container for at least 4 hours, preferably overnight if you can wait.  Then, enjoy!

*Yields approximately 2.5 pints of ice cream.

If you’d rather not make it, you can be one of two lucky winners of this fabulous, scratch made craft ice cream in our weekly pint giveaway. Enter your name in the comments section here, or on our facebook page under the posted contest. Two winners will be drawn randomly on Friday 10/2/15 at 4pm. Winners must be able to pick up locally in Minneapolis. Prizes must be claimed by email within one week or we will redistribute. 🙂 Good luck!
 

Facebook

Twitter

More...

Coconut Carrot Pistachio

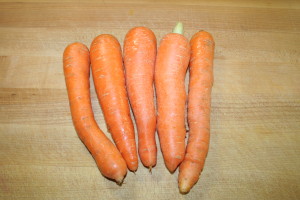
Every year at the end of summer we’re using up as much of the harvest as we can handle.  Carrots are a great late harvest prize and when they are fresh out of the ground their sweetness is incredible, especially when they are roasted and caramelized.  This week’s flavor is a bit of an amalgamation of flavors drawn from carrot cake and the Indian dessert Carrot Halwa.


Carrot


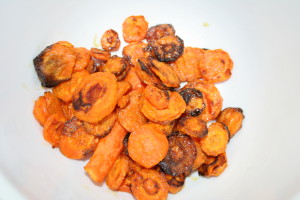
First the carrots. We like em’ roasty for our ice cream.  The sugars amplify and the water is baked out and what is left is nothing short of magic.


roasted carrot


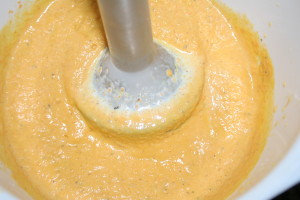
Once the carrots are roasted and caramelized, they get pureed with a bit of milk and will be blended into the brown sugar ice cream base.


carrot puree


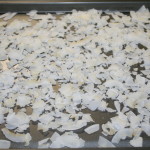
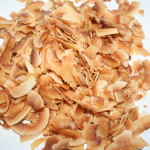
Then comes the coconut. We’ve found that coconut has a bigger impact on the flavor if it is toasted first and steeped in the ice cream base hot out of the oven.


coconuttoasted coconut


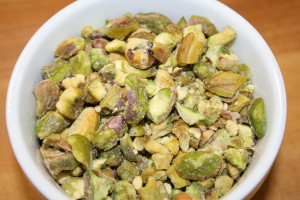
Pistachios.  We have a lot of love for many foods, but I could make flavors for months just with pistachios.  Man are they good.  Here we keep it simple, and crush the pistachios to go into the ice cream at the end of the churn.


pistachio


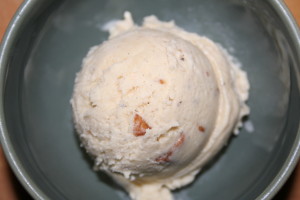
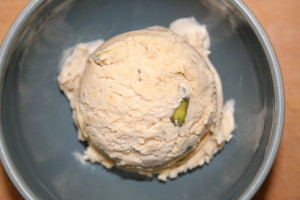
The scoop is a silky smooth carrot coconut ice cream decorated with crunchy pistachios. Harvest time goodness.


coconut carrot pistachio


Coconut Carrot Pistachio Ice Cream Recipe


Toasted Coconut:
1 cup of shaved coconut

Roasted Carrot Puree:
2-3 Carrots, medium, 1/4″ slices
1 Tablespoon Butter, melted
1/4 C milk

Ice Cream Base:
2 cups Heavy Cream
1/2 cup Milk
1/2 cup Brown Sugar
2 Eggs
3/4 teaspoon Sea salt
1C Carrot puree
1C Toasted Coconut
1/2 Cup Crushed pistachios


Instructions:

1. Make Roasted Carrot Puree: Preheat oven to 350 degrees. Toss carrots with melted butter and roast for 15 minutes. Stir carrots and roast for 15 minutes more or until caramelized but not burnt. Remove from oven and puree with 1/4 C milk until smooth; reserve.

2. Make Toasted Coconut (Do this right before you make the ice cream base for best results): Preheat oven to 350 degrees. Spread shaved coconut out on a sheet pan in one flat layer. Place in oven for approximately 10 minutes or until golden brown.

3. Make ice cream base: Crack eggs into a mixing bowl and whisk fully.  Add brown sugar and whisk.  Add heavy cream, milk, carrot puree and salt.  Whisk until ingredients are combined. Add toasted coconut.

4. Cook/pasteurize ice cream base: Over medium heat, whisk or stir base continuously until temperature reaches 165-170 degrees.  Remove from heat. Strain out toasted coconut. Cool ice cream base to room temperature (an ice bath will do this in about 15-20 minutes). Cover base, and chill in refrigerator overnight.

5. Churn ice cream base in ice cream machine according to manufacturer’s instructions. Add pistachios in last 5 minutes of churn. Package ice cream in air tight storage container, then store in freezer until you’re ready to eat, preferably overnight if you can possibly wait.

*Yields approximately 2.5 pints


If you’d rather not make it, you can be one of two lucky winners of this fabulous, scratch made craft ice cream in our weekly pint giveaway. Enter your name in the comments section here, or on our facebook page under the posted contest. Two winners will be drawn randomly on Friday 9/18/15 at 4pm. Winners must be able to pick up locally in Minneapolis. Prizes must be claimed by email within one week or we will redistribute. 🙂 Good luck!


Facebook

Twitter

More...

Blackberry Creme Fraiche Dark Chocolate Chunk

Last week I hit a bit of a block in deciding on a new flavor. We always keep a list of ideas, and often times we move things around and re-arrange as personal desire and seasonal availability direct their influence on our choices.  But I could just not make up my mind.

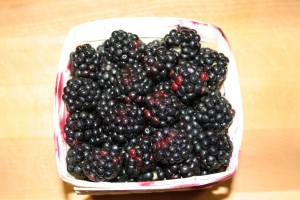
Blackberry


I knew I was craving something more indulgent. And when I stumbled across these Partner’s farms blackberries at the co-op last week, I just about screamed. Blackberries can be illusive around here and in the wild can be hit or miss. Often come late July but can be even later in cooler, wet summers. Needless to say, once I found these puppies, the creme fraiche and a couple of bars of organic dark chocolate found their way into my basket and we were off.


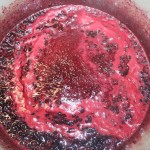
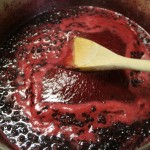
As many of our flavors have begun this summer, the first step is making a jam with the berries.


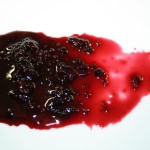
BlackberryBlackberryBlackberry


The berries are mashed slightly and combined with lemon juice to extract all the berry flavor.  Then sugar is added and they are boiled until they’ve reached the perfect ratio of sugar to fruit – mostly meaning the water that could make them icy is gone.


Creme Fraiche


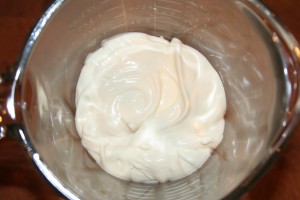
The base of the ice cream is made with cream, and creme fraiche – which adds a slightly sour flavor to the cream – and gives it just a bit more flavor and depth.  I personally love the combination of creme fraiche with fruit – and chocolate, which is why it became the main flavor component of the ice cream base.


IMG_1856


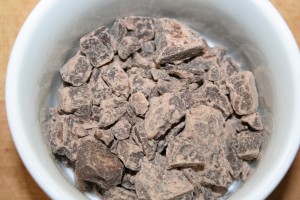
This organic dark chocolate done got busted up into chunks.  The goal with using ragged, chunks like this was to provide uneven bursts of chocolate in the cream – so sometimes you get a spoonful that has a hint of chocolate, and other times it overwhelms.  Because there is nothing bad about that.


The chocolate chunks are tossed in during the last few minutes of the churn and the blackberry jam is swirled in to the cream as it’s packed in it’s container.


Blackberry


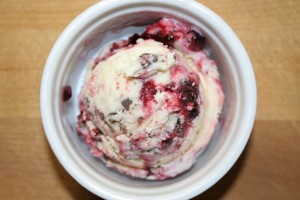
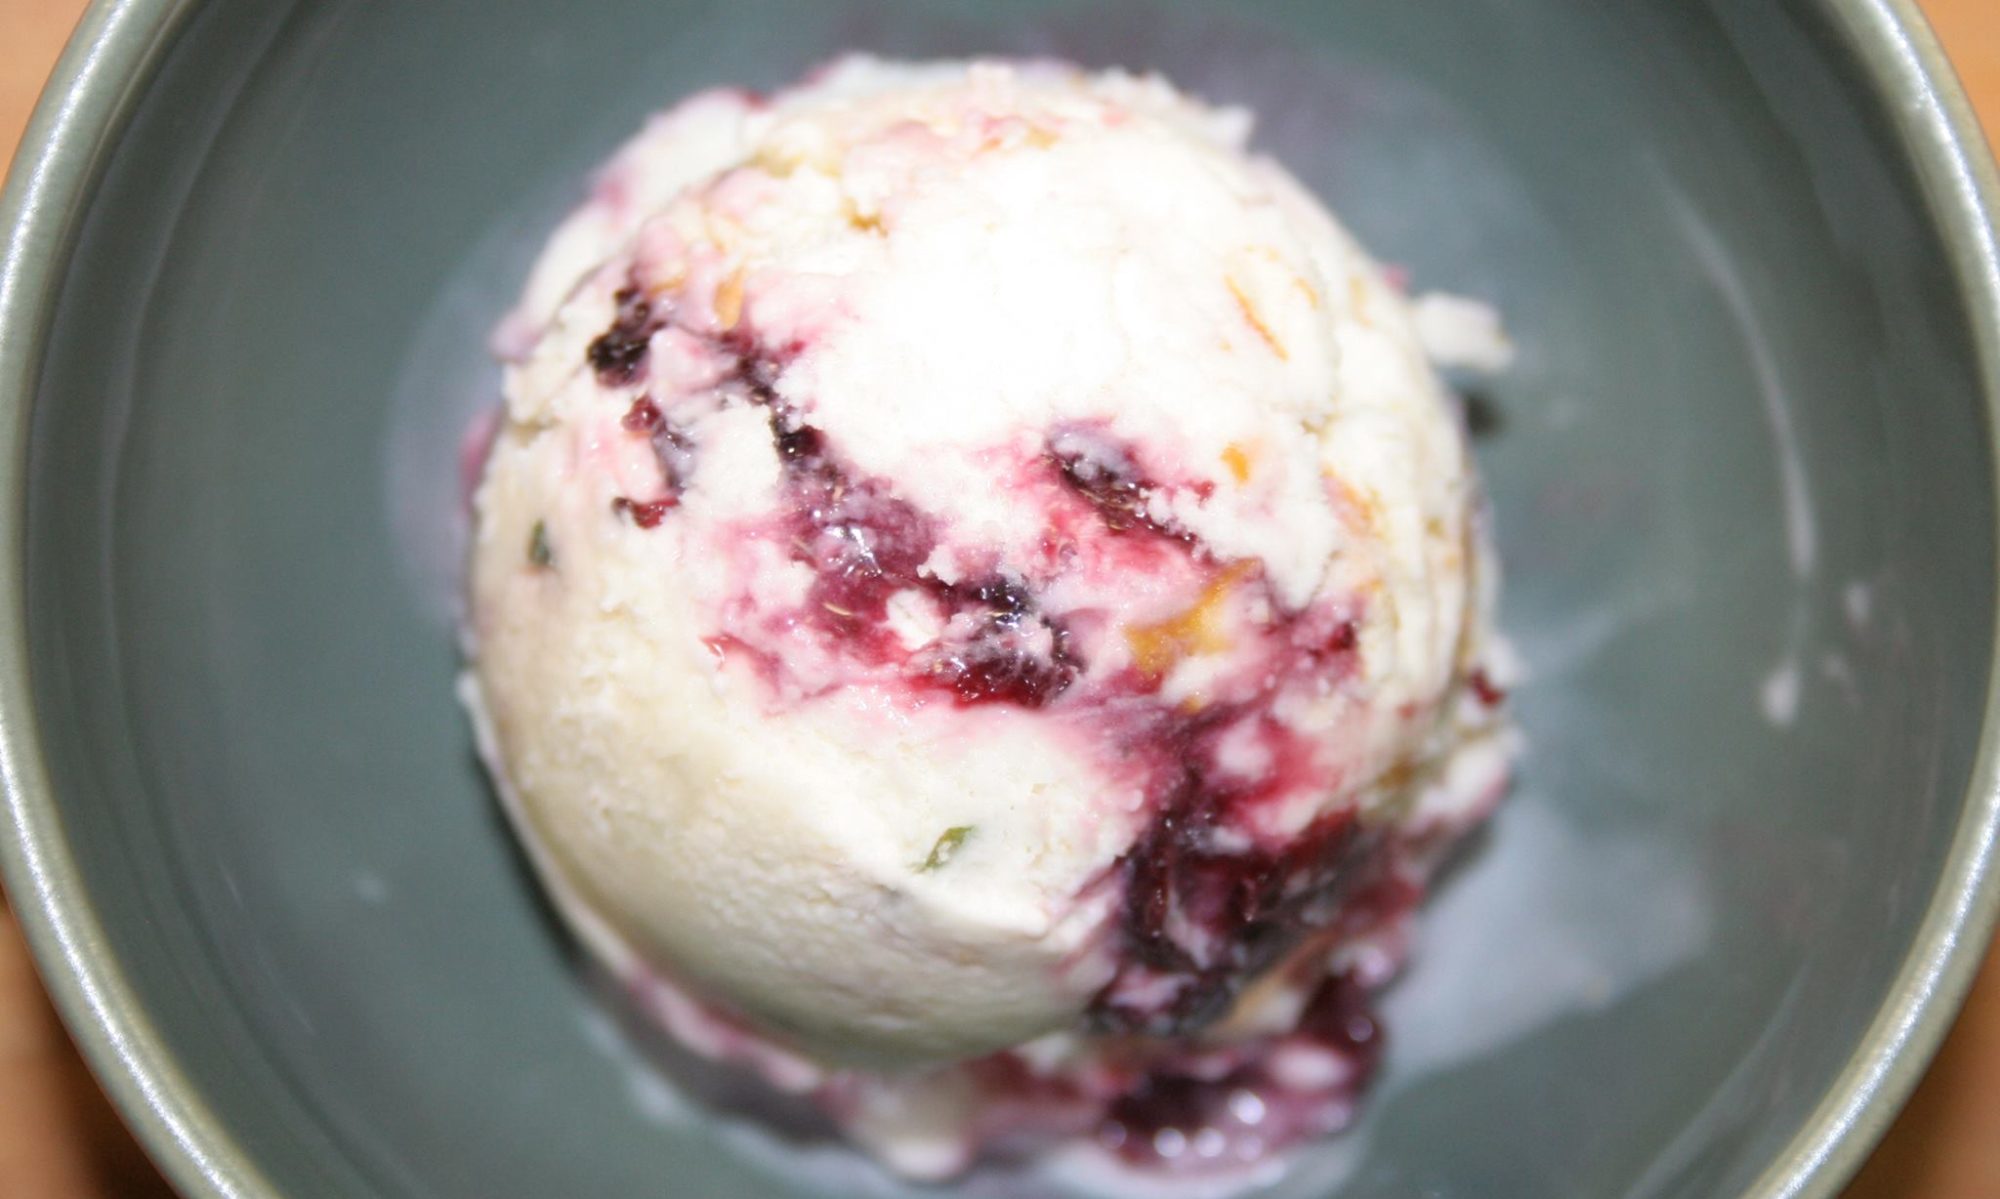
The scoop: a delicate creme fraiche ice cream swirled with dark ribbons of scratch made blackberry jam and chock full of chunks of dark chocolate.

 
Blackberry Creme Fraiche Dark Chocolate Ice Cream Recipe

Blackberry jam ingredients:
1 pint fresh blackberries (about 1/2 pound)
1 Cup  sugar
2 1/2 teaspoons lemon juice

Ice Cream ingredients:
1 Cup of creme fraiche (sour cream works in a pinch)
2 Cups of Heavy Cream
3/4 Cup of sugar
1 Cup of pre-made Blackberry Jam
1/2 Cup Dark chocolate, broken into chunks
1 teaspoon of salt


Instructions for the Jam: Place a plate in the freezer (this will come in handy in a bit). In a medium saucepan add the blackberries and lightly mash, and then add lemon juice. Let stand for 15 minutes, stirring occasionally. Stir in sugar. Bring mixture to a boil over high heat, stirring frequently. Cook and stir the mix until the bubbles subside and the jam appears slightly thickened, somewhere around 15 minutes. To test for doneness, spoon a small amount onto the chilled plate. If jam is gooey and wrinkles when you push your finger into it, it is done.  This means it will not be icy in the cream (which you do not want).  If not, cook and stir a little longer before testing again.   Cover and chill completely until you are ready to make the ice cream.

Instructions for ice cream: Crack eggs into a mixing bowl and whisk fully.  Add sugar and whisk until fully combined.  Add heavy cream, creme fraiche, and salt.  Whisk again until all ingredients are fully blended.

Over medium heat, whisk or stir base continuously. Keep stirring continuously until temperature reaches 165-170 degrees.  Remove from heat. Cool ice cream base to room temperature (an ice bath will do this in about 15-20 minutes).  Put base in a clean container, cover, and chill in refrigerator overnight.

Churn ice cream base in ice cream machine according to manufacturer’s instructions. Add chocolate chunks in last 5 minutes of churning.    Place ice cream is in freezer proof storage container swirling in the blackberry jam in layers as you do so.  Place container in freezer and freeze ice cream for at least 3 hours, preferably overnight if you can wait.

*Yields approximately 2.5 pints
If you’d rather not make it, you can be one of two lucky winners of this fabulous, scratch made craft ice cream in our weekly pint giveaway. Enter your name in the comments section here, or on our facebook page under the posted contest. Two winners will be drawn randomly on Friday 9/4/15 at 4pm. Winners must be able to pick up locally in Minneapolis. Prizes must be claimed by email within one week or we will redistribute. 🙂 Good luck!
 

Facebook

Twitter

More...